Nut, chia seed and raisin bars

Nut, chia seed and raisin bars

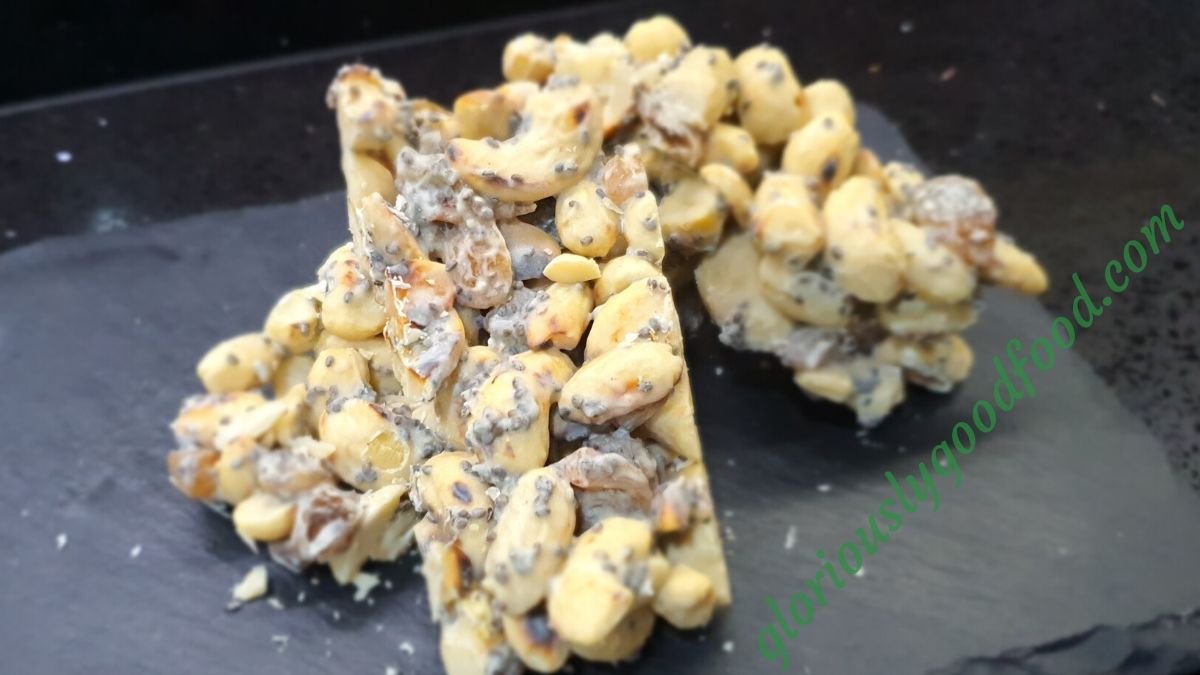
With the Covid-19 crisis affecting our shopping habits and availability of ingredients, I found that the various nut bars I often relied on for breakfast or a quick mid-afternoon snack were not always available in the shops.

I therefore decided to have a go at making my own. I have made these a few times now and they’re a big hit with the whole family, including hubby who doesn’t usually like eating nut bars.

Please note you can use whichever nuts you like – I love cashew nuts and started making them with just those, but they are very expensive (I had a look at the price of bulk bags of pistachios and they were even worse, so I’ll stear clear of those…shame, as I love pistachios!), so now I mix cashews and peanuts and the bars are equally delicious.

Nut, chia seed and raisin bars (makes approx. 14-16 bars)

  • 600g unsalted, unroasted nuts (I use blanched peanuts and raw cashew nuts, which I buy in bulk 1kg bags, but you can use whichever nuts take your fancy!)
  • 50g raisins
  • 70g chia seeds
  • 150g white chocolate (I use Callebaut white chocolate callets as they melt really well in the microwave, but any good quality chocolate that withstands melting and chilling well will work. I buy these in bulk… my latest purchase was a 2.5kg bag, which is dangerous in a house full of chocoholics!)
  • A generous sprinkling of fine sea salt

How to make nut, chia seed and raisin bars

Line a deep baking tray / cake pan with greaseproof paper (mine is 32cm long, 21cm wide and 5cm high, but use whatever you have available as long as it allows for a suitable depth for nut bars). I find it helps to grease the pan with butter or margarine to allow the paper to stick to it and stay flat and in place.

Heat up a large non-stick frying pan on a high heat, then add the cashew nuts and peanuts (or other nuts of your choice). As they start warming up, stir them frequently and as an oily sheen starts to appear, sprinkle them liberally with fine sea salt. Continue to stir frequently as they start to roast. I like the uneven roasting of doing this in a pan, where some are blackened in some parts and lightly golden in others, but it is a matter of personal preference / taste. For a more even roasting, you may wish to do this part in the oven.

While the nuts are roasting, melt the chocolate in the microwave (with the Callebaut chocolate I use, it takes about 2 minutes on high, stirring halfway through – different chocolate may behave differently though and to be on the safe side, you may want to do this more gently in a bain marie, with a bowl over a pan of hot water, letting the steam do the job).

Transfer nuts, raisins and chia seeds into a large mixing bowl and add the melted chocolate, stirring to make sure all the ingredients are well mixed, then transfer into your lined baking tray while still warm. Spread the mix out as evenly as possible and refrigerate for at least a couple of hours or overnight.

Once the giant nut bar is well chilled and solid, take it out of the tray, remove the greaseproof paper and place it on a large chopping board. Using a large knife or cleaver, cut it into 14-16 nut bars. Some small pieces will simply break off, but that’s ok – don’t waste them. Stick them in a bowl and eat them as a snack 🙂

  • Nut, chia seed and raisin bars

Nut, chia seed and raisin bars – Gloriously Simple, Gloriously Good!

Advertisement

Pork Scratchings

Pork Scratchings: The Ultimate Pub Snack

Enjoy with a beer or two, or even with a glass of Pimms & Lemonade…

Pork Scratchings

I first discovered the delight of pork scratchings in pubs in the Midlands (in fact, I think it was in my friend Gaynor’s parents’ pub in the summer of 1991) and, at the time, I struggled to find them anywhere else and even in the Midlands, only a few butchers and pubs sold them.  Since then, I’ve noticed more and more factory-produced brands of pork scratchings appear on supermarket shelves, and while those are ok, nothing tastes like the pork scratchings you can buy from your local butcher (I’ve had some in recent years from various butchers at Doncaster Market and they were lovely).

To me, one of the best parts of eating roast pork is a perfectly crackled skin, but there never seems to be enough of it!  And what about those times when you just fancy a few pork scratchings to nibble on with a drink, rather than a roast dinner? Morrisons sell cheap packs of pork skin you can use for crackling or pork scratchings.  Also, your local butcher is likely to let you have a load of pork skin if you ask while you’re buying other meat.

In my case, I was buying a load of pork belly and pork shoulder to make Sardinian Sausages and Lincolnshire Sausages.  The butcher kindly took off all the skin (far better than you could ever do at home, as I wanted most of the fat left on the meat for the sausages!), so I asked him to put the skin in a bag for me as I’d use it to make scratchings.

Here’s how I made the pork scratchings:

Cut the pieces of pork skin (rind) into rough pieces approx 2cm x 2cm in size.  Pat them dry with a clean tea towel.

Heat some sunflower oil in a pan (make sure you use a pan with lots of spare space above the oil as it will get quite ‘active’ when you put the skins in!) on a high heat.  You’ll know it’s hot enough if it starts boiling and spitting quite violently when you place a piece of pork skin into it.

Put a few pieces of pork skin in (about 6-7 per batch, maximum, depending on the size of your pan), one after the other, being very careful to stand back and keep your face away as the oil will spit furiously! Make sure the pieces of pork skin have plenty of room.  They have a tendency to want to stick together, so once the spitting has calmed down a little, move them around with a long-handled slotted metal spoon (always making sure you don’t get splashed!).

Once they have curled up a bit and gone golden brown (after about 2-4 minutes), remove them with the slotted spoon and place them on a plate or tray covered in ample kitchen paper to absorb the oil.

Repeat the process with the remainder of the pieces of pork skin until they’re all fried, then leave to cool and drain for a few minutes.

Now re-immerse the already fried pieces of skin into the hot oil (they won’t spit quite as much this time so you can put a few more in at once) and fry for a further 2-3 minutes until they look crispier and a little darker.

Remove with the long-handled metal slotted spoon and place to drain on fresh kitchen paper.  While still hot and oily, sprinkle liberally with fine sea salt (or seasalt flakes if you prefer) and as the pieces start cooling, roll them around in the salt that’s landed on the tissue so they each have a good amount of salt.

Leave to cool completely, then serve as crispy snacks.

Pork scratchings are delicious washed down with a cold beer! 😉

Gloriously Simple, Gloriously Good!