Roasted Sweet Pepper Sauce | Tomato Substitute | Reflux Recipe | Low-Fat | Low-Cal

Roasted sweet pepper sauce | finished product

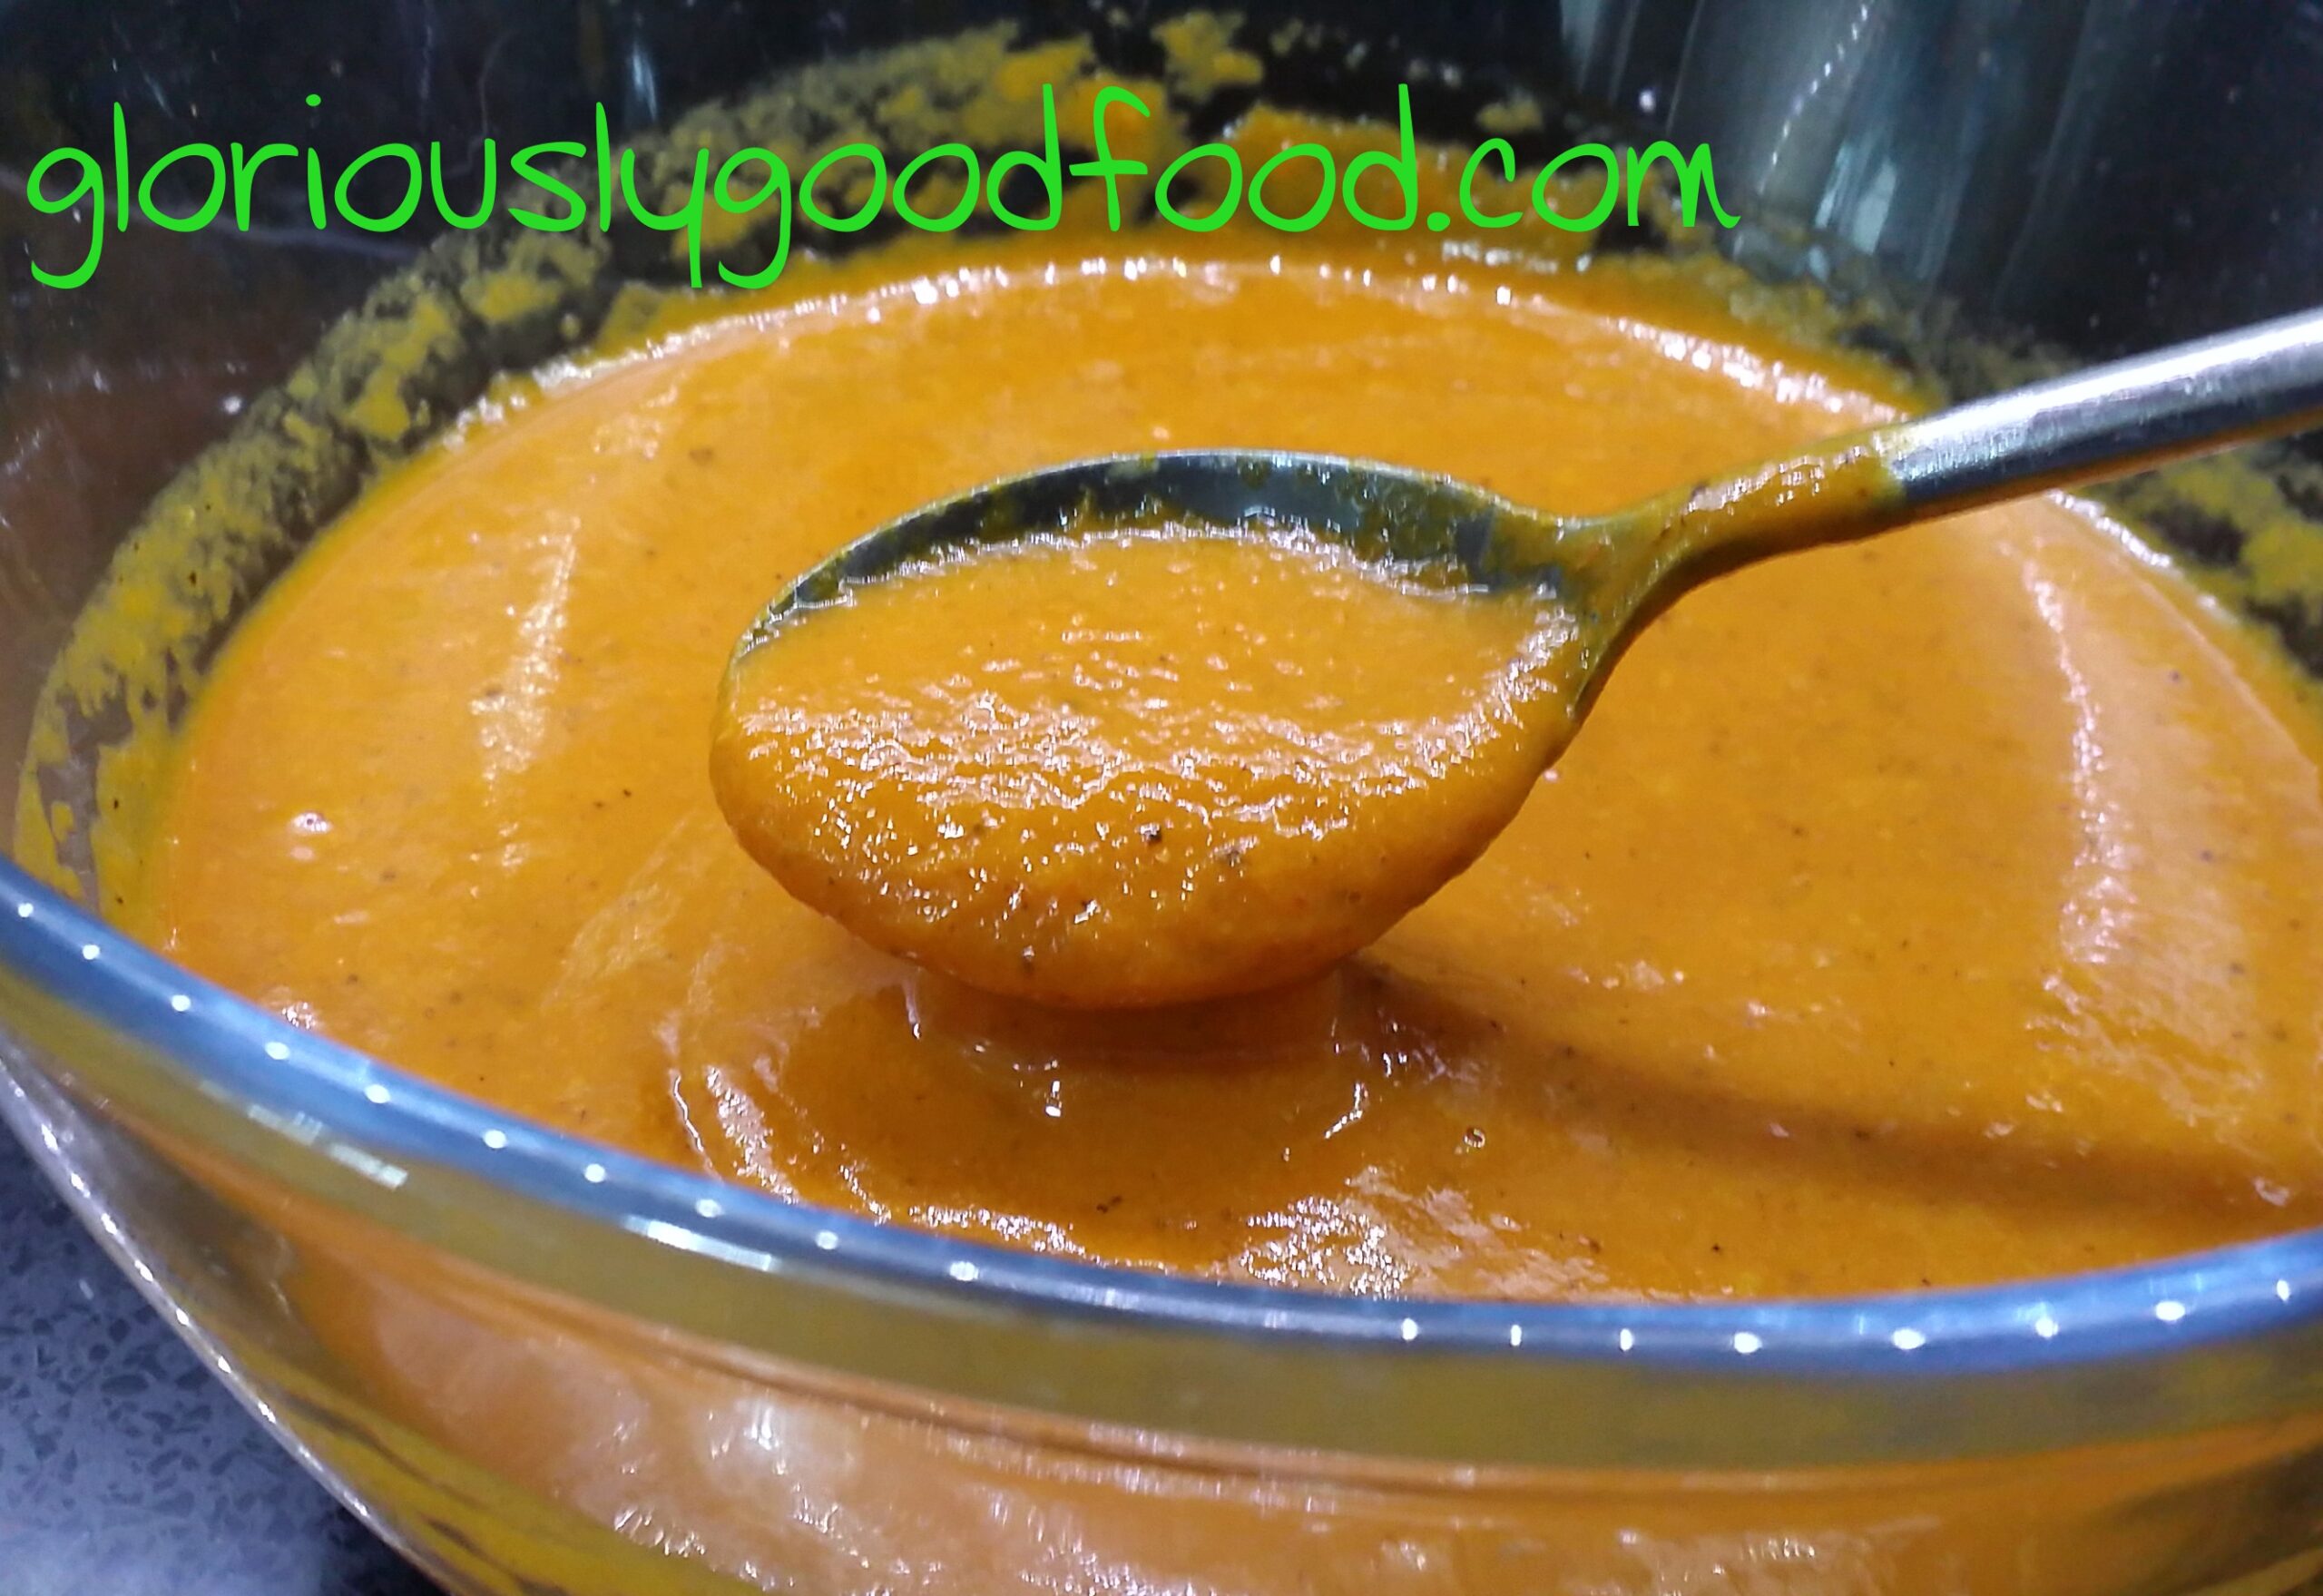
Using a Roasted Sweet Pepper Sauce is a good alternative to using tomatoes,

but this sauce is much more than a tomato substitute!

Roasted sweet pepper sauce | finished product

This roasted sweet pepper sauce is versatile and can be used as the base for soups, meat-based sauces, or on its own.  It’s so delicious, I was struggling to keep my daughter’s hands off it after I’d made it, even though I needed it to use in another recipe.

I started off by wanting to make a sauce using peppers as a substitute for tomatoes.  The jury is still out on whether tomatoes set off my reflux or not (acidity-wise, they’re above a pH of 4, so they should be ok for most reflux sufferers, but they’re one of those foods that trigger reflux for many, even though they’re strictly-speaking ok in terms of acidity), but I wanted to come up with an alternative that would be safe for most reflux sufferers*.  And besides, I love the taste and smell of peppers!

This sauce is easy to make but does take a little bit of time and a bit of effort.

Ingredients for approximately 800ml of sauce (this will depend on the size of the peppers, how much water they hold through the roasting process etc – it’s not exact):

  • 8 large peppers (mixture of red, orange, yellow)
  • 8 cloves of garlic (if you have reflux and garlic affects you, you can use herbs instead – choose your herbs based on what you’ll use the sauce with, for example rosemary or thyme for chicken dishes, parsley for fish dishes, oregano for many pasta dishes & soups etc)
  • a sprinkling of sea salt
  • 1tbsp of olive oil
  • Optional: chicken or vegetable stock – just enough to ‘wash out’ the blender at the end and avoid waste…this also dilutes the very thick sauce a little

Method:

Pre-heat the oven to 220°C (fan-assisted).

Lightly crush the garlic with the side of a large knife (using pressure from the palm of your hand) – leave the skins on.  Crush it just enough for the skin to burst.

De-seed the peppers and cut them into large chunks (about 2 square cm).

Place the peppers and garlic into a large oven-proof (ideally non-stick) dish, drizzle over the olive oil and sprinkle with sea salt.  Stir.

Roast in the pre-heated oven for 40 minutes, until the peppers and garlic are soft (some of the garlic may have burst out of its skins – that’s ok), stirring halfway through.  It’s ok if some of the peppers go a little black around the edges.  It adds to the roasted flavour.

Place everything, garlic skins included, into a blender.

Tip: If you are doing this while it is still hot, ensure the jug on your blender is heat proof, that the jug is not over-full (do in batches if needed) and that the removable centre section of the lid is removed.  Before you start blending, place the lid (with the hole in the top) firmly on the jug, then loosely hold a tea towel folded into a square over the hole.  Doing this will ensure that steam can escape and that your hot sauce doesn’t burst out of the blender.

Place a fine sieve over a bowl and pour in the sauce from the blender.  Do this in small batches and, using a spoon, stir the sauce so that it can go through the sieve, leaving behind only the tiny pieces of garlic and pepper skins. Keep doing this until you have sieved the entire sauce and you cannot push any more pulp through the sieve.  The sauce in the bowl should be quite thick and velvety.

Roasted sweet pepper sauce | Stages of cooking

Optional: Use a bit of chicken or vegetable stock to ‘wash out’ the blender jug and get every drop of this delicious roasted sweet pepper sauce into your bowl.

The sauce is now ready for you to use or refrigerate/freeze for later use.

Gloriously simple, Gloriously Low-Fat, Gloriously Low-Cal, Gloriously Reflux-Friendly, Gloriously Good!

*Please note I am not a doctor, speech therapist or in any way medically qualified.  The recipes are a combination of my interpretation of the rules outlined in the ‘Dropping Acid – The Reflux Diet’ book and ingredients that work for my reflux.  If you believe you suffer from reflux, please seek advice from a medical professional to confirm your diagnosis and work out the best course of treatment/management for you.  I hope that my recipes can help you as part of this management.  The recipes are, by their nature, very low in fat, so are also suitable for anyone wishing to follow a low-fat diet. 


Advertisement

Sugo al Pomodoro | Basic Tomato Sauce

How to make a basic Italian tomato sauce

This basic tomato sauce can be used as a base for many pasta sauces or for pizza

Sugo al Pomodoro | Salsa al Pomodoro | Basic Tomato Sauce


Ingredients (adjust quantities depending on how much sauce you need – I often make it in big batches, then freeze portions)

  • Onion
  • Celery
  • Carrot
  • Olive oil
  • Chopped tomatoes or Passata
  • (if using for pizza, you can also add some oregano and garlic)

Method

First, make the soffritto:

Very finely chop the onion(s), celery and carrot(s) – I use an electric chopper to get them really fine.  Roughly you are aiming for 1 carrot and 1-2 celery stalks per 1 onion and 500ml of tomatoes, but it also depends on how much ‘texture’ you want your sauce to have.

Fry up the finely-chopped onion, celery & carrot in abundant olive oil on a low heat so that they soften.  Make sure they don’t burn.  This will take about 5-10 mins, depending on quantities.

Note: if you were using garlic (this does not form part of the traditional Italian ‘soffritto’), you would also finely chop this and fry it up along with the carrots, onion and celery.

Add the tomatoes / passata and season with salt.

Cover and simmer on a low heat for 1.5 – 2 hours.

If you’re going to use this for pizza, you could stir in some oregano at the end of the cooking time.

Use as required, freeze what you don’t use.


Sugo al Pomodoro | Gloriously Simple, Gloriously Good!

Béchamel Sauce | White Sauce

Béchamel Sauce

This is such an essential ingredient in many dishes, yet people are often scared to make it in case it goes wrong.  Here’s the thing: Yes, it can go wrong and, until you’ve done it a few times, is likely to go wrong on you on a number of occasions (it certainly did for me!), but it’s through those times when it goes wrong that you learn how to correct it and what mistakes not to repeat.

I will create a video recipe for this asap, but in the meantime wanted to post the basic recipe as I am using it in my Indulgent Fish Pie.

For enough Béchamel for a Fish Pie for 6 people, you will need: 

  • 30g butter
  • 750ml semi-skimmed milk (for a richer, less health-conscious and more indulgent sauce, you can use a mixture of milk and single or even double cream, or use whole milk instead of semi-skimmed)
  • 4tbsp plain white flour
  • salt to taste
  • (with the exception of Béchamel for Fish Pie, I usually also add a little bit of freshly-grated nutmeg)
  1. Melt the butter in a saucepan, add the flour & mix well over a low heat so you end up with a roux (a soft dough-like ball of flour & butter).
  2. Take off the heat and add a tiny bit of milk (traditionalists would say to always pre-heat the milk, though I’ve found that it works equally well with cold milk), mix this into the roux and only add a bit more milk at a time once the previous milk has been fully amalgamated into the roux.
  3. Gradually as you keep doing this, you will find that the roux starts to become more of a paste and then gradually begin to resemble a sauce.
  4. If you’re using cold milk, return the pan to a very low heat as soon as the roux becomes more of a paste, but ensure you stir continuously, even while adding more milk.  This is the key – do not stop stirring!
  5. (Tip: If the sauce goes lumpy at this stage, stop adding milk and keep stirring over a low heat until it has thickened to a homogenous paste again, then start adding milk a tiny bit at a time again.)
  6. As soon as the mix is thin and ‘sauce-like’ enough to do so, start using a whisk instead of a wooden spoon/spatula to stir, as this will reduce the chances of lumps, but make sure you stir continuously and that you’re not whisking/beating the sauce but rather using the whisk in controlled movements, ensuring you constantly move the entire saucepan contents, especially paying attention to the base, so that no sauce has a chance to thicken up more at the bottom, thus forming lumps.
  7. Once you have added all the milk, keep stirring continuously and, as the mixture heats up, you will find it starts to thicken. 
  8. Add salt to taste, and nutmeg (unless you’re using the Béchamel for a fish pie)

These quantities will give you a rich, velvety Béchamel that is quite thick.  For thinner Béchamel, use less flour & butter (or more milk if you need more sauce), for thicker Béchamel, use more flour & butter.

For more recipes, tips & general foodie stuff, go to www.gloriouslygoodfood.com