 wp-gloriouslygoodfoodcom
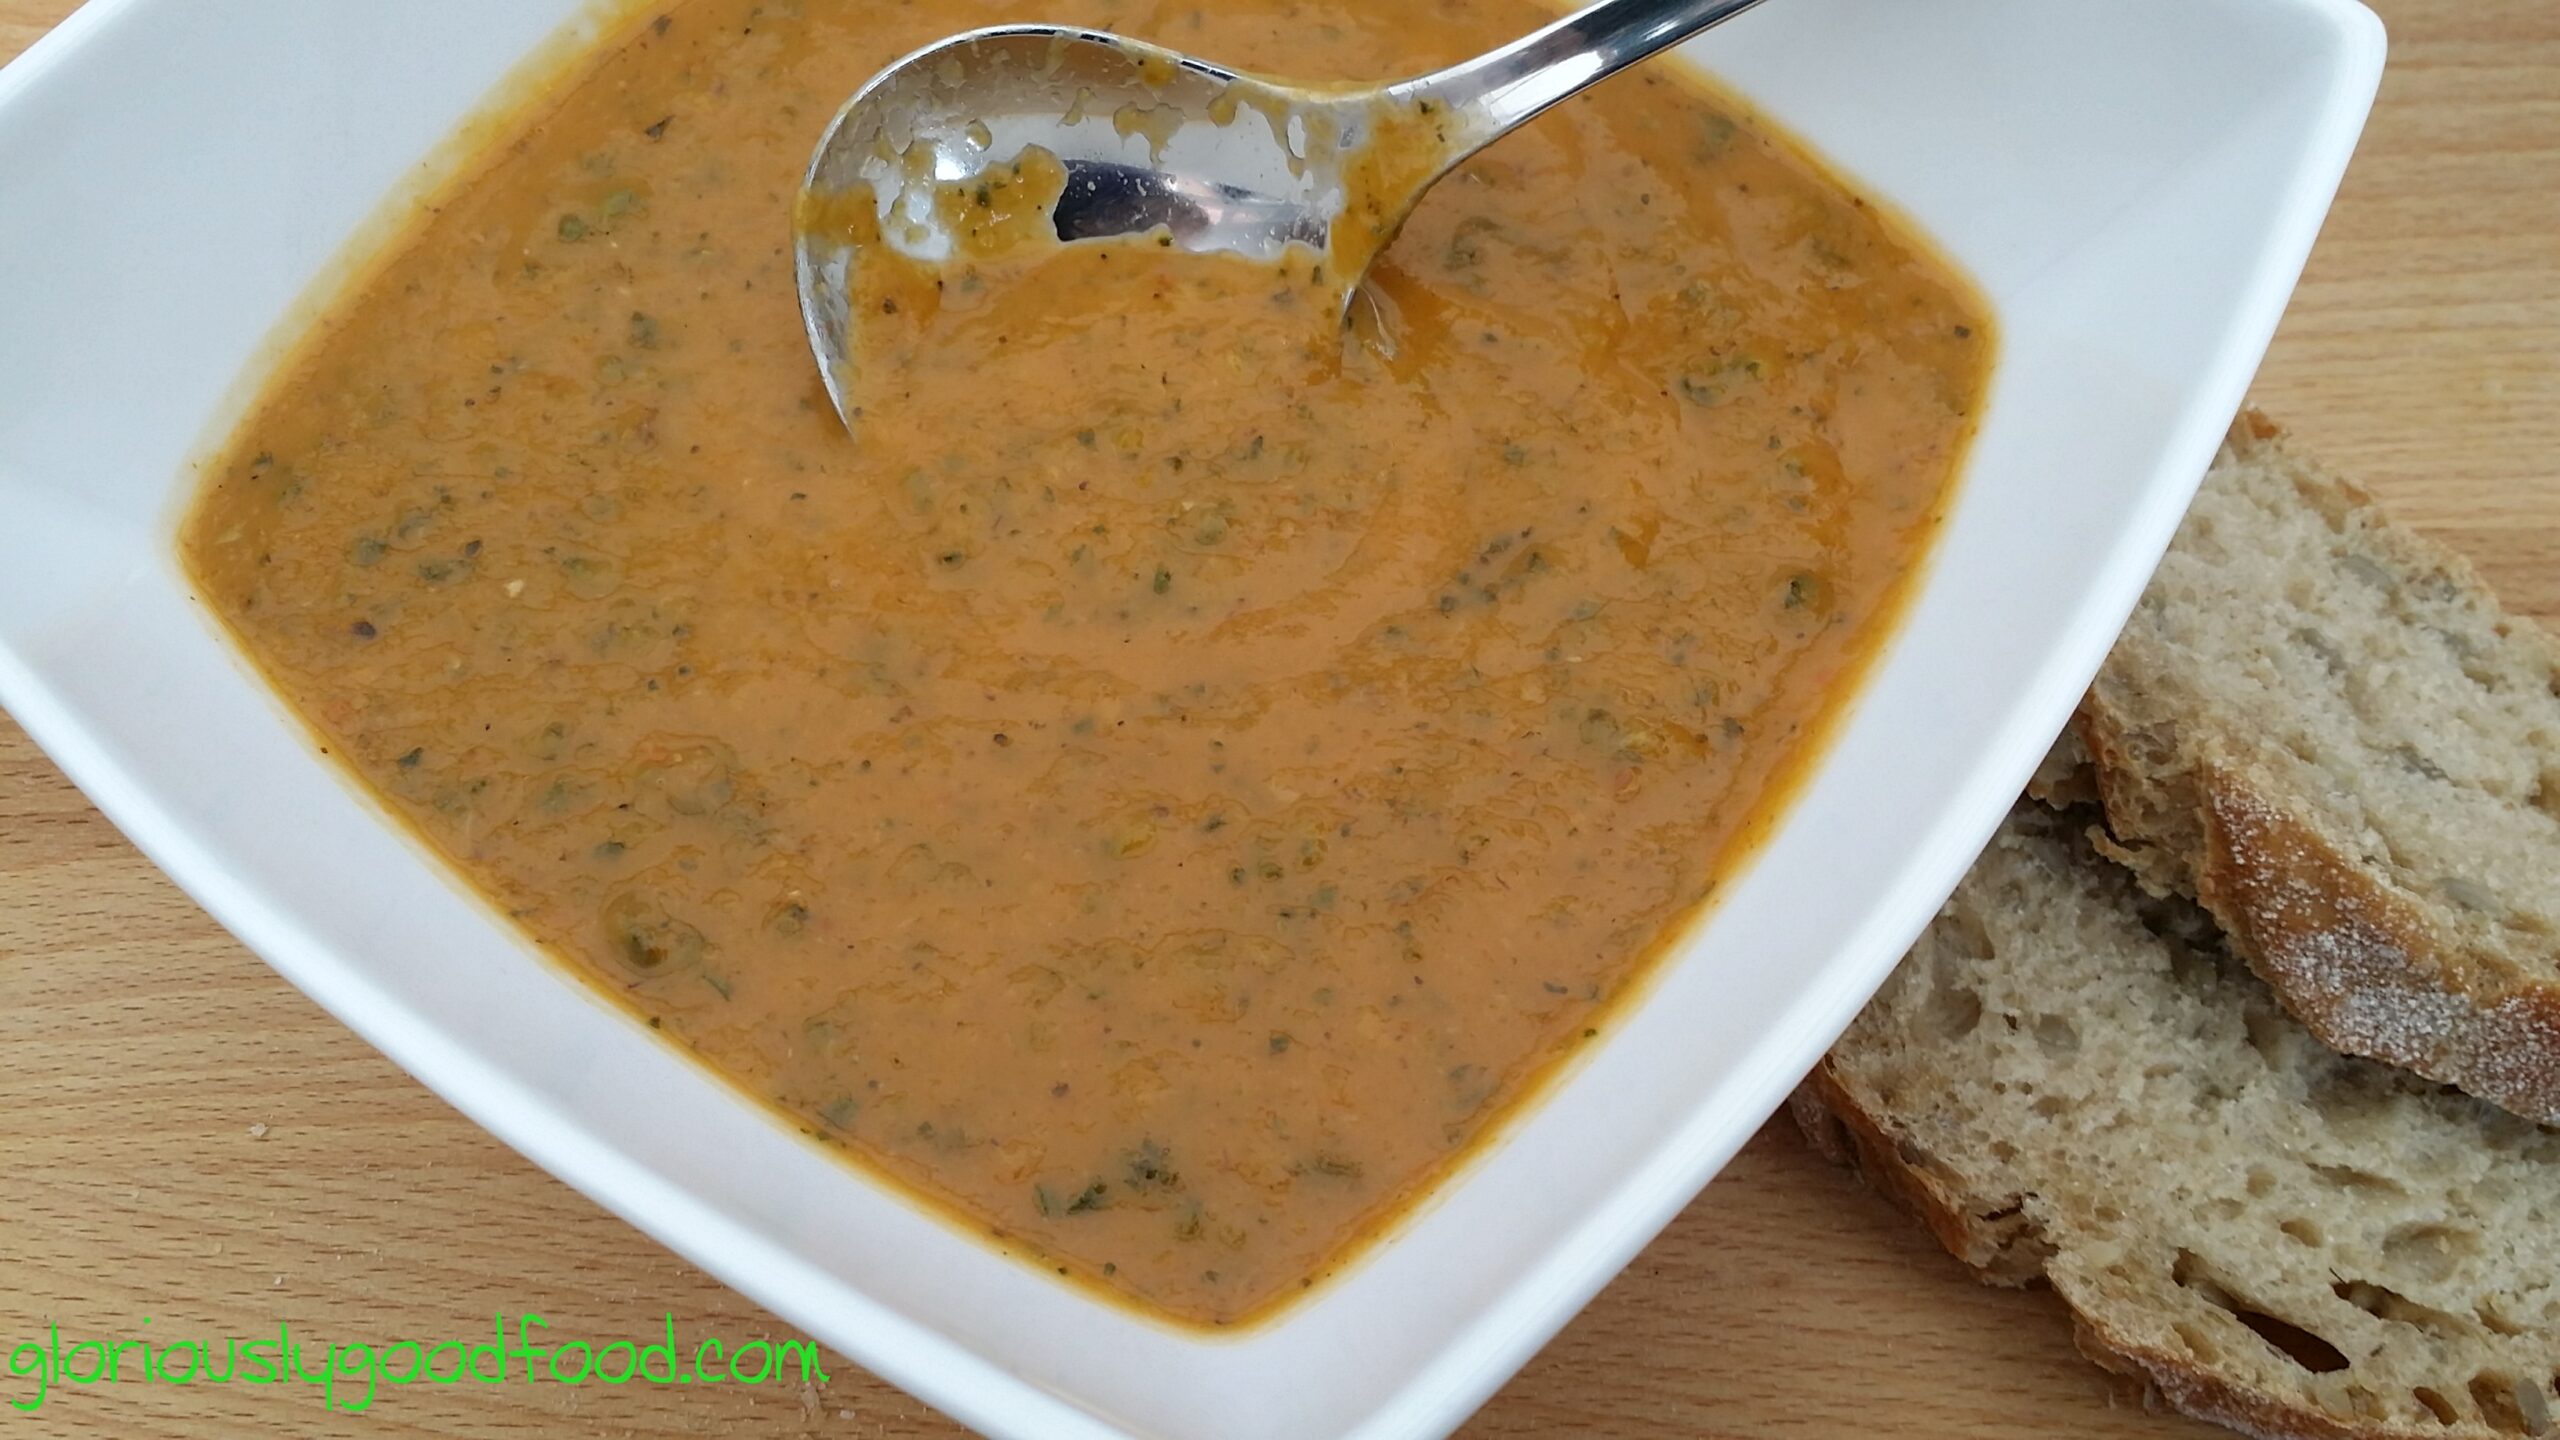
I had the idea for this roasted courgette and sweet pepper soup when I made the roasted sweet pepper sauce. …
Simple Homecooked Recipes by Frederika Roberts
Simple Homecooked Recipes by Frederika Roberts
Simple Homecooked Recipes by Frederika Roberts
Simple Homecooked Recipes by Frederika Roberts
I had the idea for this roasted courgette and sweet pepper soup when I made the roasted sweet pepper sauce. …
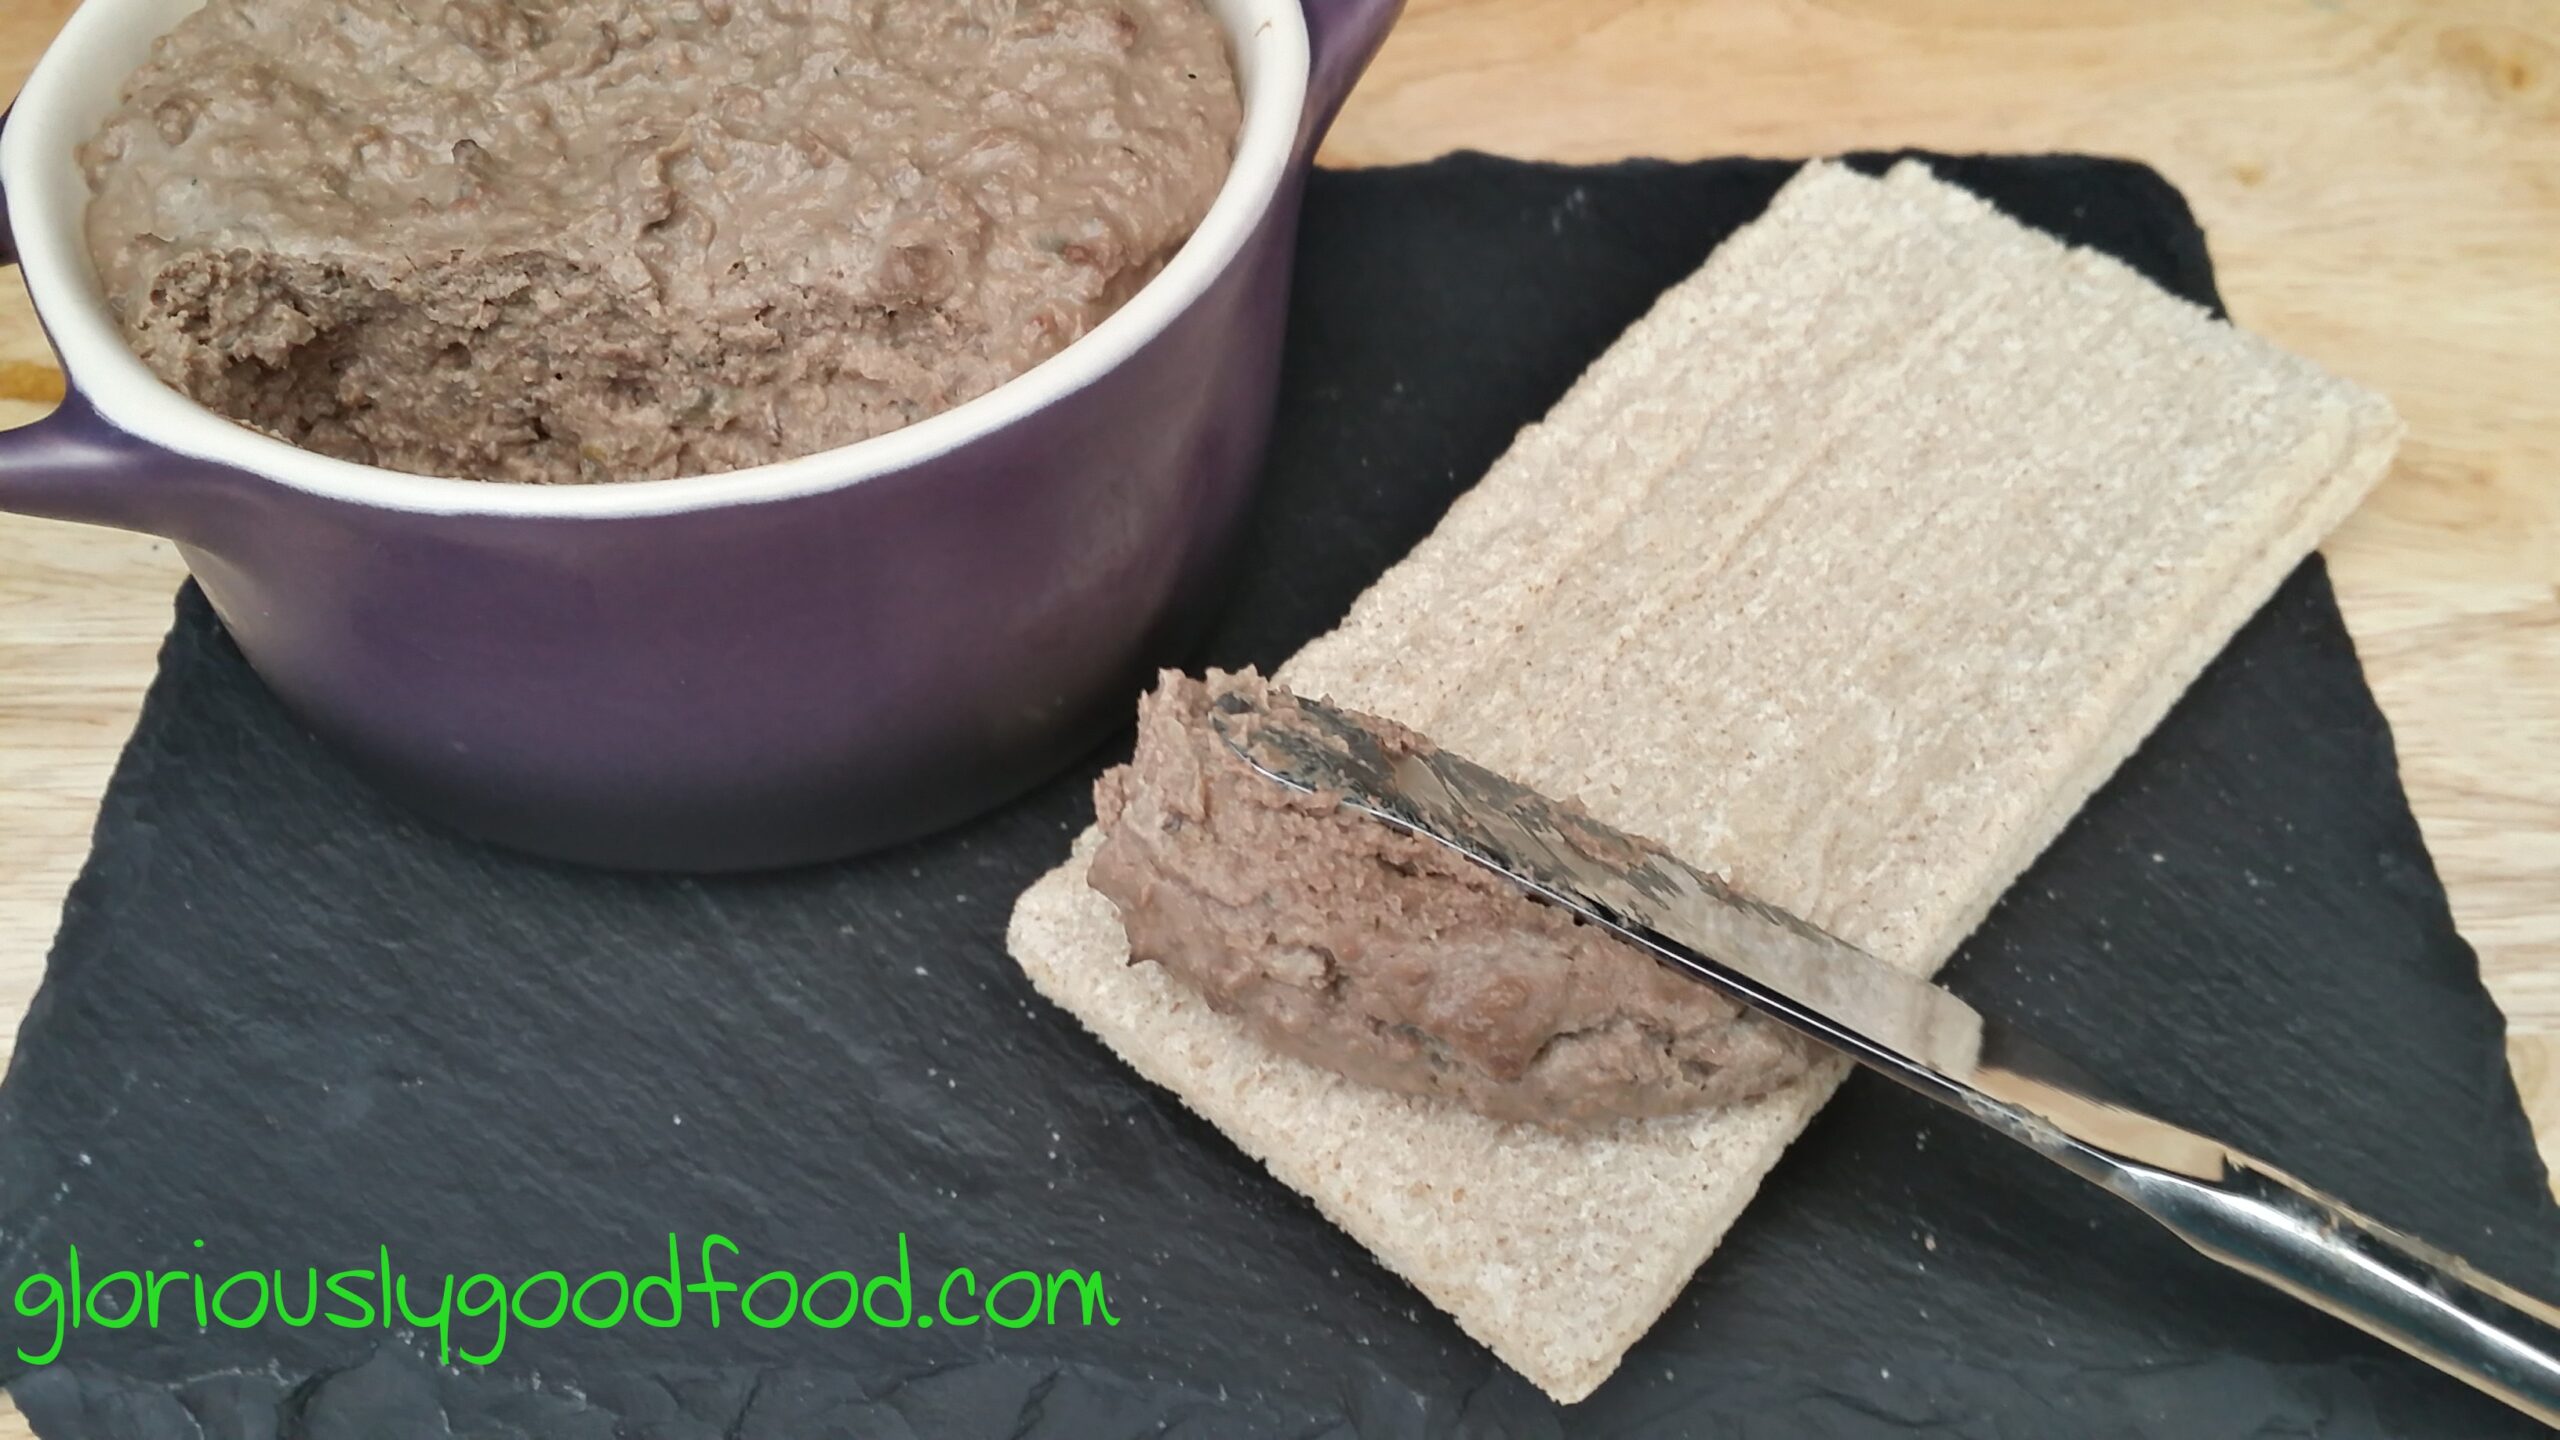
I love chicken liver pâté! I used to make it with tons of butter (including a thick butter ‘crust’) and port… …
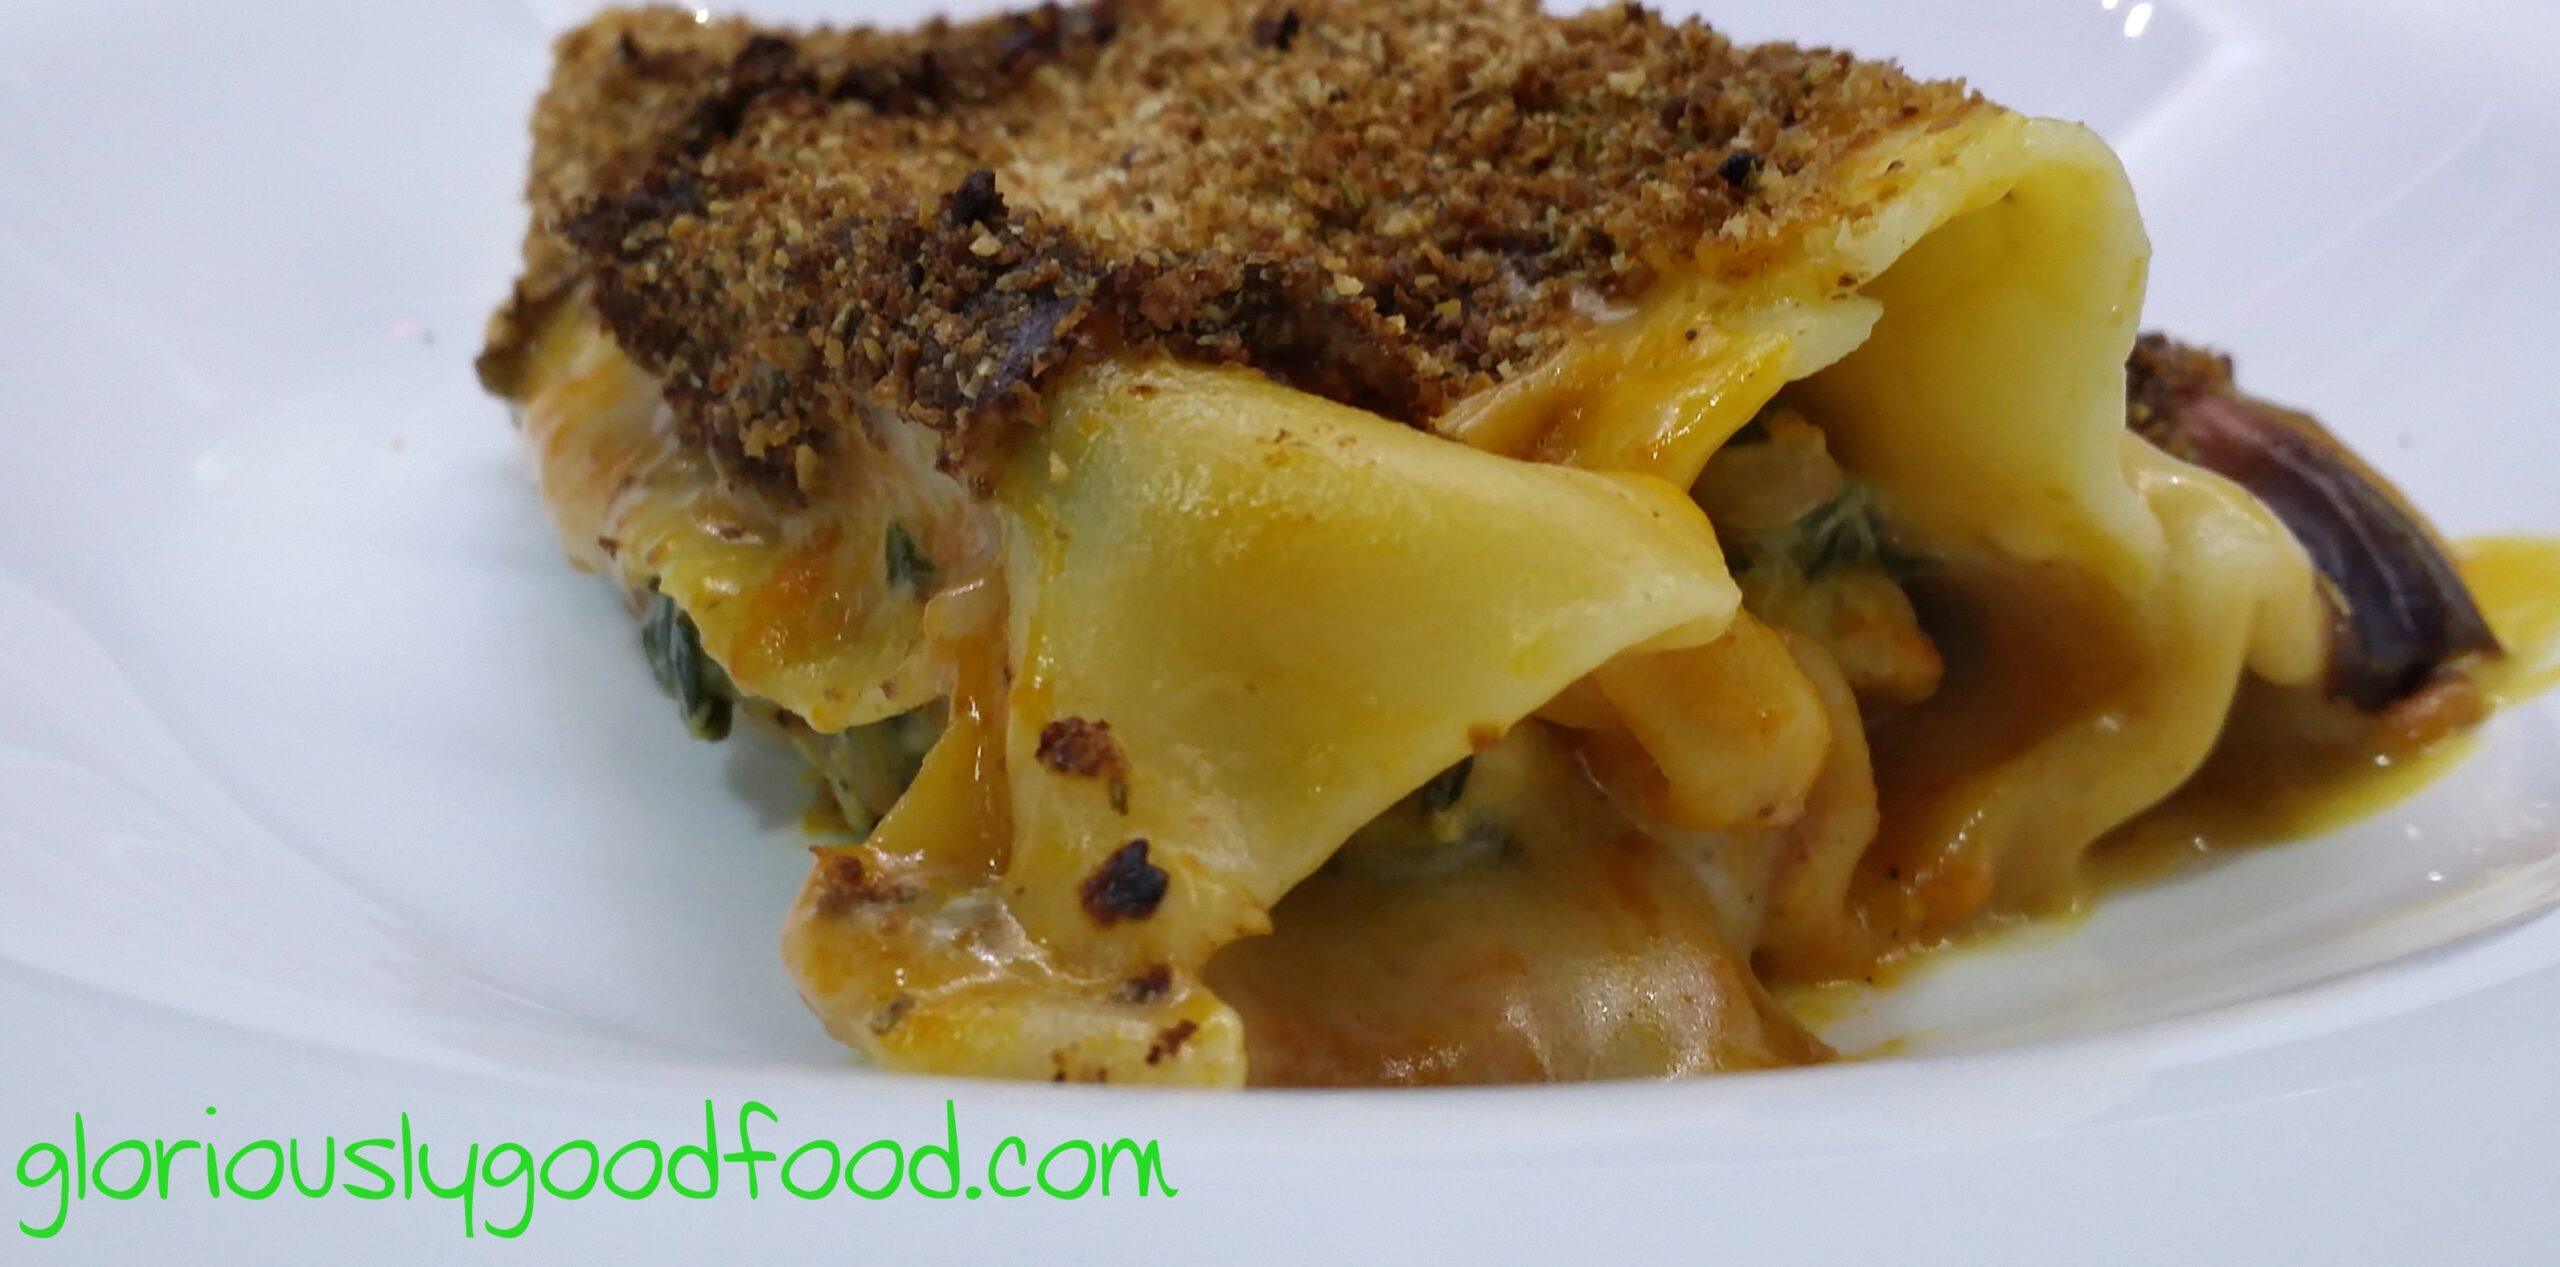
Cannelloni are a delicious way to enjoy pasta, with the filling taking centre stage! This is my low-fat, reflux-friendly* Chicken, …
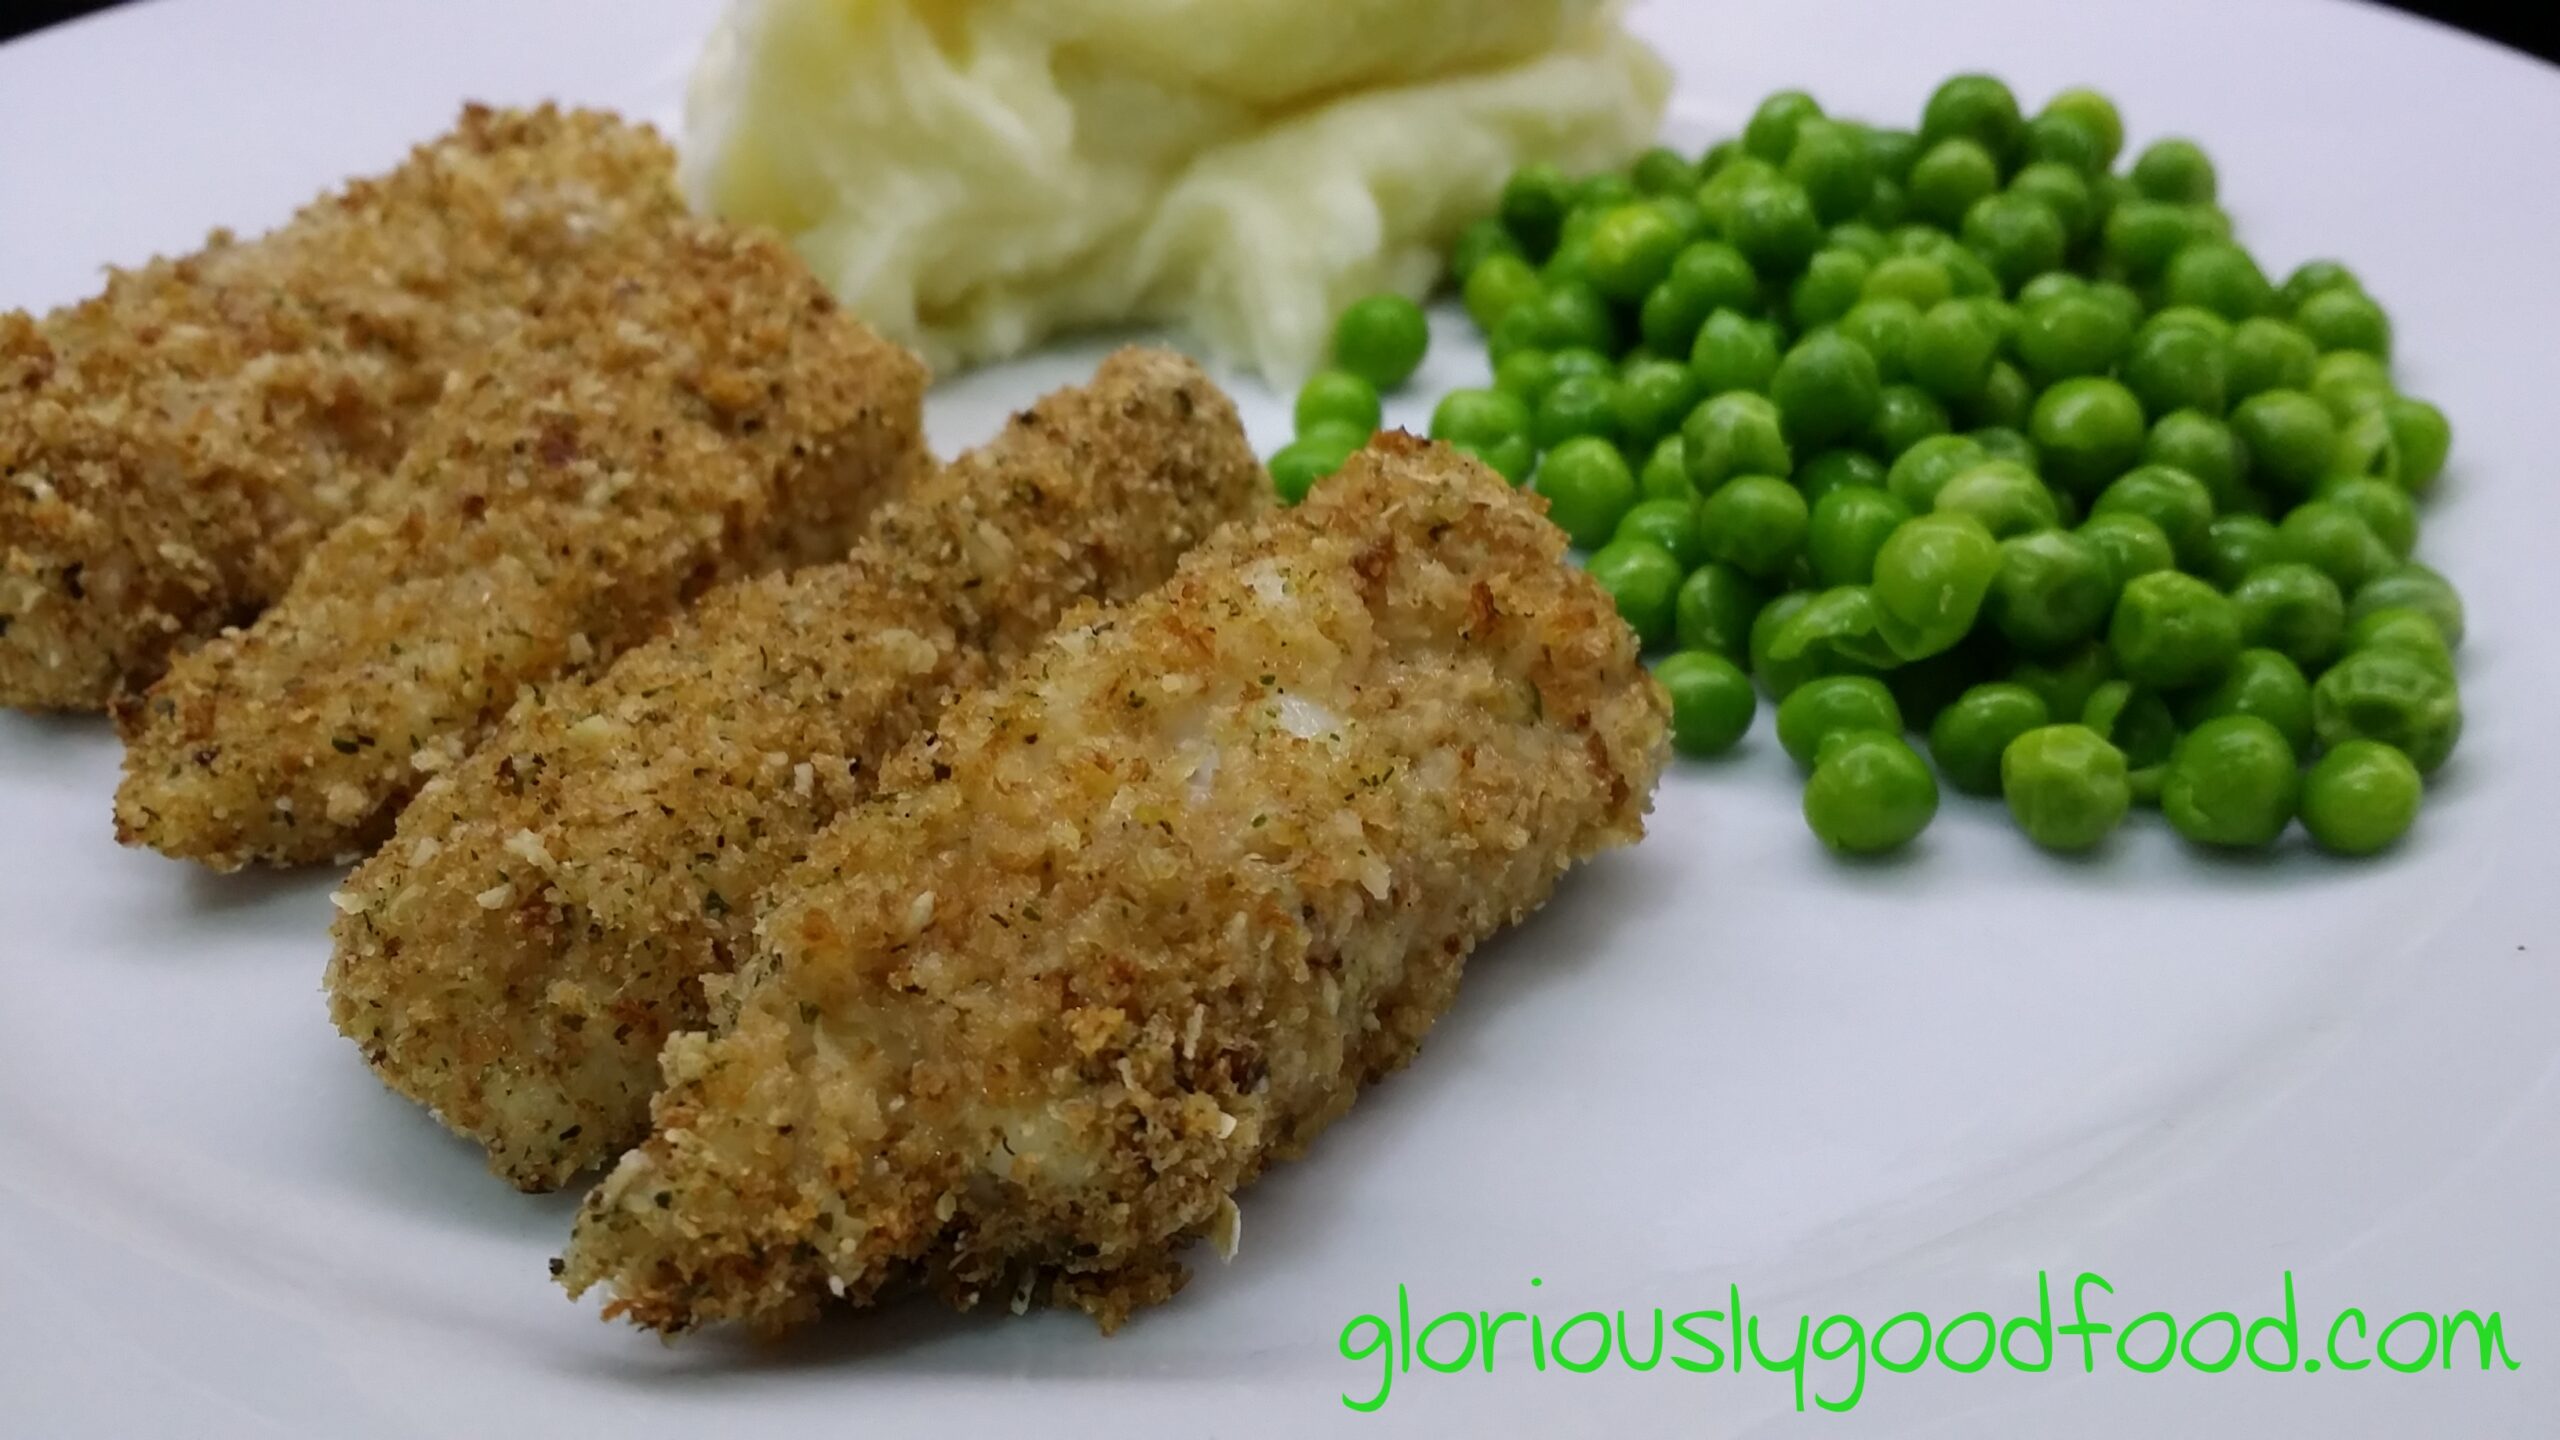
This is a really quick and simple way to make healthy, low-fat and reflux-friendly* fish fingers This recipe makes approximately …
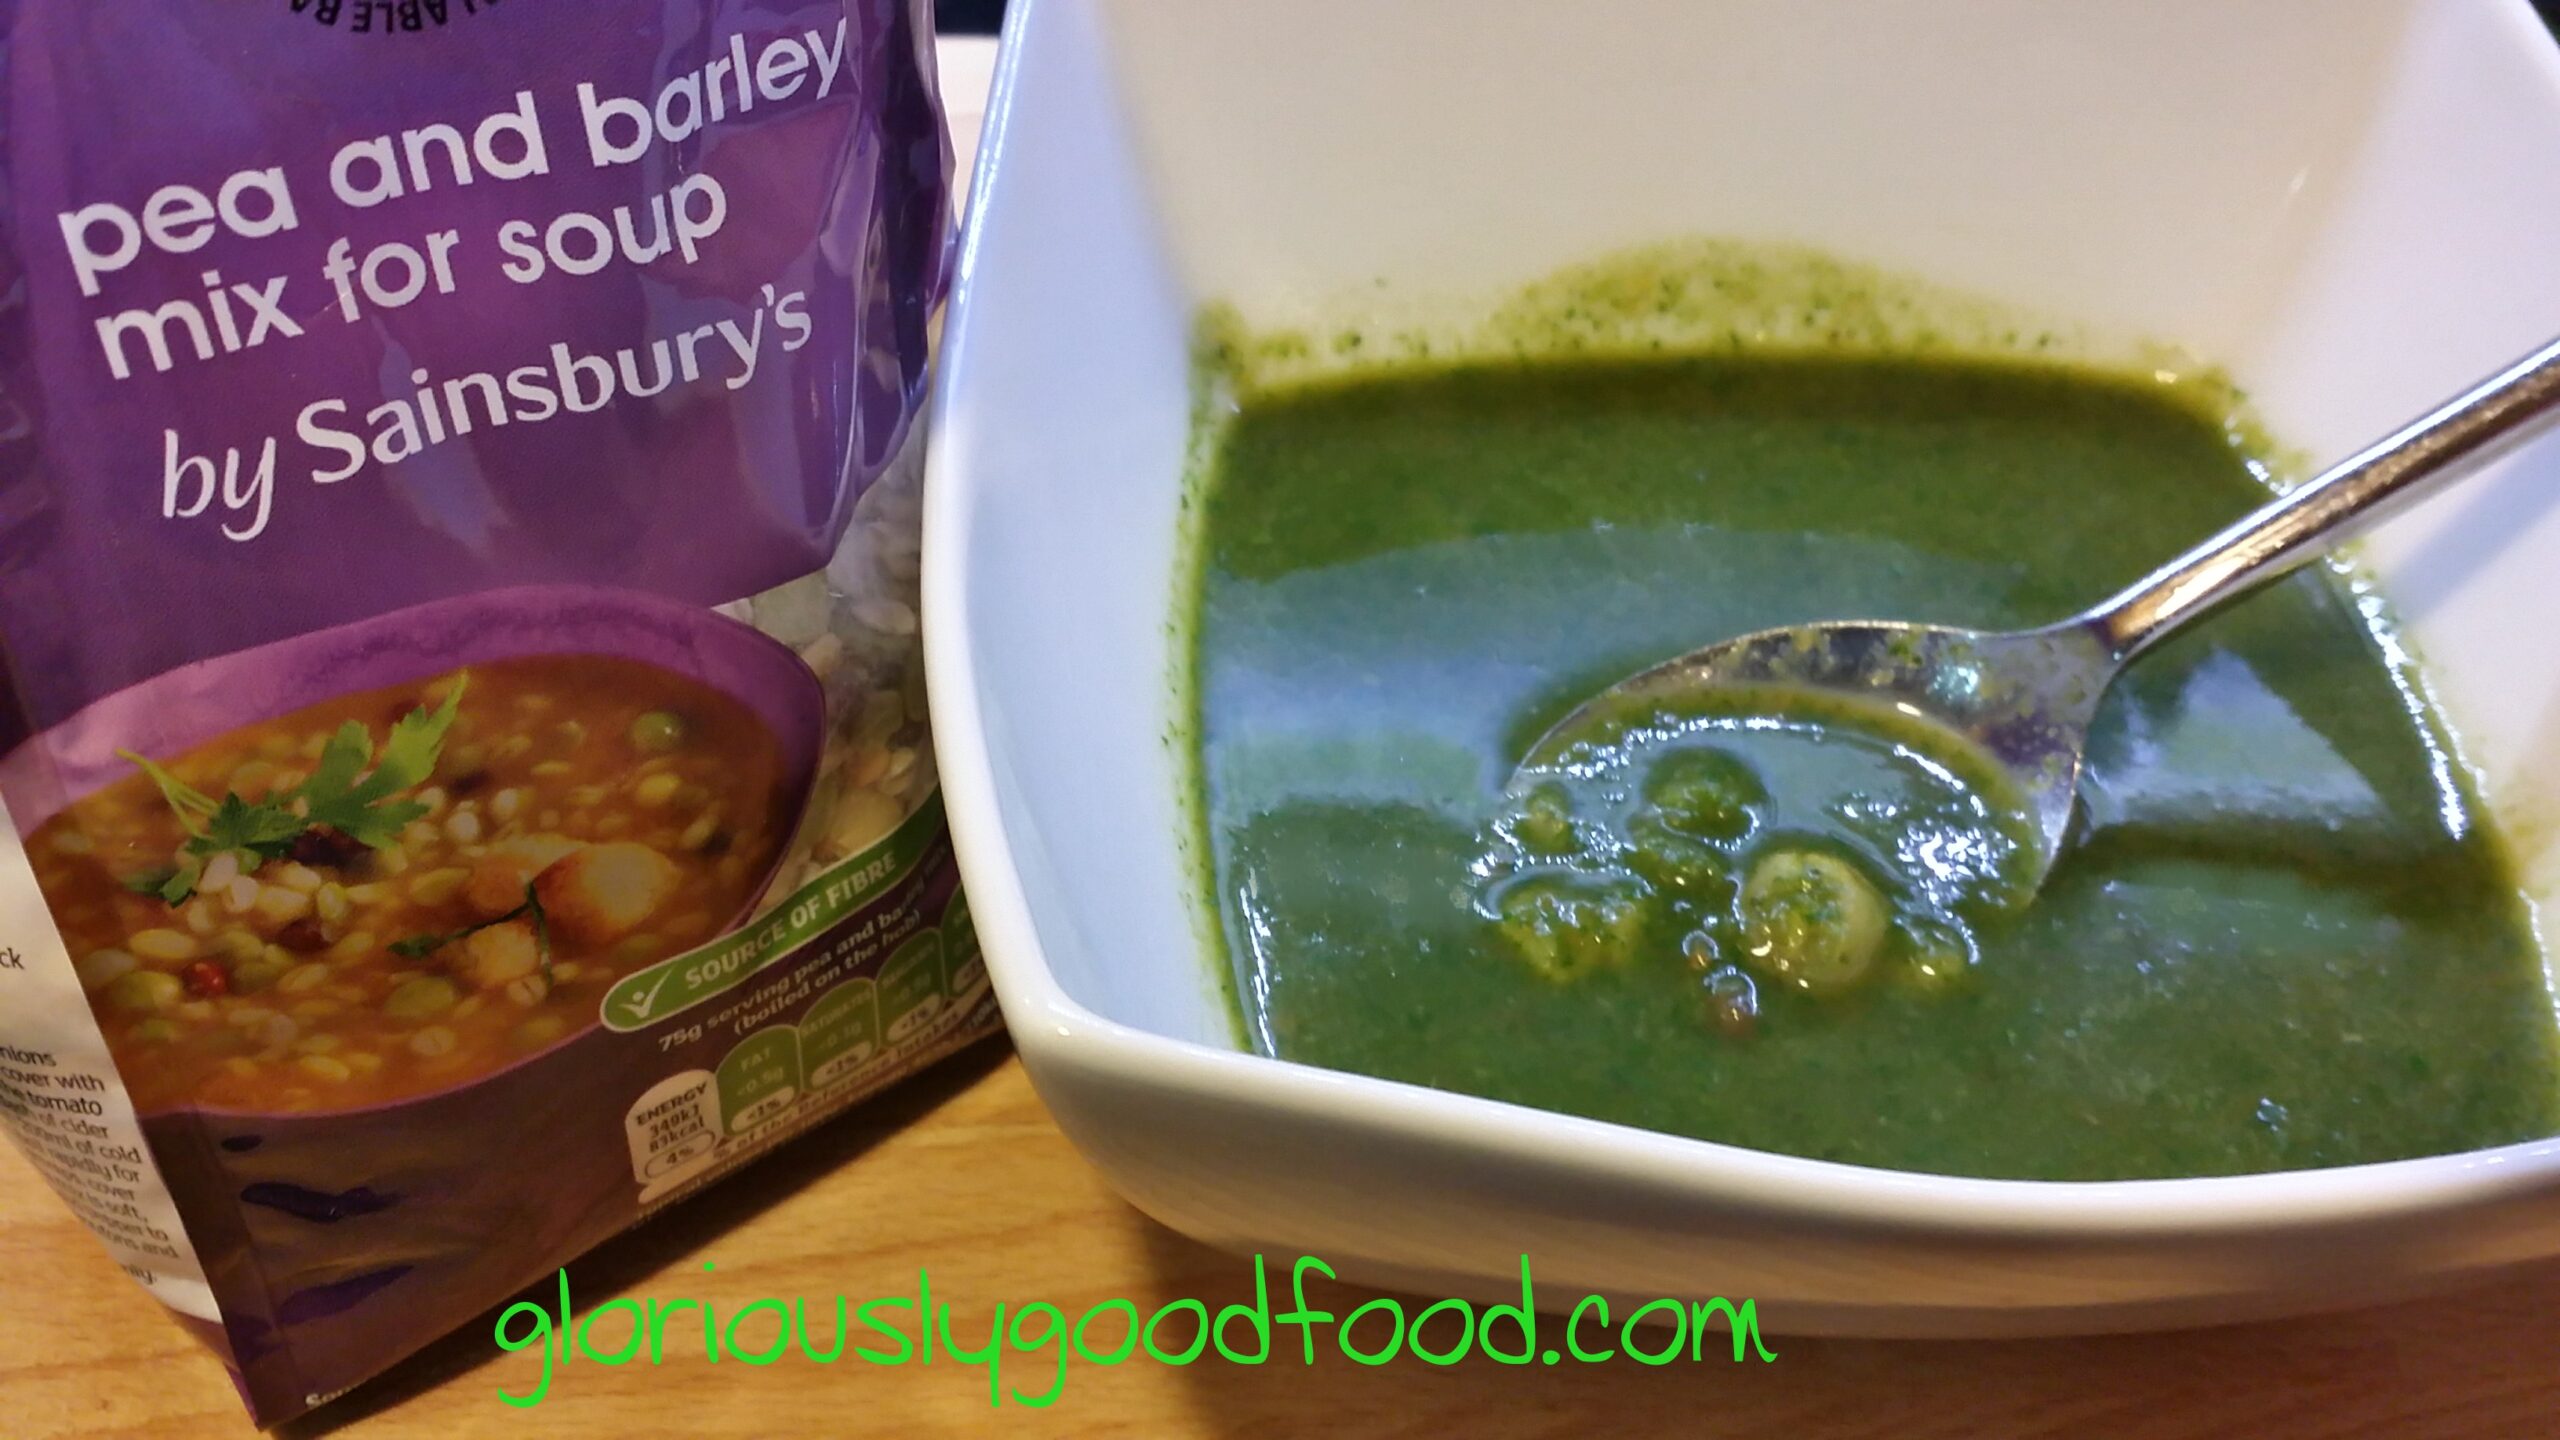
A Vegetable Soup packed with Nutrients! This is an easy no-fuss vegetable soup recipe that I love to make in …
Chicken Chowder (Updated recipe to make it suitable for Reflux sufferers*) This is a recipe inspired by the amazing ‘soup …
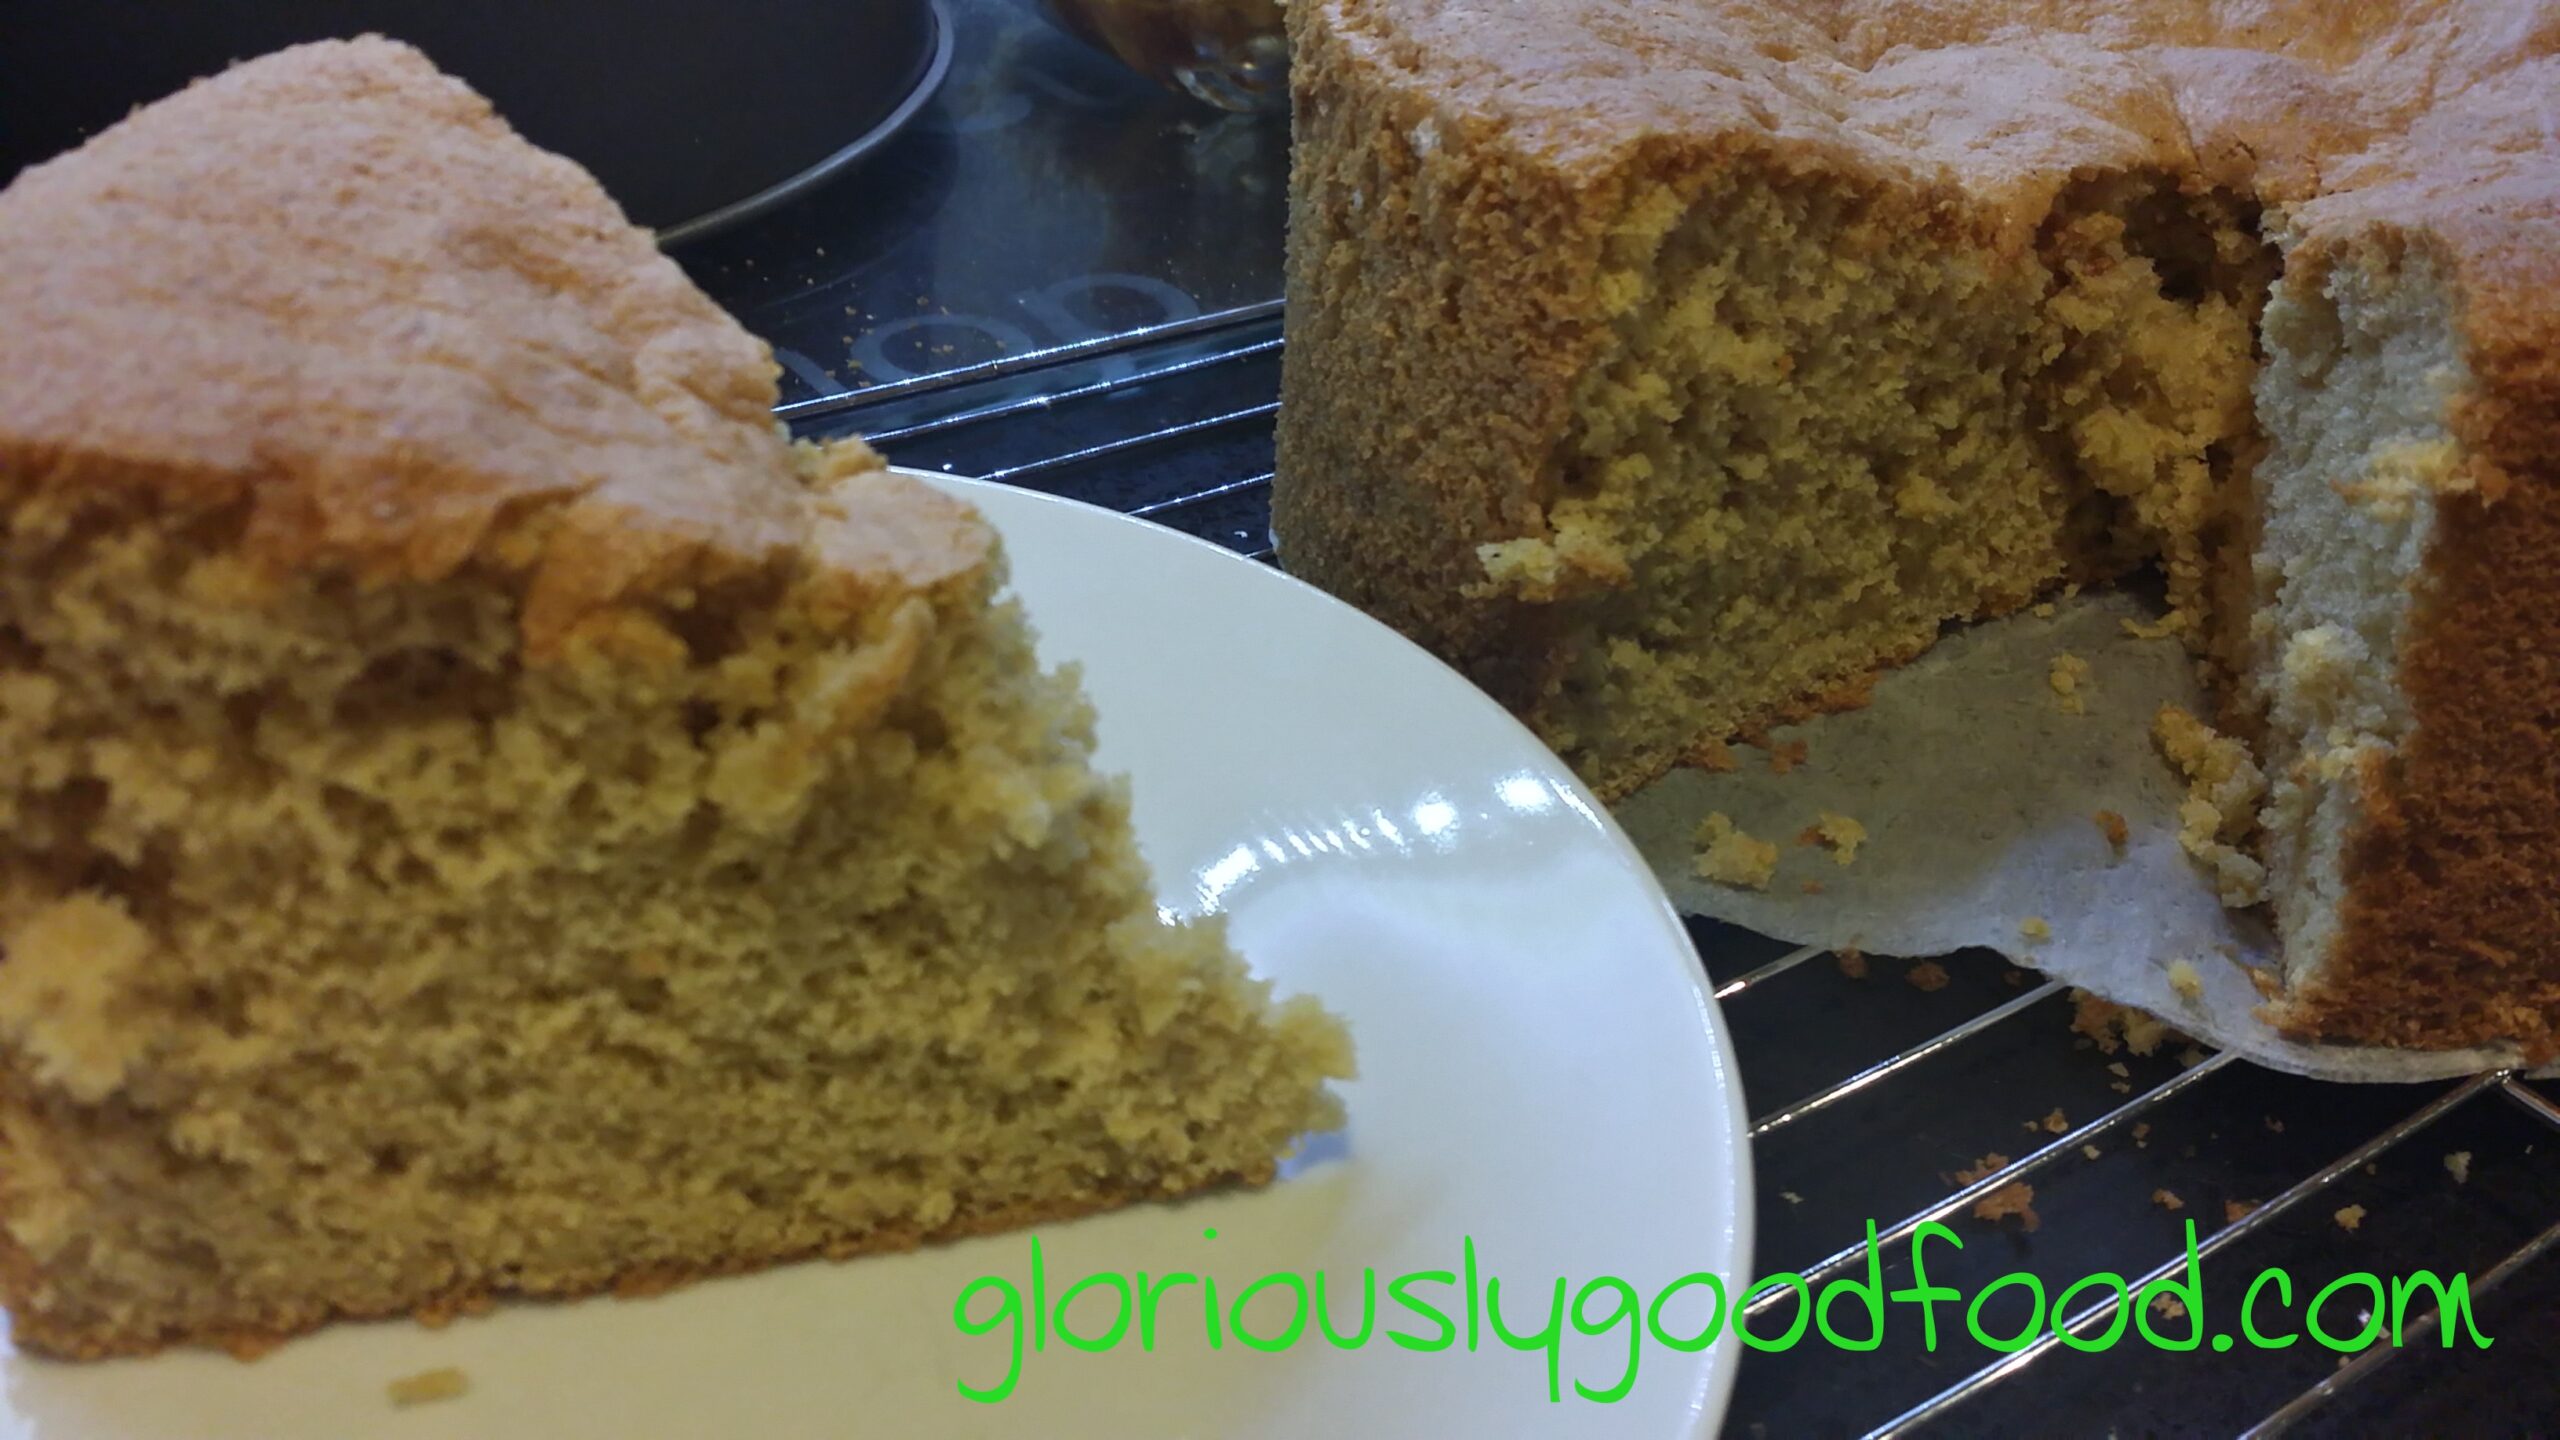
Low-fat, reflux-friendly (we only use lemon rind, not juice, so there is no acid to worry about) lemon cake with lemon icing. Scrumptious!
Low-fat, reflux-friendly porcini mushroom recipe.
This is my first reflux recipe* on here, but I promise it will be the first of many! I hope …