 wp-gloriouslygoodfoodcom
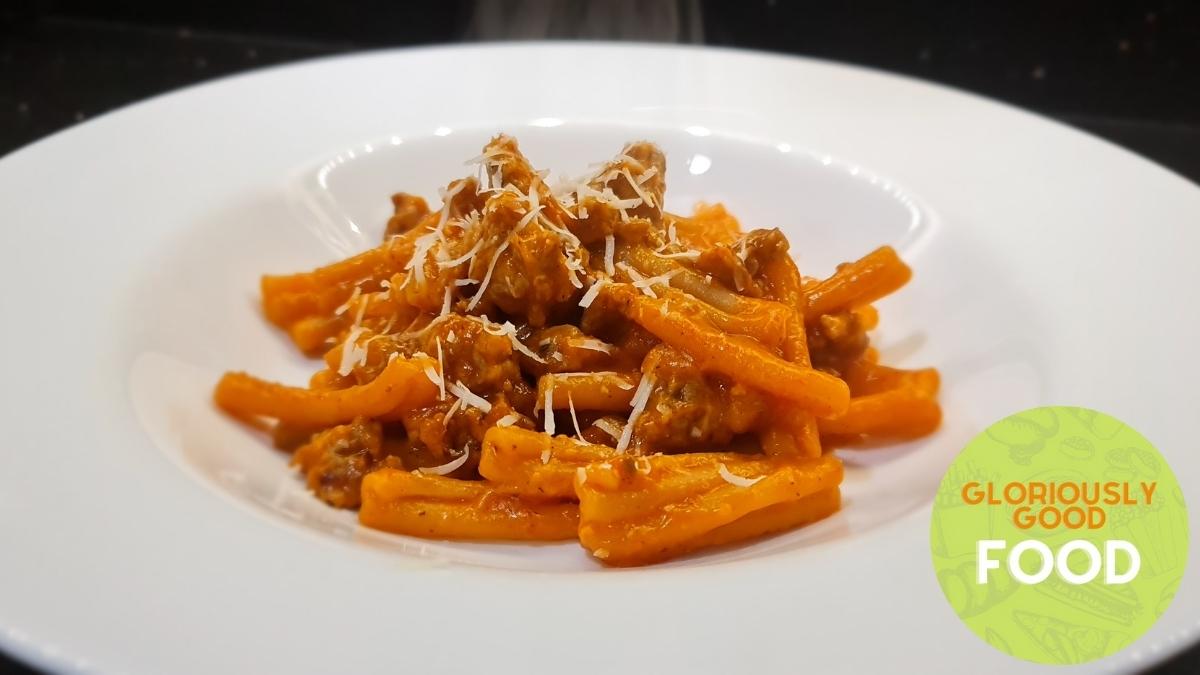
Fresh tomatoes are incredibly versatile and it is so quick and easy to make tasty pasta sauces with them, it’s …
Simple Homecooked Recipes by Frederika Roberts
Simple Homecooked Recipes by Frederika Roberts
Simple Homecooked Recipes by Frederika Roberts
Simple Homecooked Recipes by Frederika Roberts
Fresh tomatoes are incredibly versatile and it is so quick and easy to make tasty pasta sauces with them, it’s …
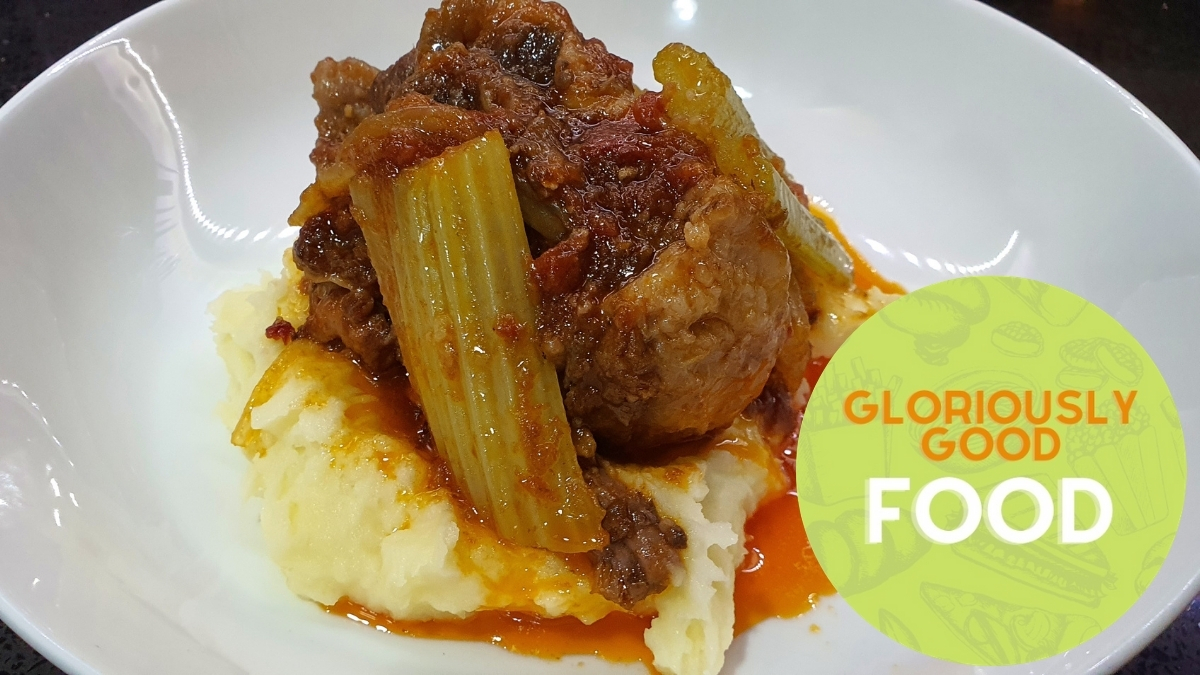
Coda alla vaccinara is a typical Roman dish. ‘Alla vaccinara’ (vaccinara-style) denotes that it is a dish done in the …
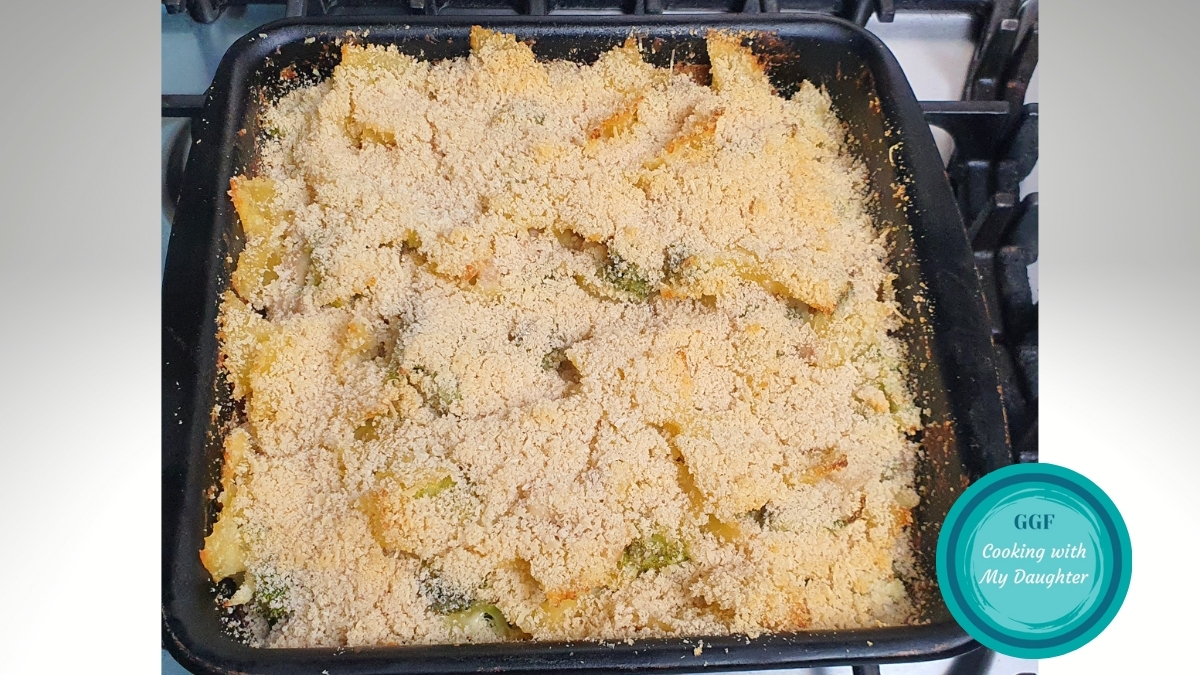
This is one of the recipes that Hannah created at uni and has cooked for the whole family since. It …
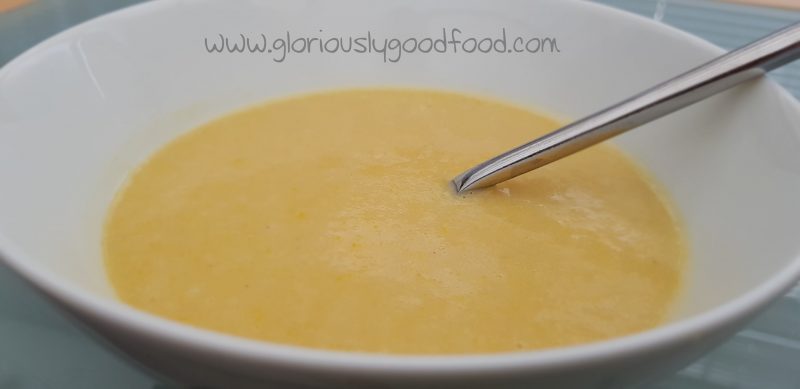
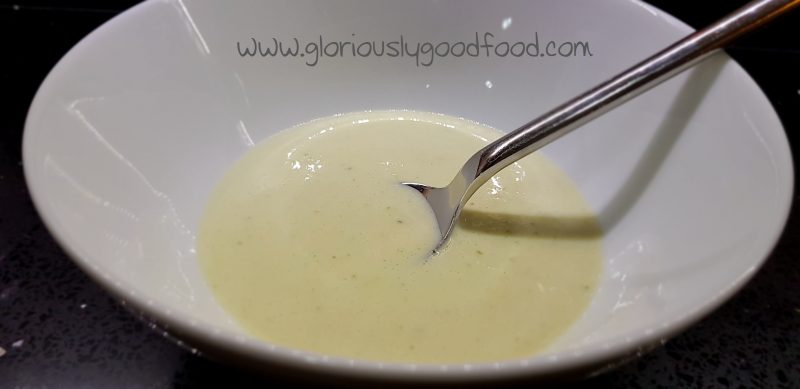
This indulgent, creamy-tasting soup is an even more low-fat adaptation of my reflux-friendly chicken and sweetcorn chowder, liquidised to be …
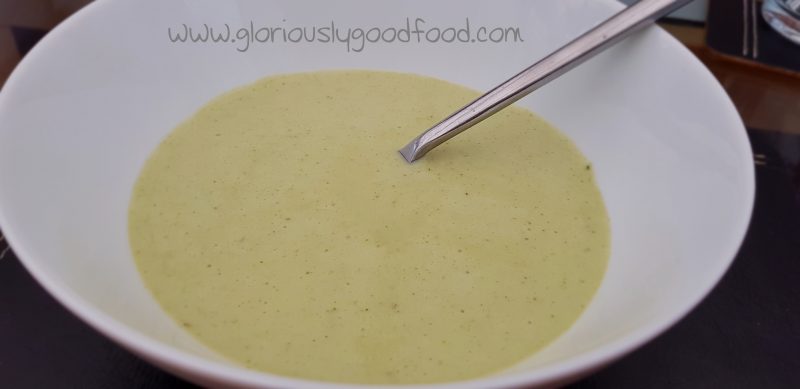
This soup is cheese-lovers’ heaven! So rich, indulgent and delicious, that the whole family can enjoy it, regardless whether they need to follow a liquid diet or not!
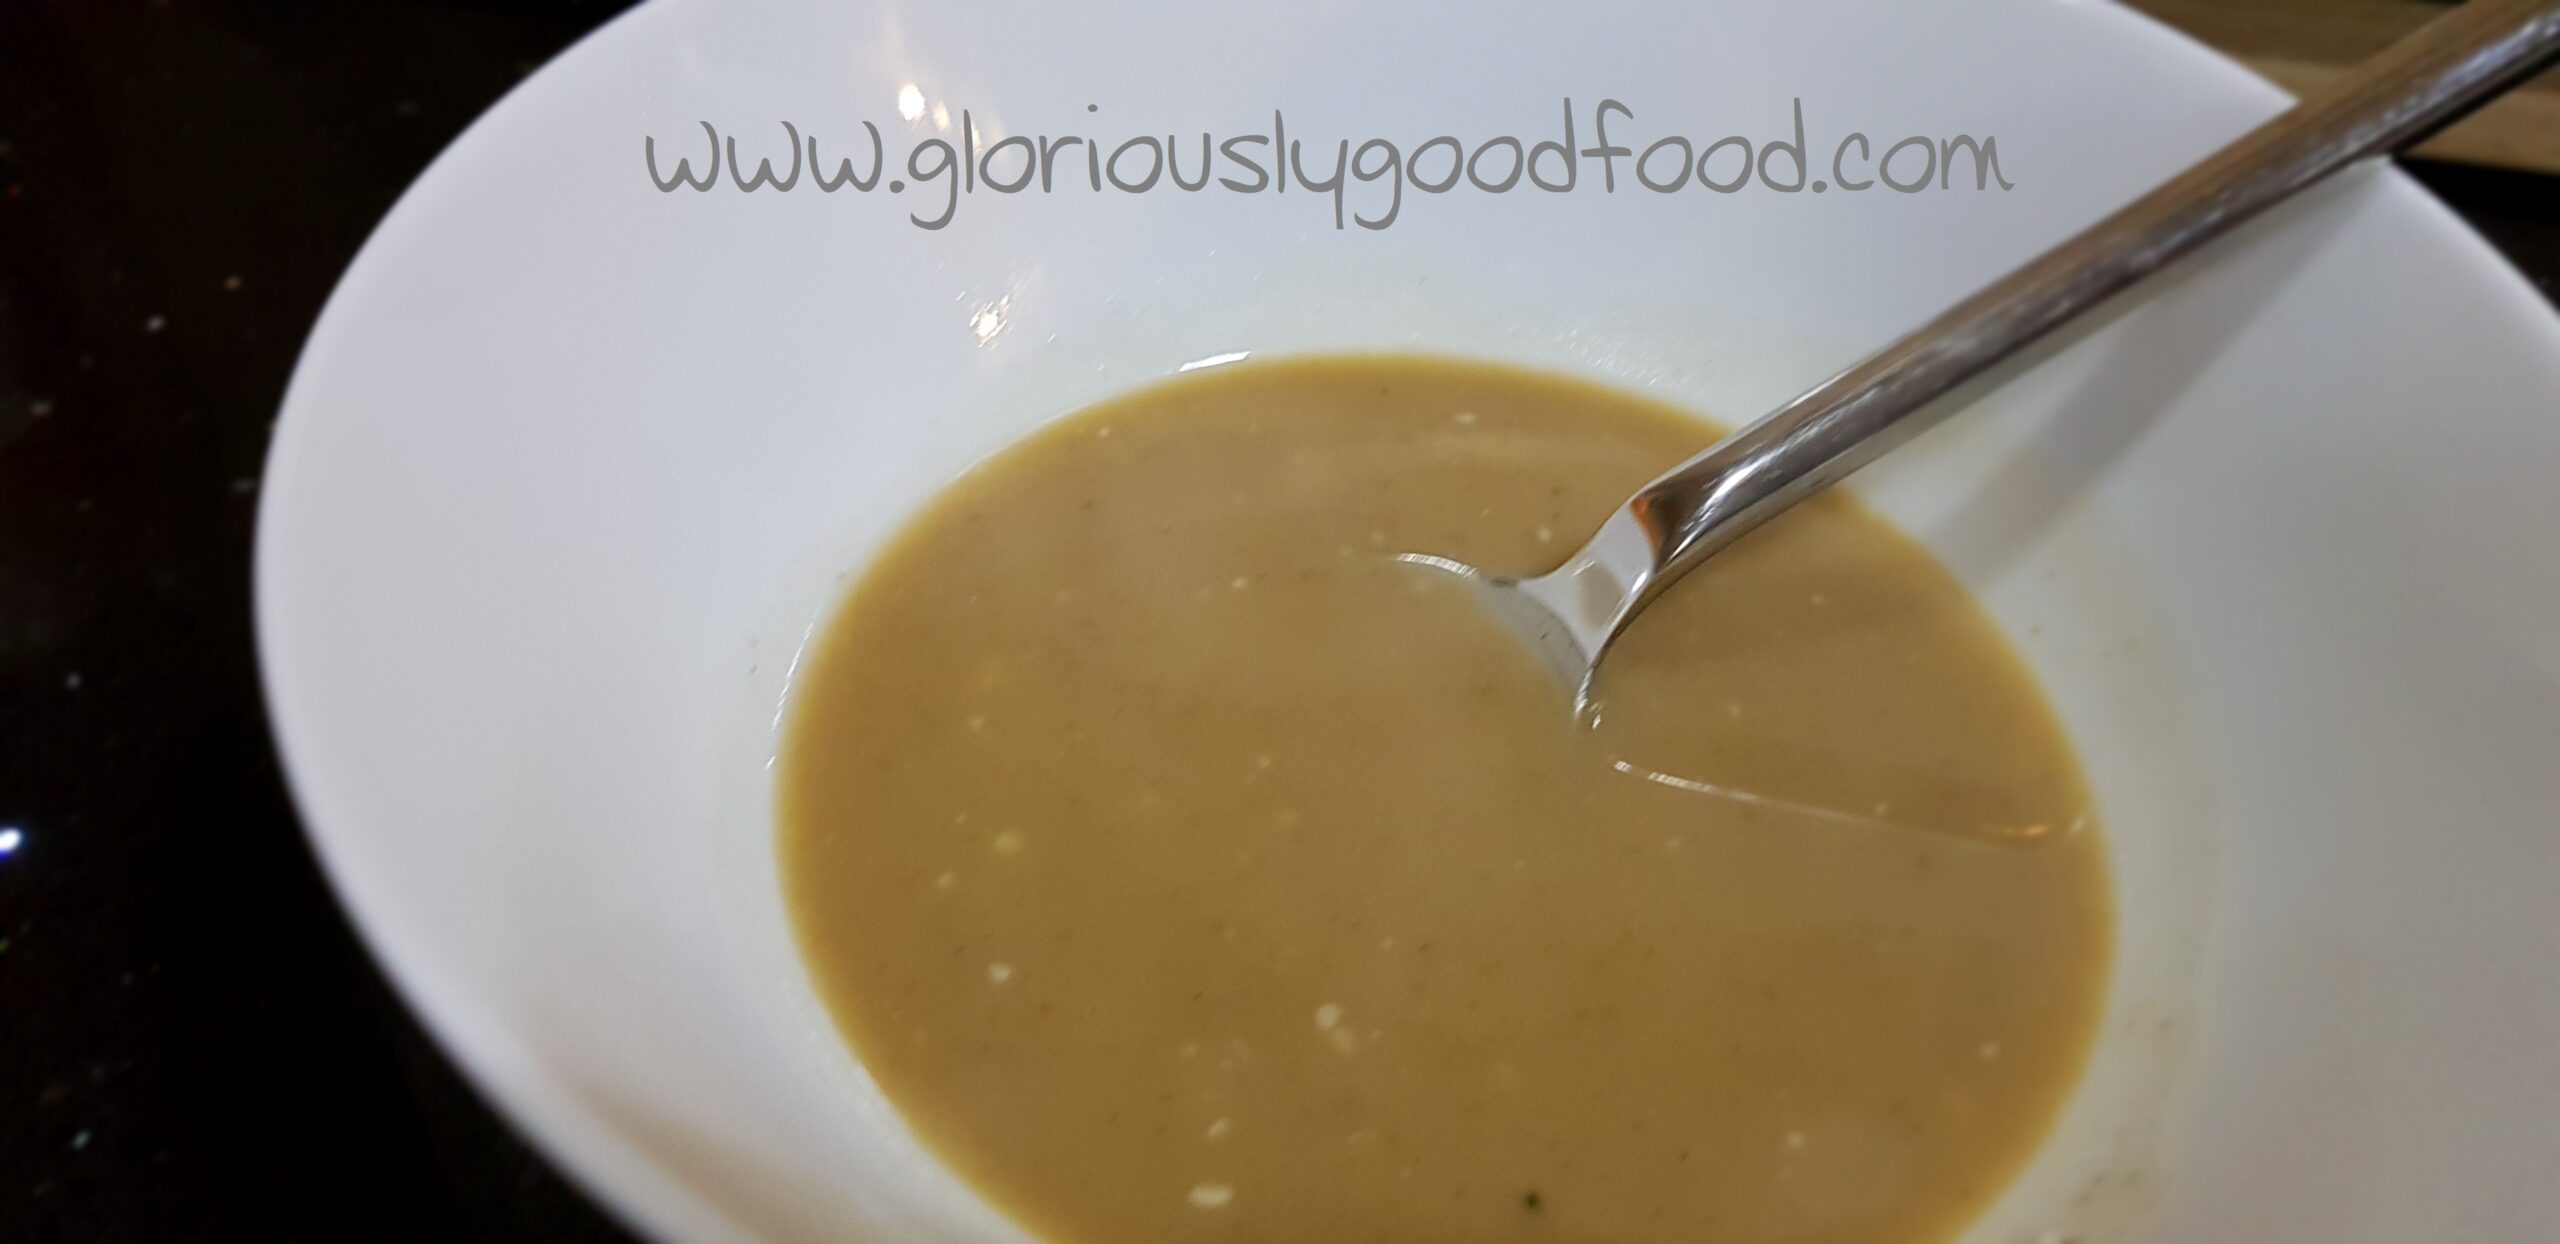
One of the ways I have kept things interesting during the post-bariatric surgery liquid diet is by using ingredients in …
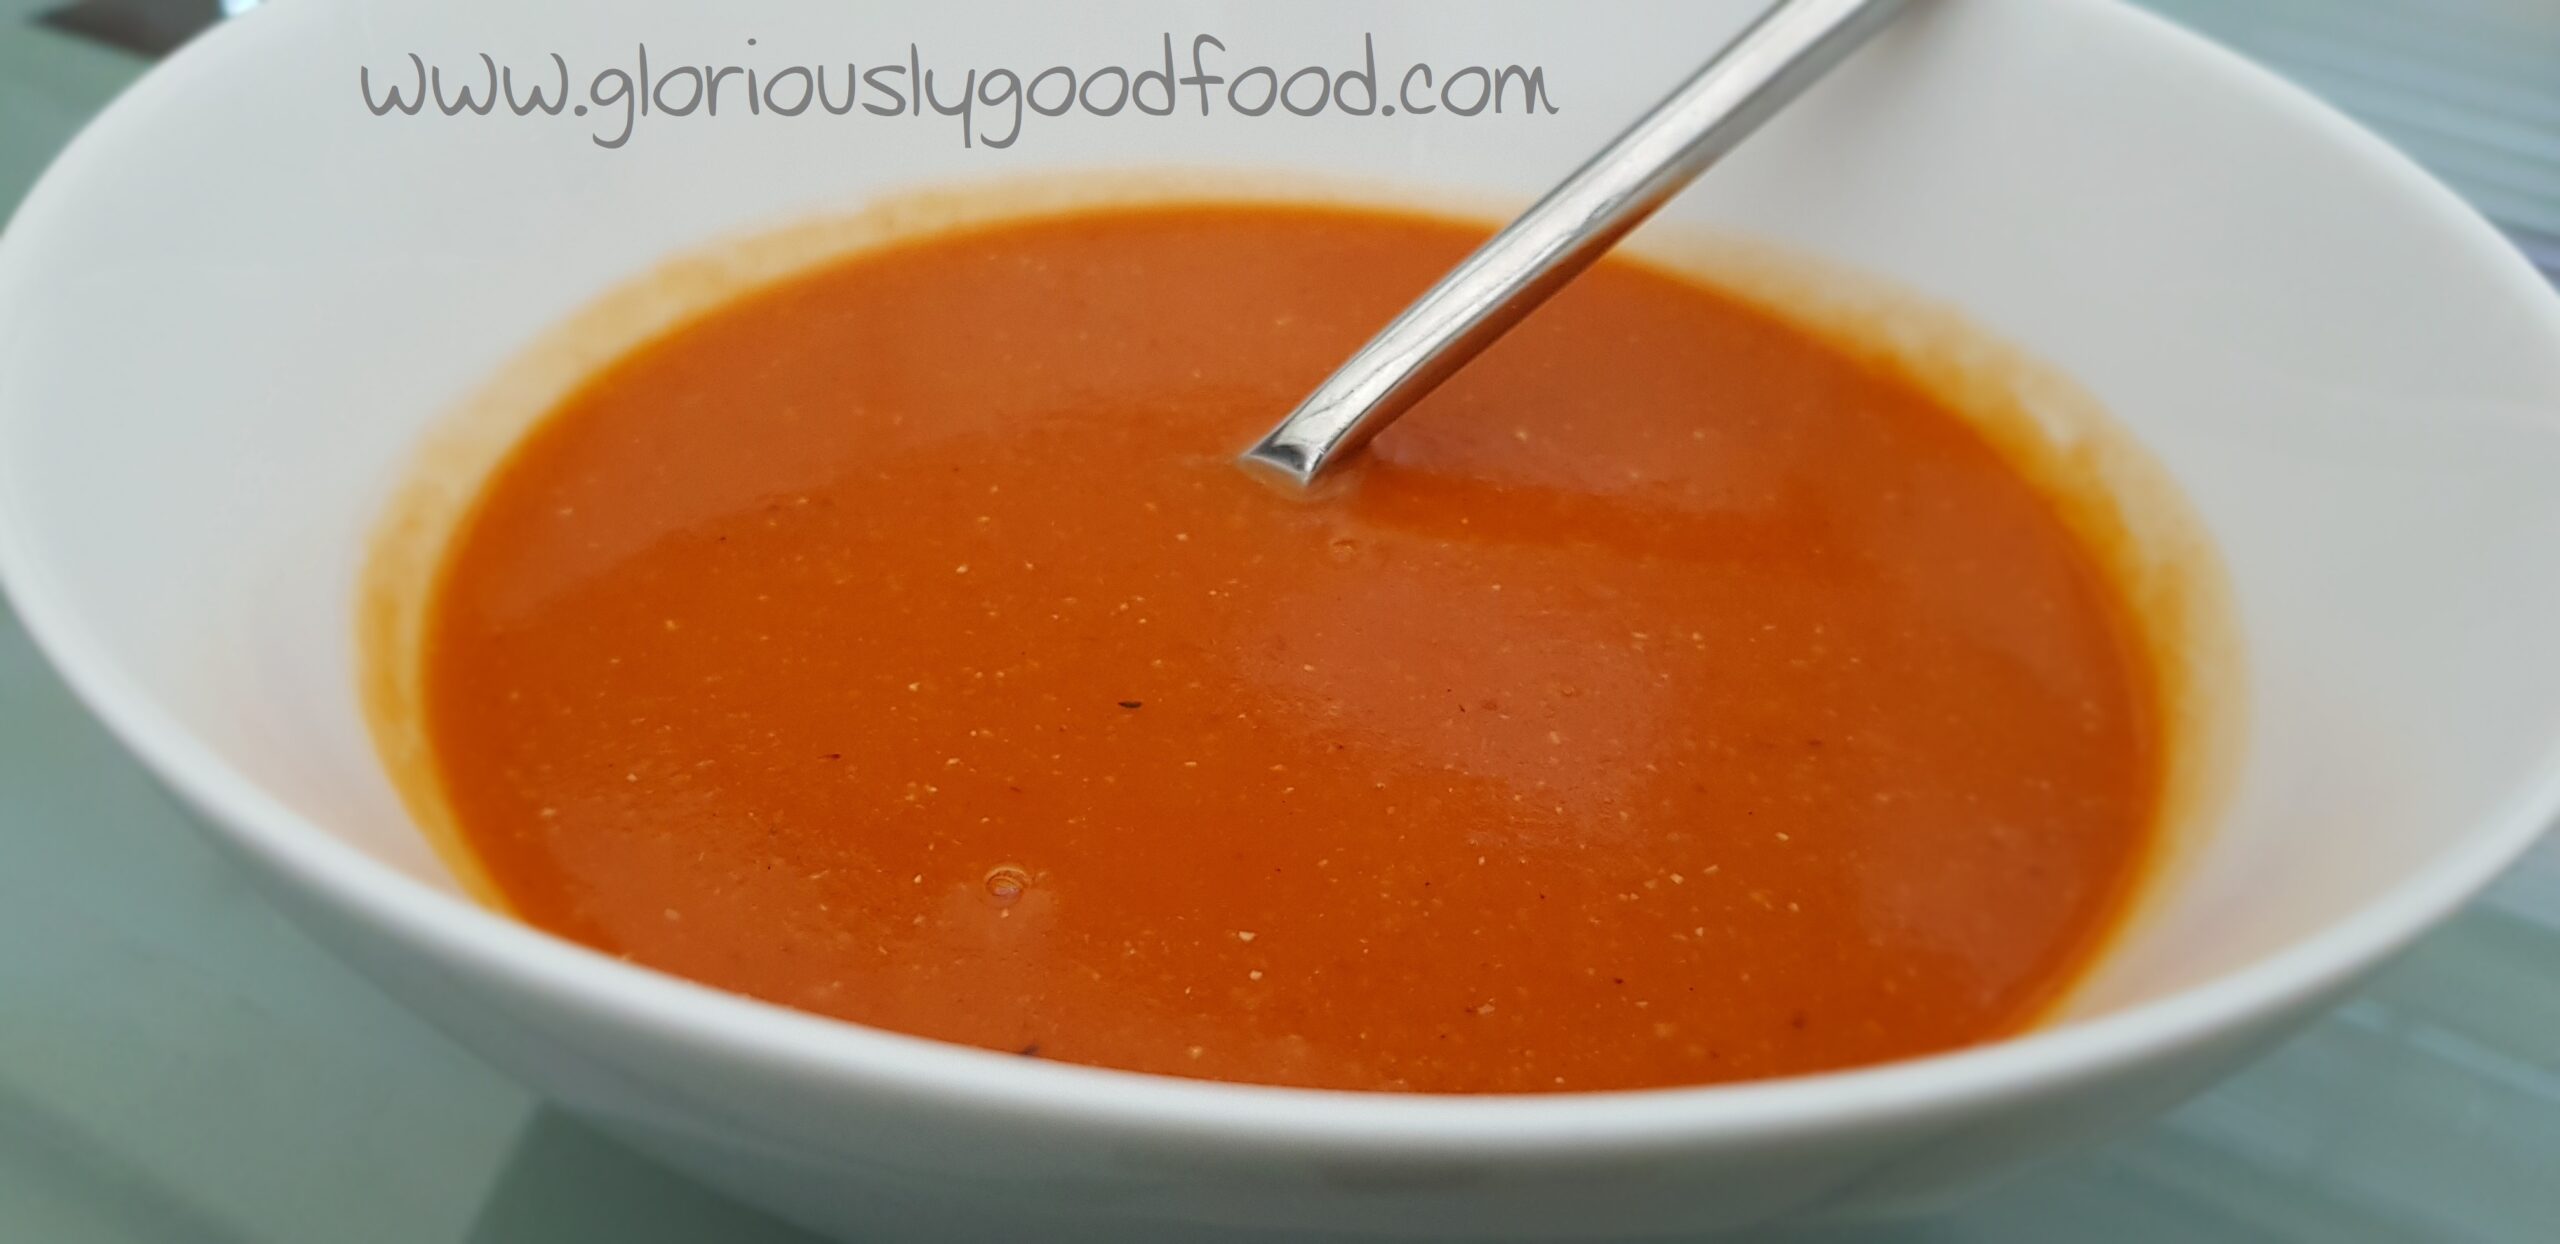
This is a really hearty soup suitable for the whole family. I made it as part of my liquid post-gastric-sleeve …
Whilst this is a soup for the post-bariatric surgery diet, it is suitable for anyone, and also very good for anyone on a reflux diet.
This is another one of my low-cal, low-carb, low-fat recipes for my pre-op diet before I have weight loss surgery next week.

This recipe for rice-stuffed tomatoes was originally my Nonna Wanda’s recipe, with the addition of potatoes made by my Zia …