wp-gloriouslygoodfoodcom
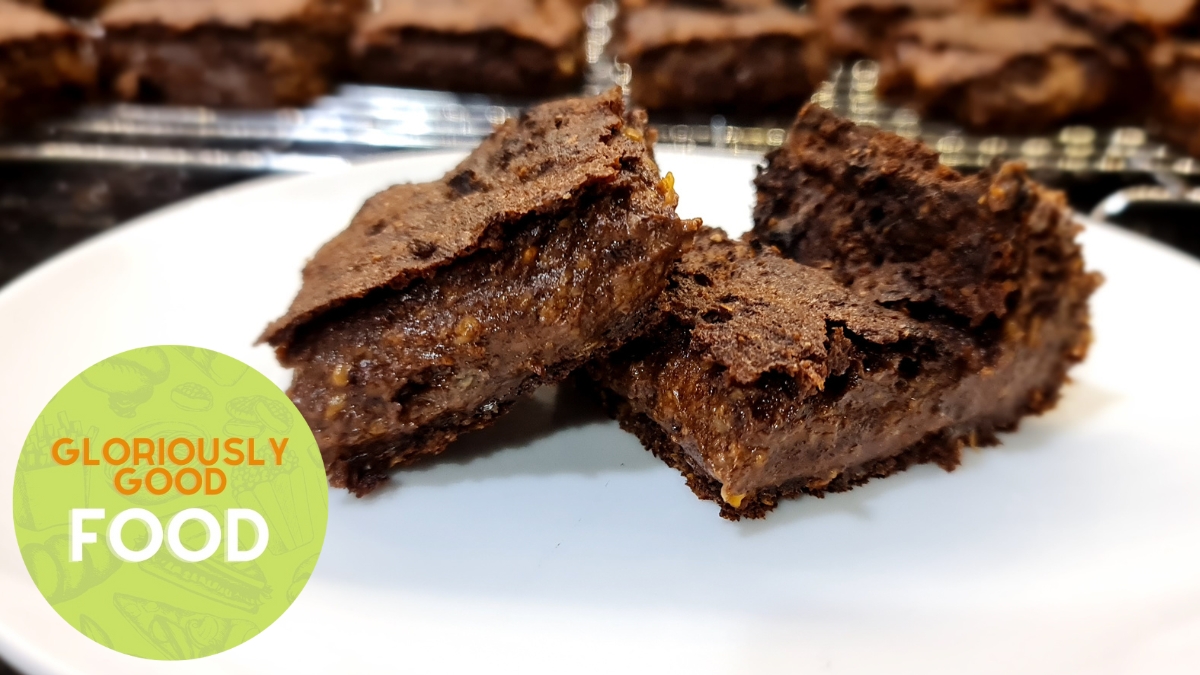
This quick and easy gluten-free, vegan brownie recipe uses flaxseed flour and minimal equipment. The ingredients include flaxseed flour, brown sugar, cocoa powder, banana, and coconut oil. Steps involve mixing dry ingredients, adding mashed banana and oil, pouring in boiling water, then baking for an hour. The result is a moist and chewy brownie with a slightly crunchy exterior, perfect for vegan and gluten-free diets.