 wp-gloriouslygoodfoodcom
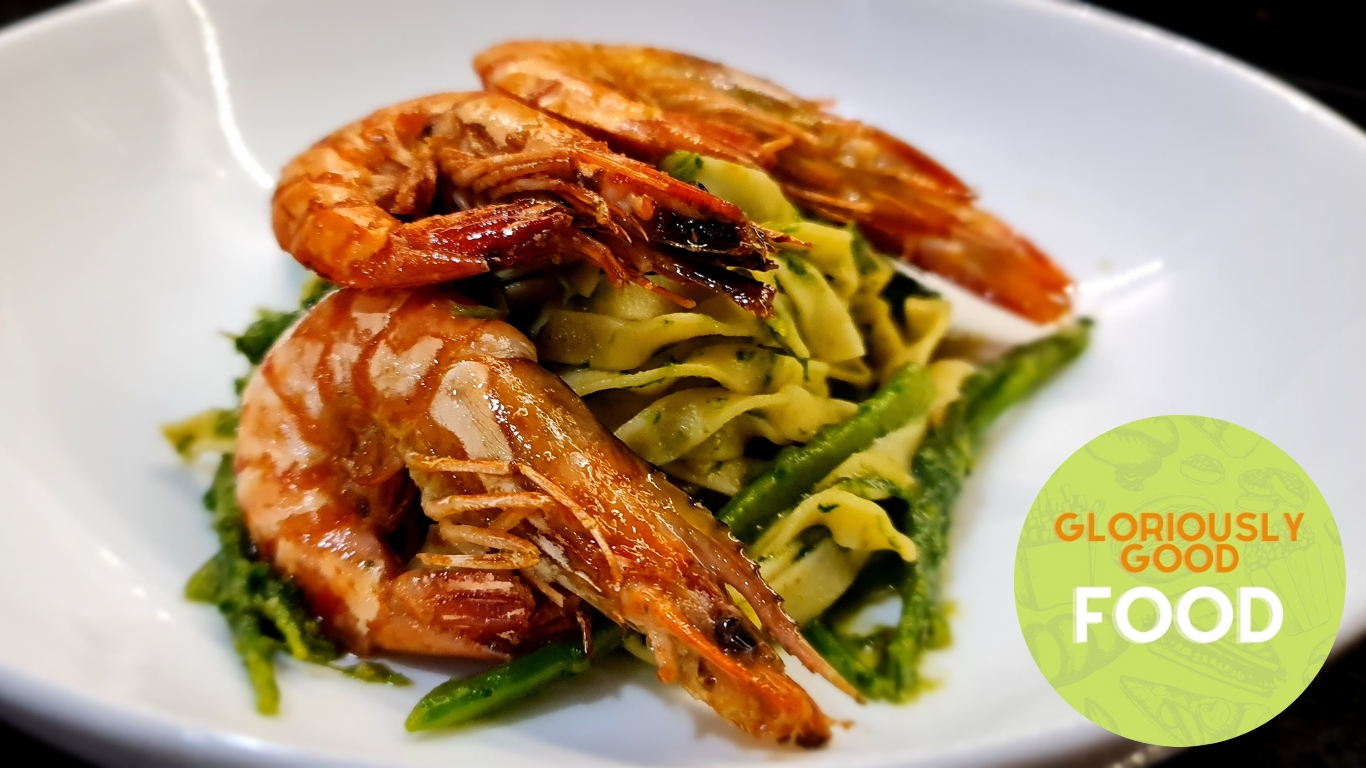
For this delicious, yet simple and quick pasta with prawns and tenderstem broccoli recipe, you can use any type of …
Simple Homecooked Recipes by Frederika Roberts
Simple Homecooked Recipes by Frederika Roberts
Simple Homecooked Recipes by Frederika Roberts
Simple Homecooked Recipes by Frederika Roberts
For this delicious, yet simple and quick pasta with prawns and tenderstem broccoli recipe, you can use any type of …
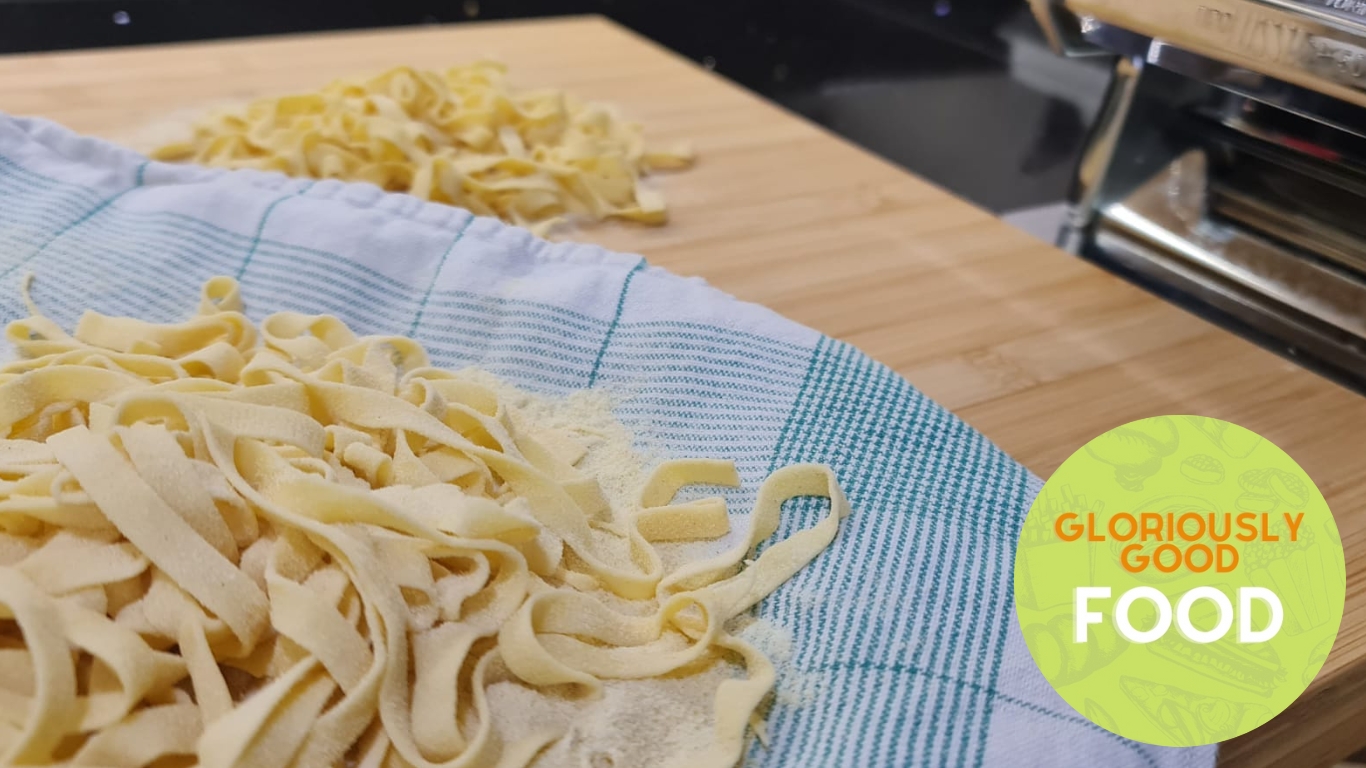
Making egg tagliatelle, or any other fresh home-made egg pasta is not difficult or mysterious, and it doesn’t even take …
Fresh tomatoes are incredibly versatile and it is so quick and easy to make tasty pasta sauces with them, it’s …
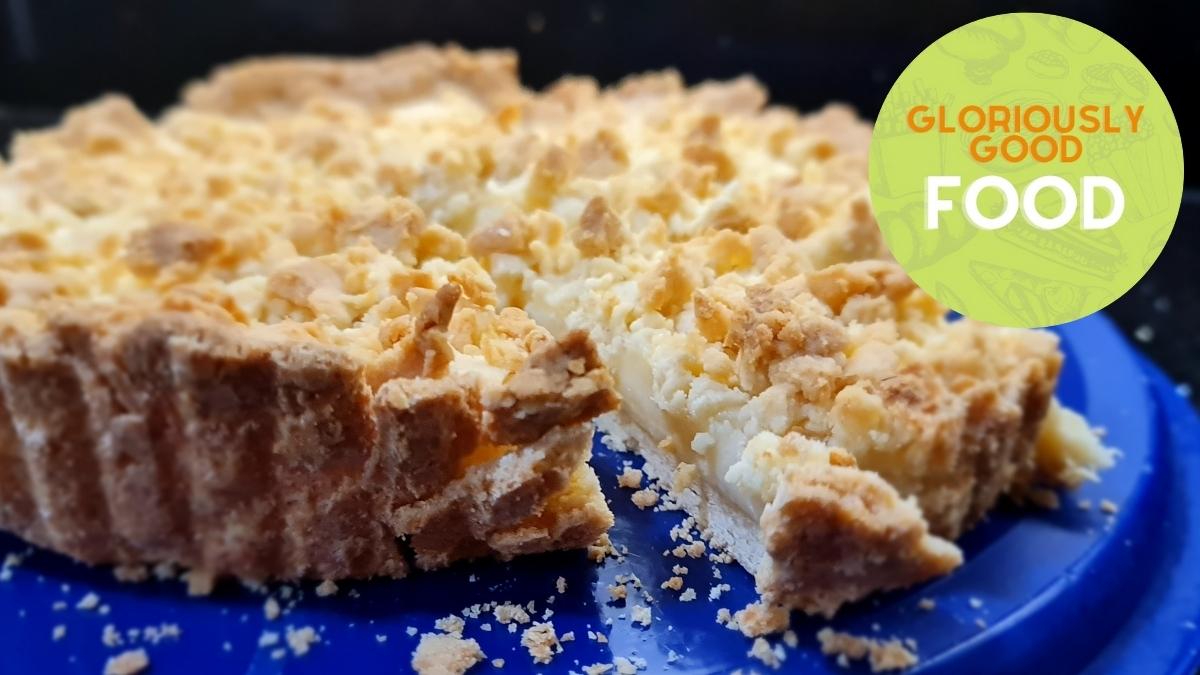
Crostata di sbriciolata alla crema pasticcera | Custard-filled crumble pie This is an Italian recipe by Luisa Orizio (Facebook, Instagram), …
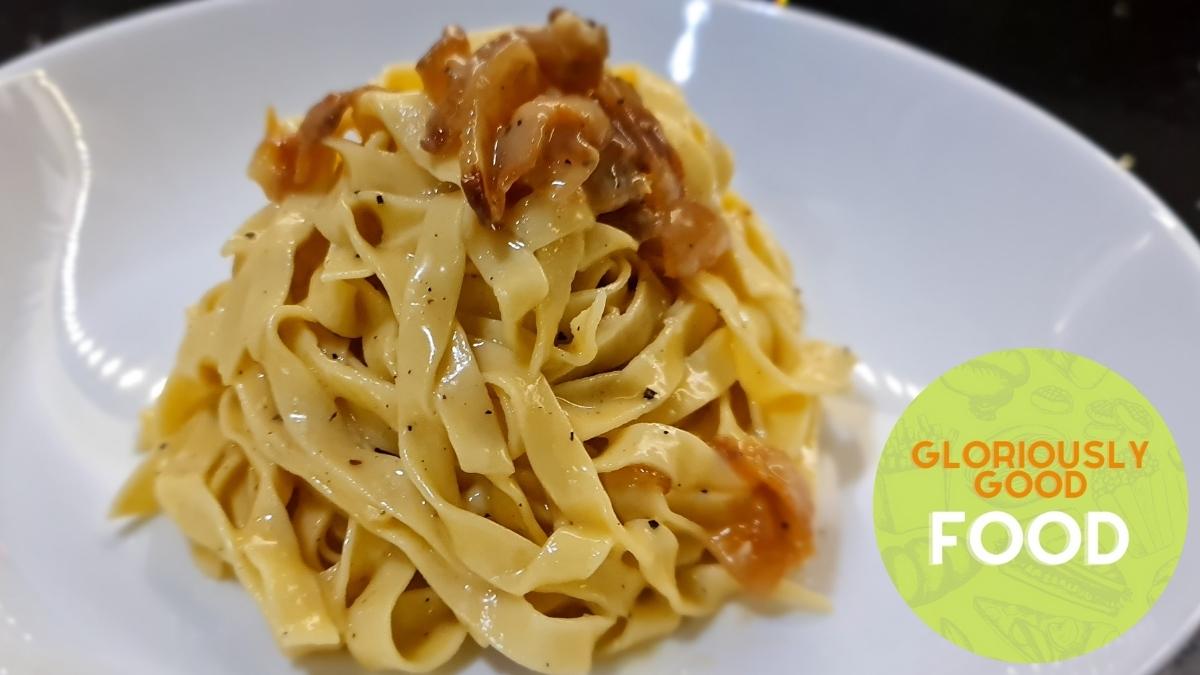
Tagliatelle alla Carbonara Carbonara Pasta | The authentic way to make it I’ve said this before (see my previous Spaghetti …
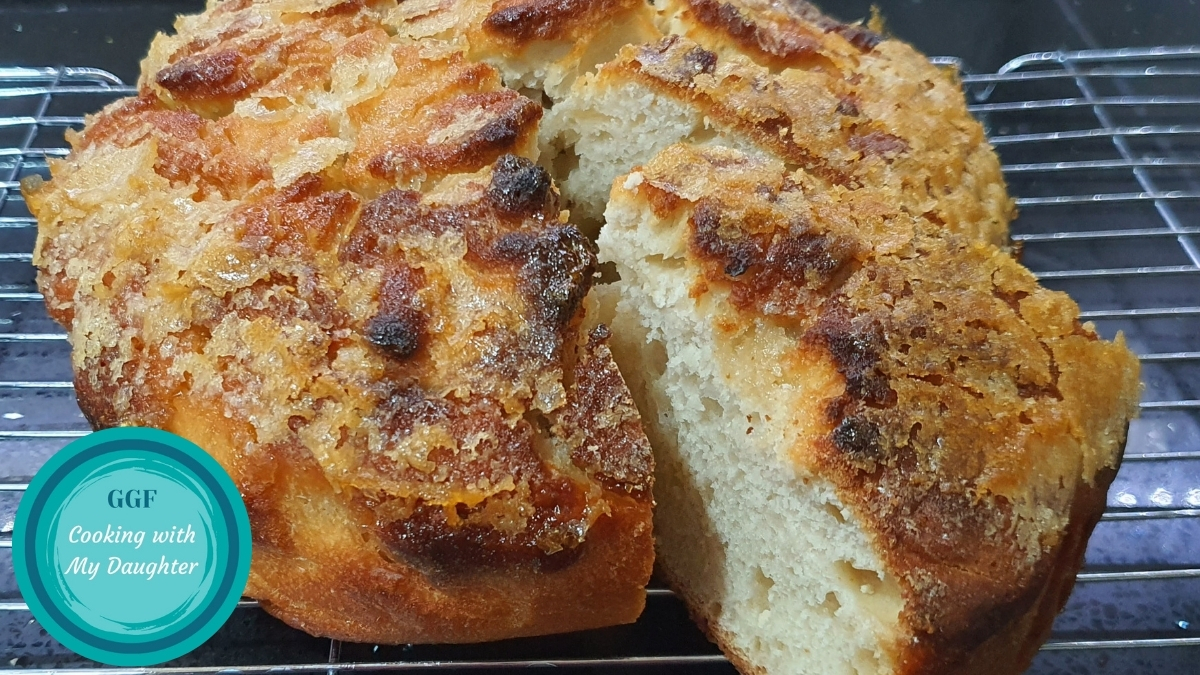
This is a delicious sweet focaccia recipe from the brilliant Italian Cucchiaio d’Argento blog. We have made this a few …
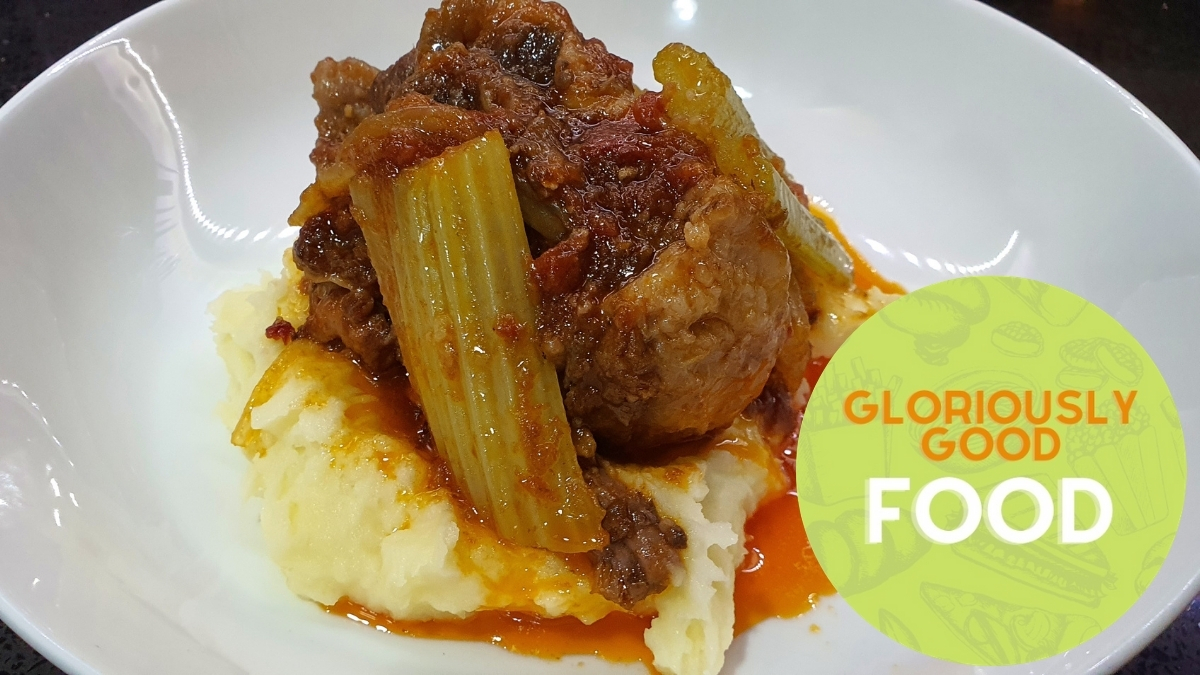
Coda alla vaccinara is a typical Roman dish. ‘Alla vaccinara’ (vaccinara-style) denotes that it is a dish done in the …
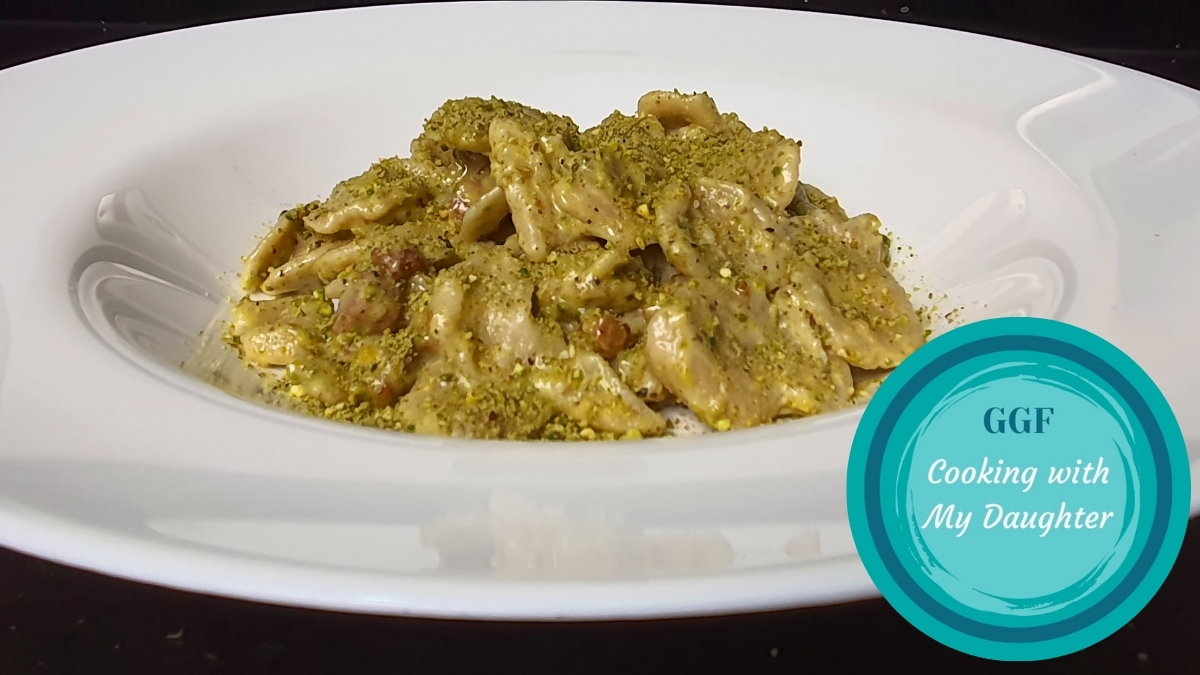
This delicious pasta dish was inspired by one of many mouth-watering meals we had in Sicily on a family holiday …
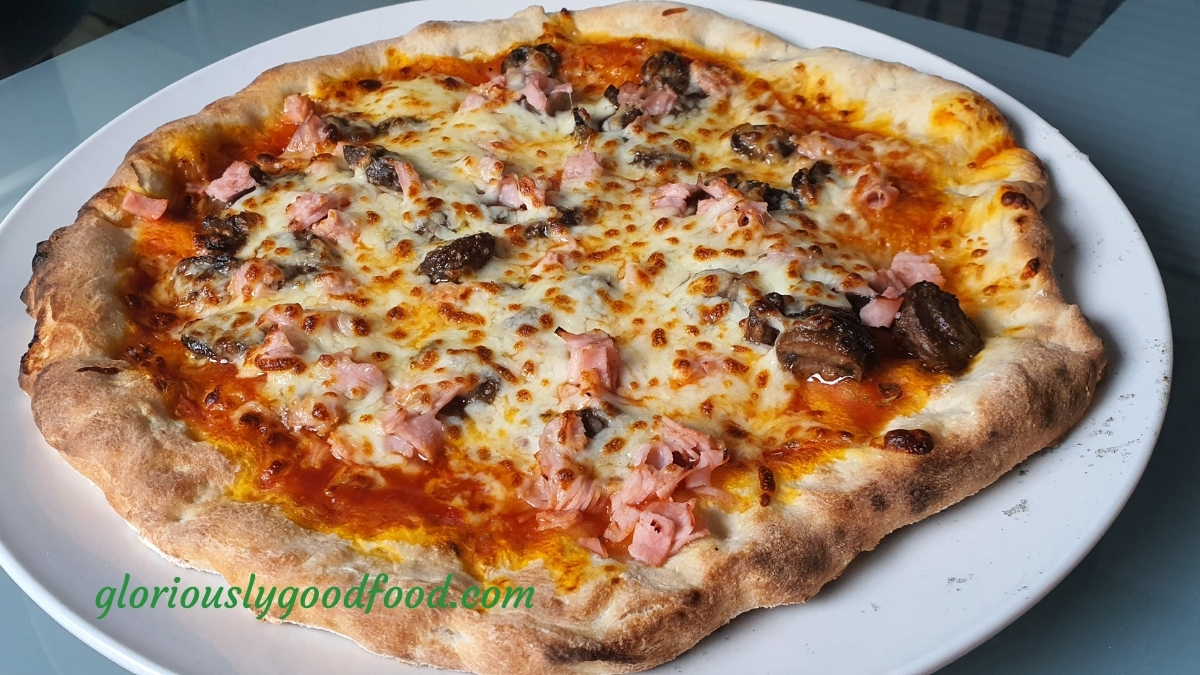
How to make Pizza from scratch Simple Pizza recipe Making pizza is far easier than many people think. Here is …
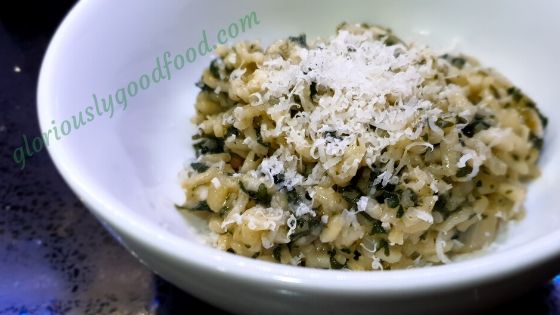
I hadn’t had nettle risotto for years, since my mum’s alpine neighbour Rosetta (in Valle d’Aosta, in northern Italy) had …