 wp-gloriouslygoodfoodcom
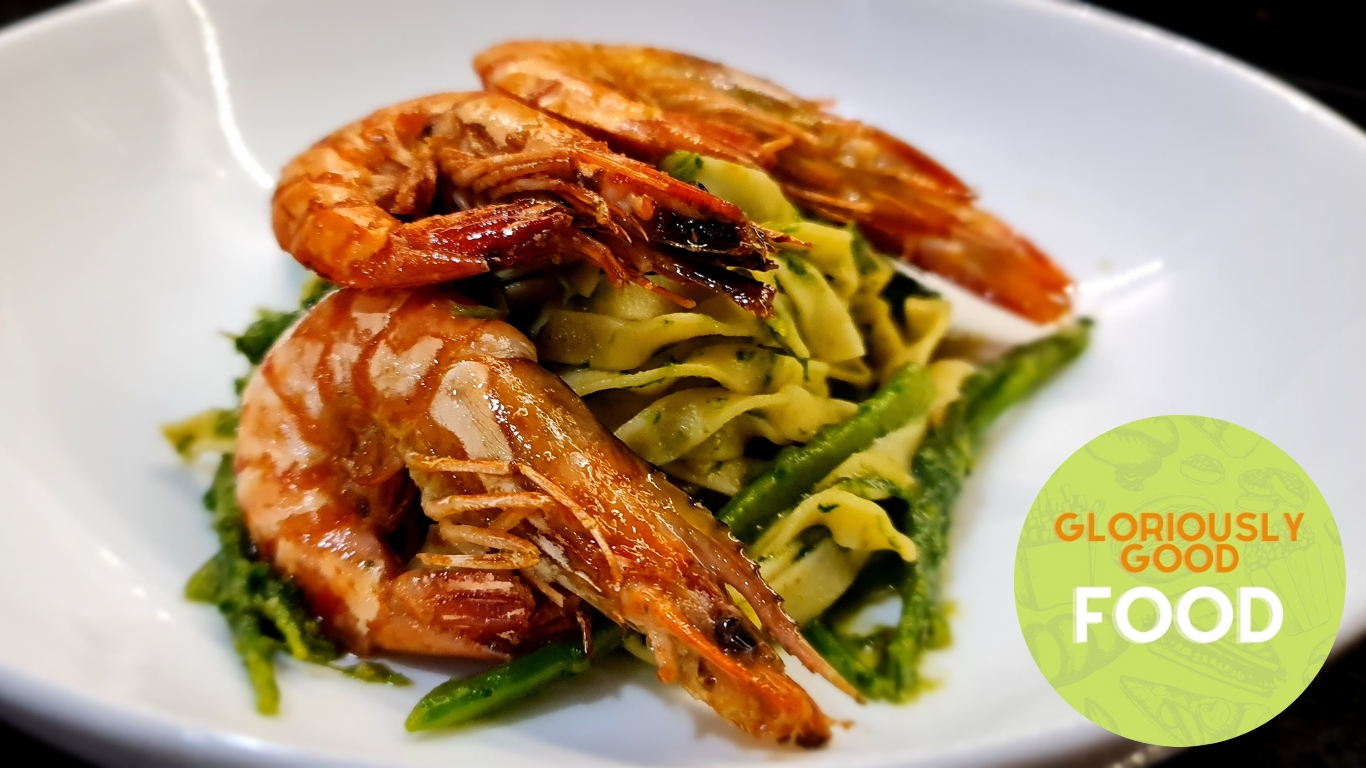
For this delicious, yet simple and quick pasta with prawns and tenderstem broccoli recipe, you can use any type of …
Simple Homecooked Recipes by Frederika Roberts
Simple Homecooked Recipes by Frederika Roberts
Simple Homecooked Recipes by Frederika Roberts
Simple Homecooked Recipes by Frederika Roberts
For this delicious, yet simple and quick pasta with prawns and tenderstem broccoli recipe, you can use any type of …
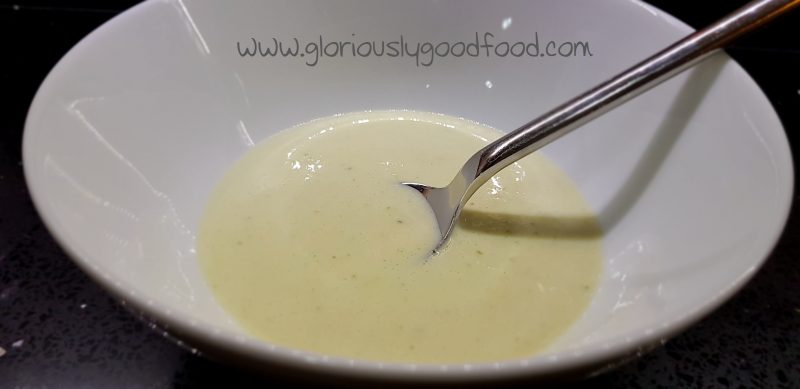
One of the ways I have kept things interesting during the post-bariatric surgery liquid diet is by using ingredients in …
A delicious quick low-cal, low-fat, low-carb lunch or dinner that packs a flavour punch!
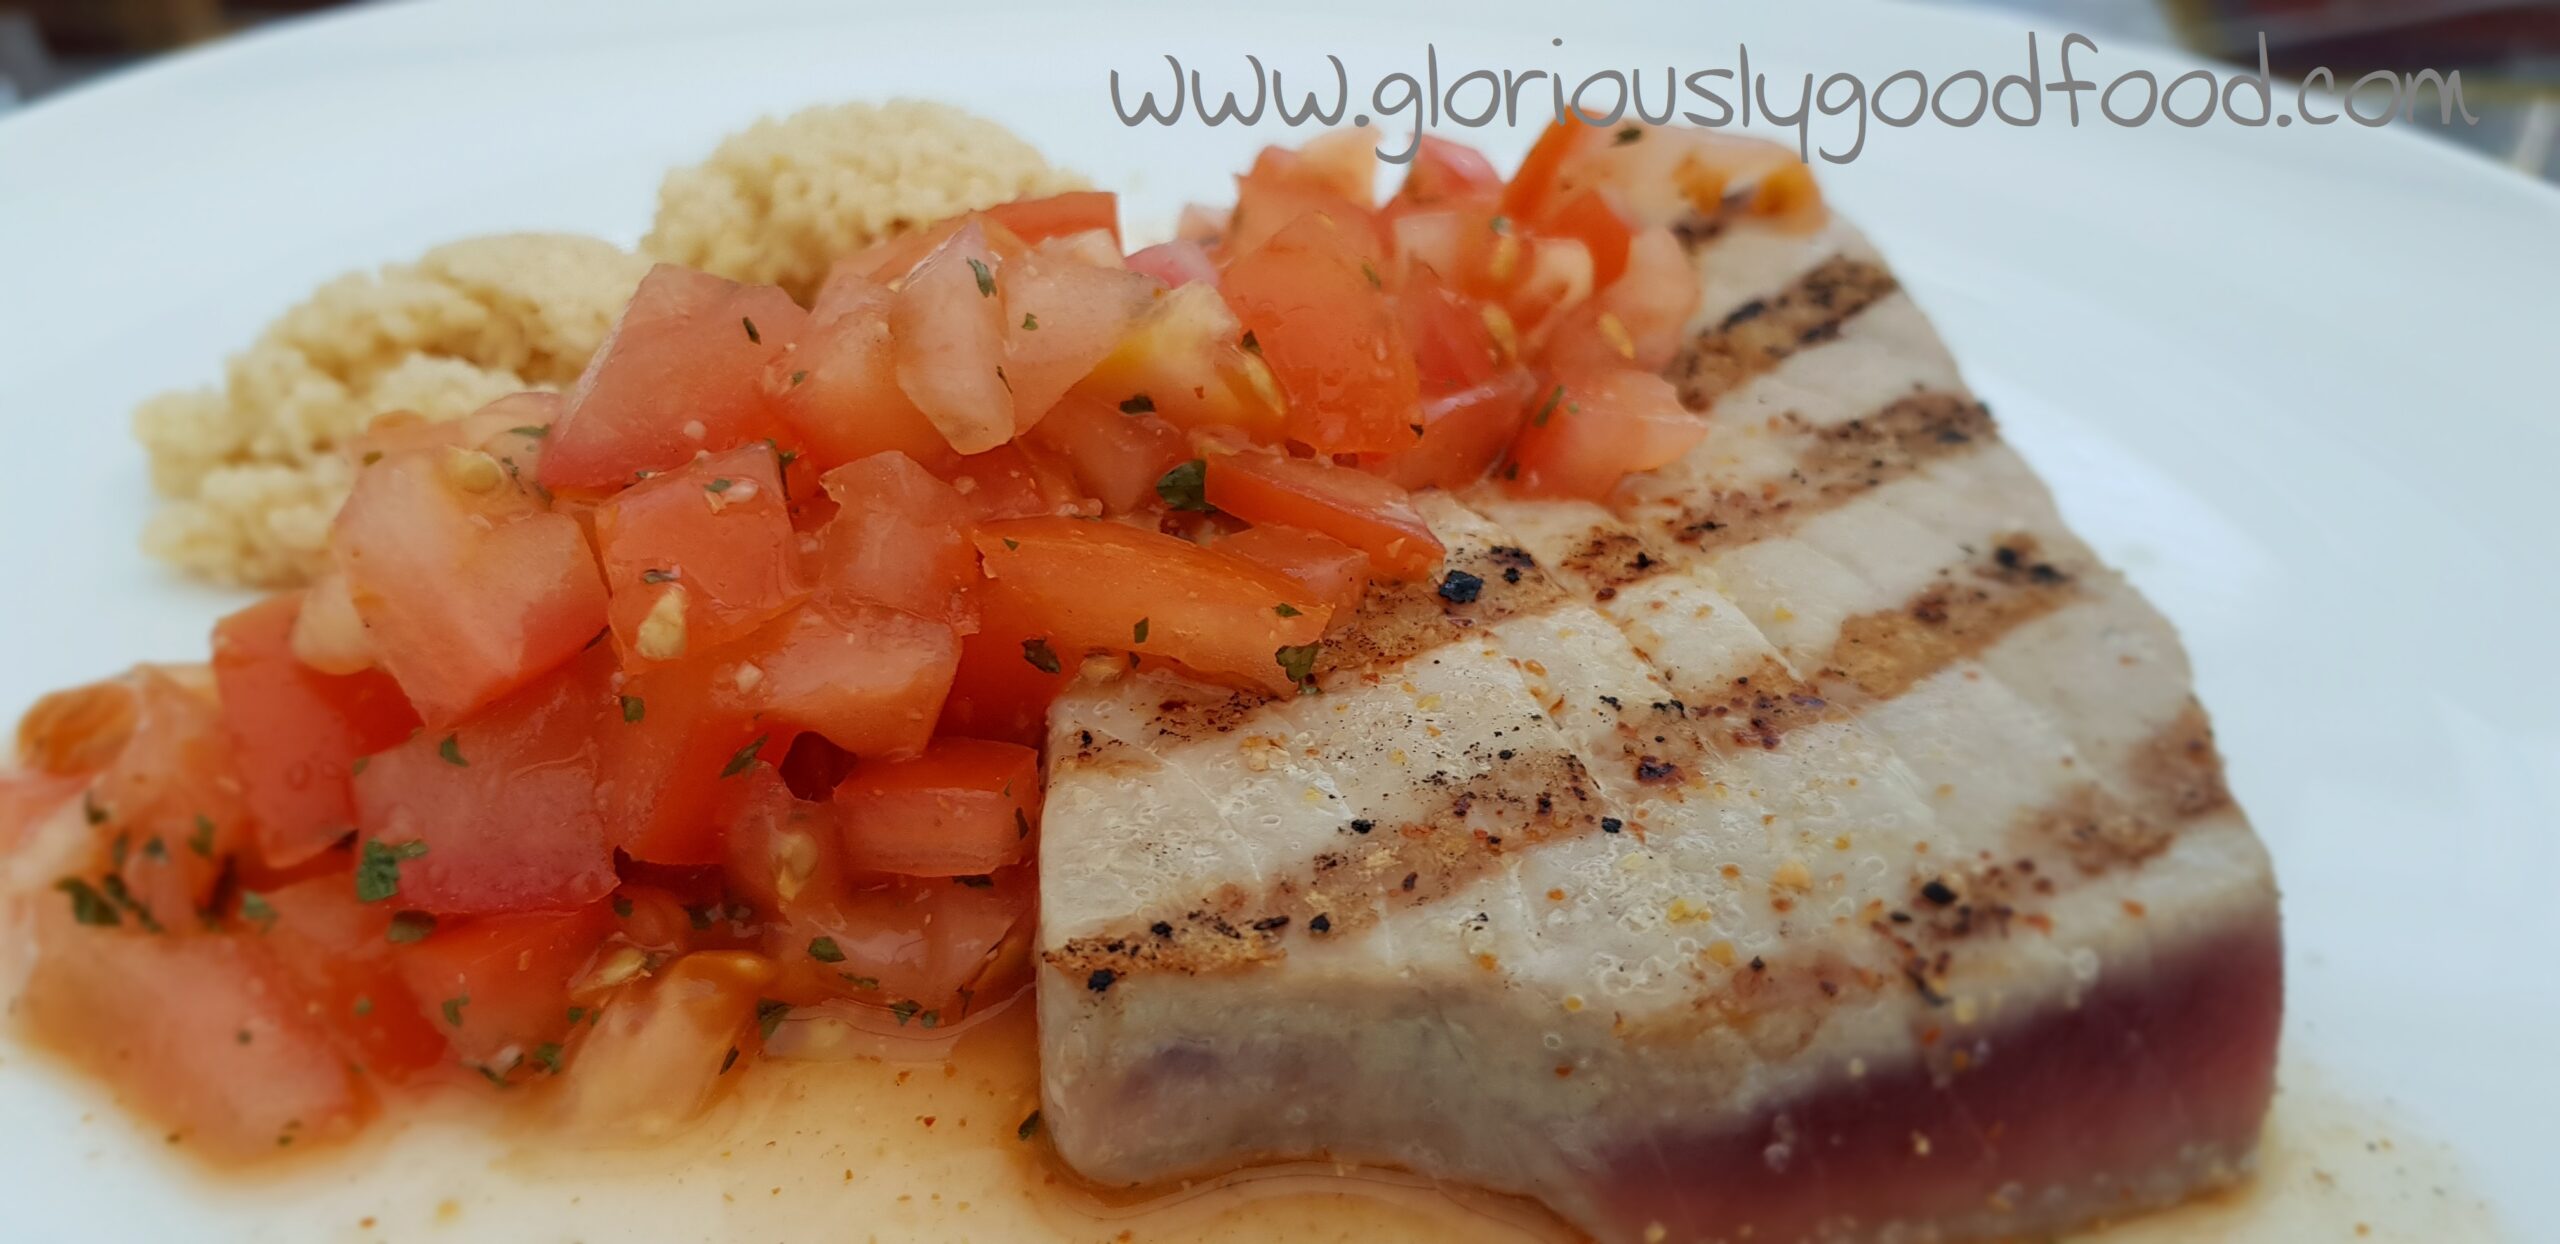
This is a simple low-cal, low-fat, low-carb dish of monkfish poached in a spicy tomato sauce, served with cous-cous. I …
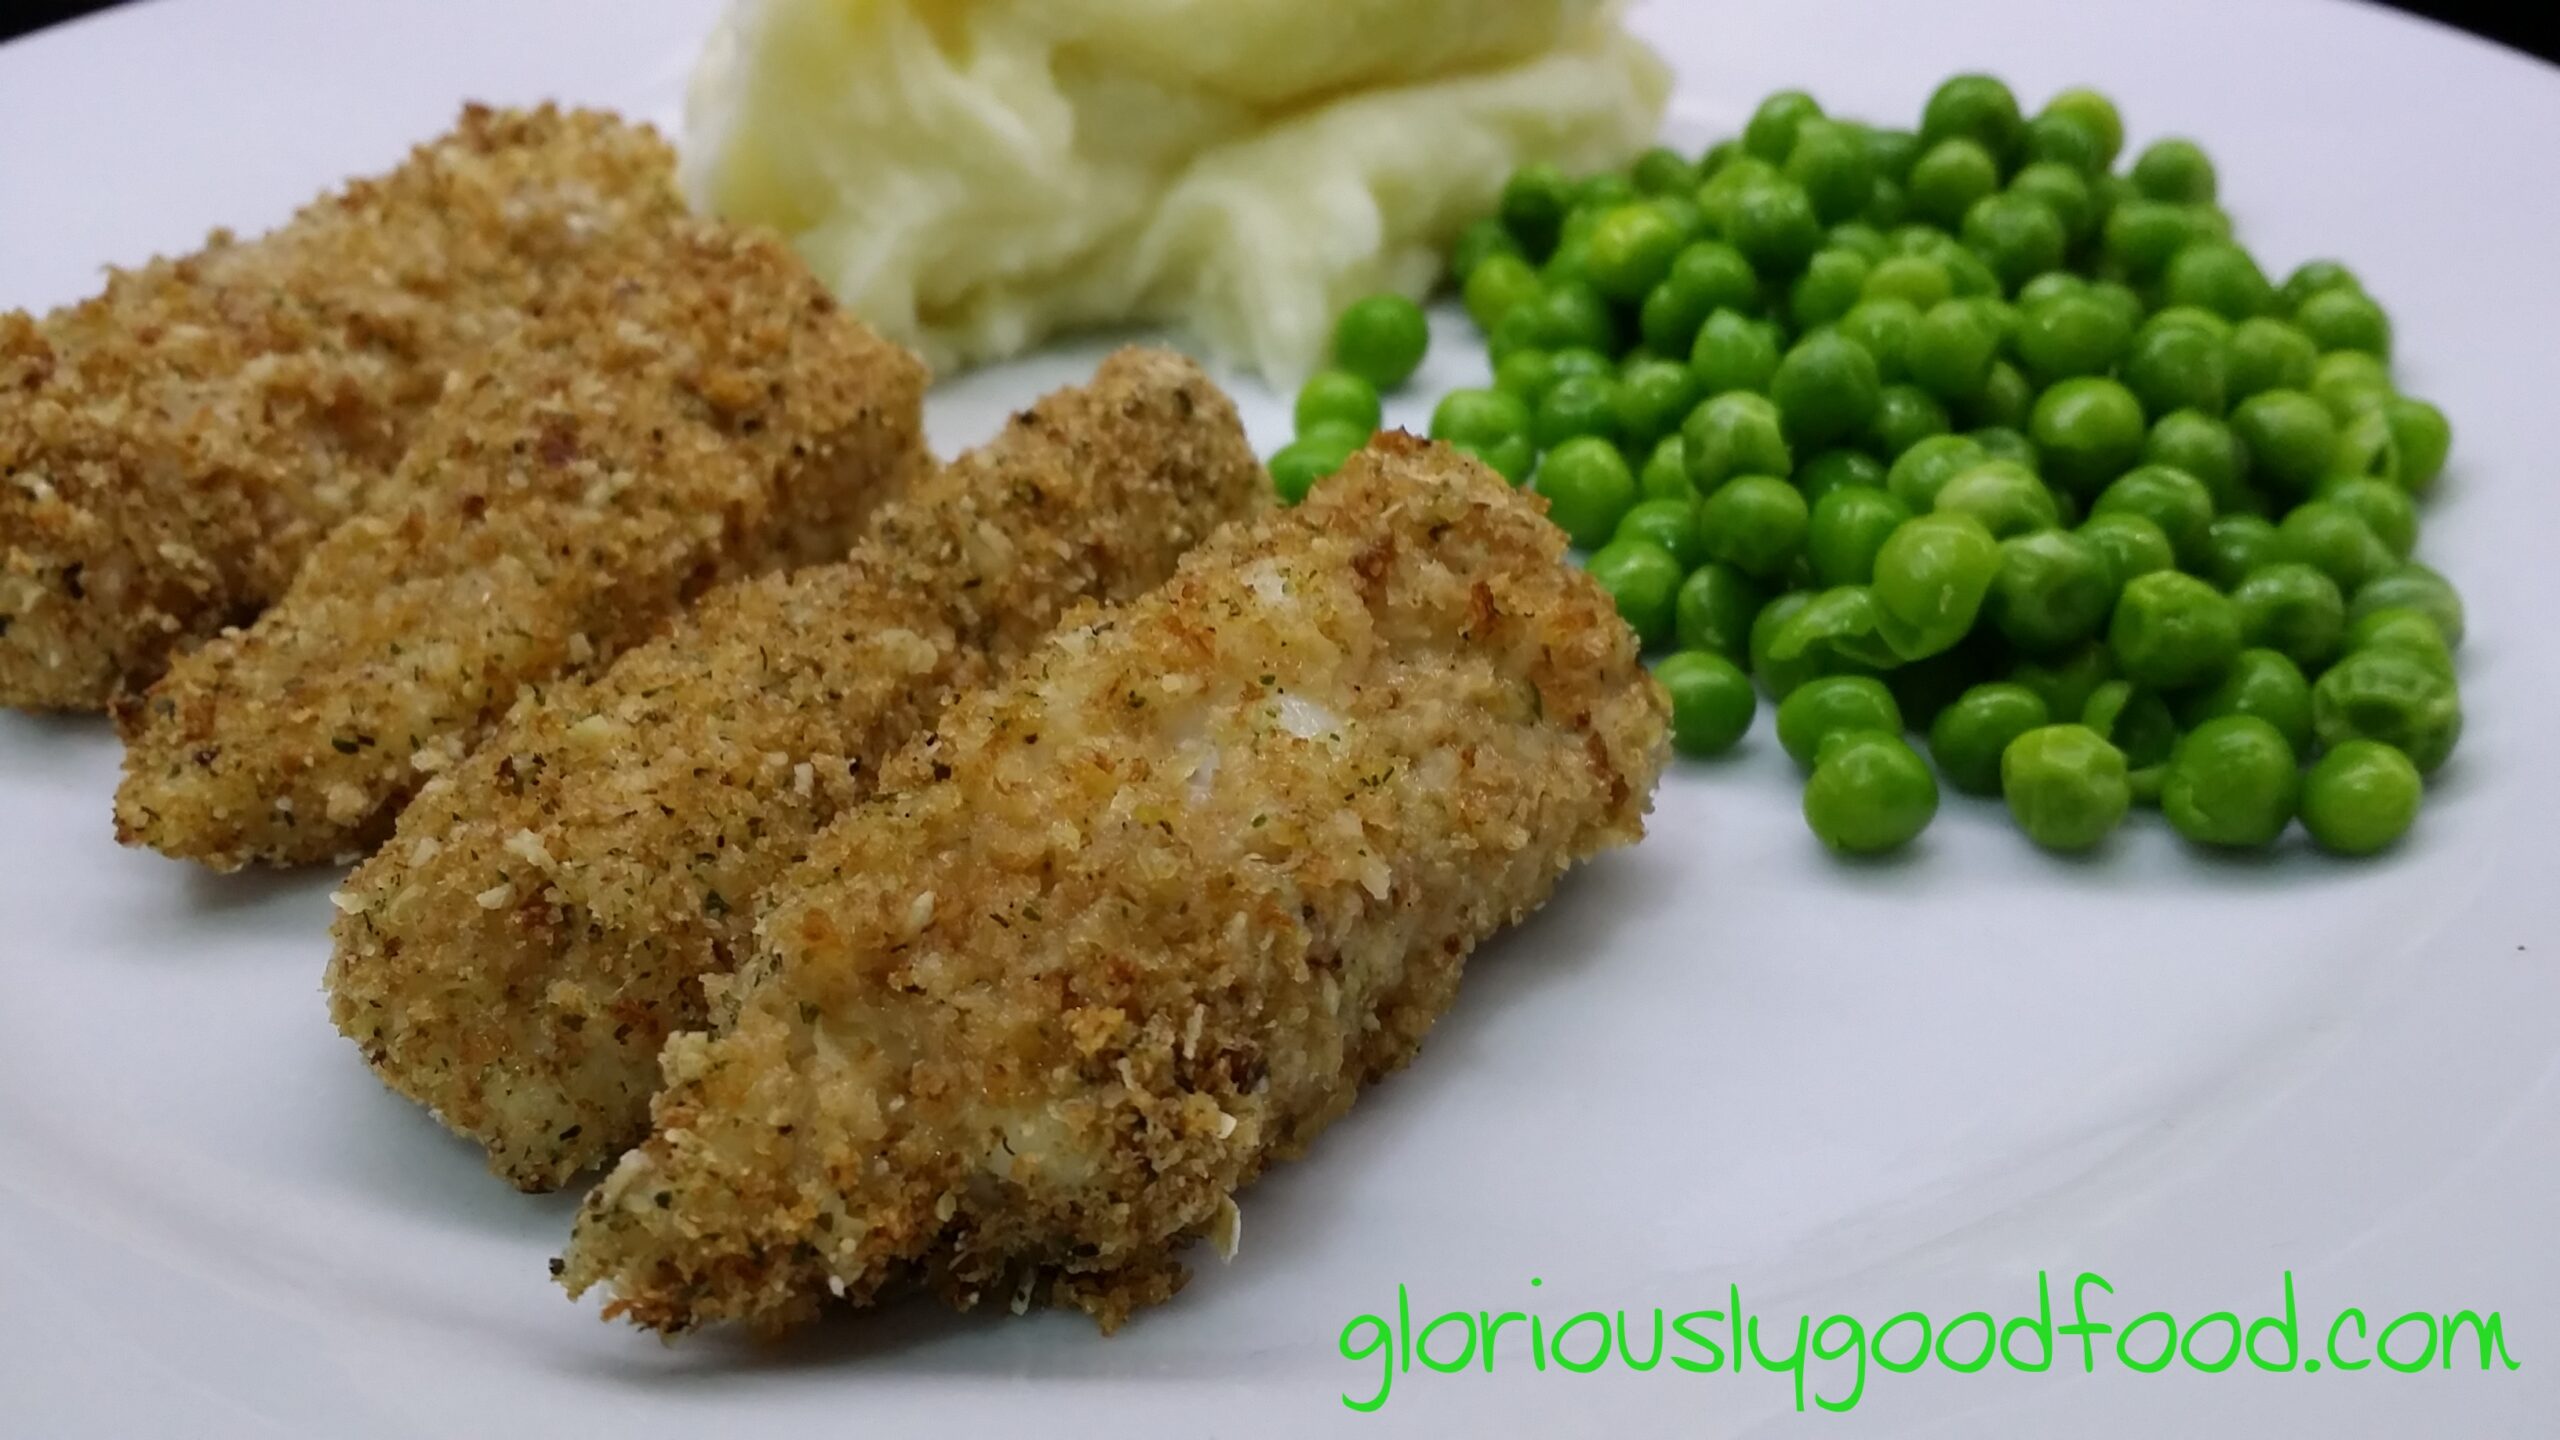
This is a really quick and simple way to make healthy, low-fat and reflux-friendly* fish fingers This recipe makes approximately …

Product Review: Seasoned Pioneers “Poudre de Colombo” spice mix In recipe recommended on the pack: “Caribbean chicken curry” I was …
Quick & simple Brunch Smoked Mackerel, Black Pudding, Poached Egg & (Lumpfish) Caviar After 2 long days of meetings, professional …
Looking for ideas for pancake fillings this Shrove Tuesday? Here are some pancake day savoury filling suggestions For the batter …
This smoked mackerel paté is perfect for Christmas and New Year’s Eve celebrations but is also delicious any time of …
This is my quick and easy take on a Thai-Style Prawn Soup If you buy stir-fry ready-chopped ingredients, like I …