 wp-gloriouslygoodfoodcom
This is a very quick ‘cheat’ recipe for a custard “doughnut” (or French Toast extraordinaire!) I came up with as …
Dairy & Eggs
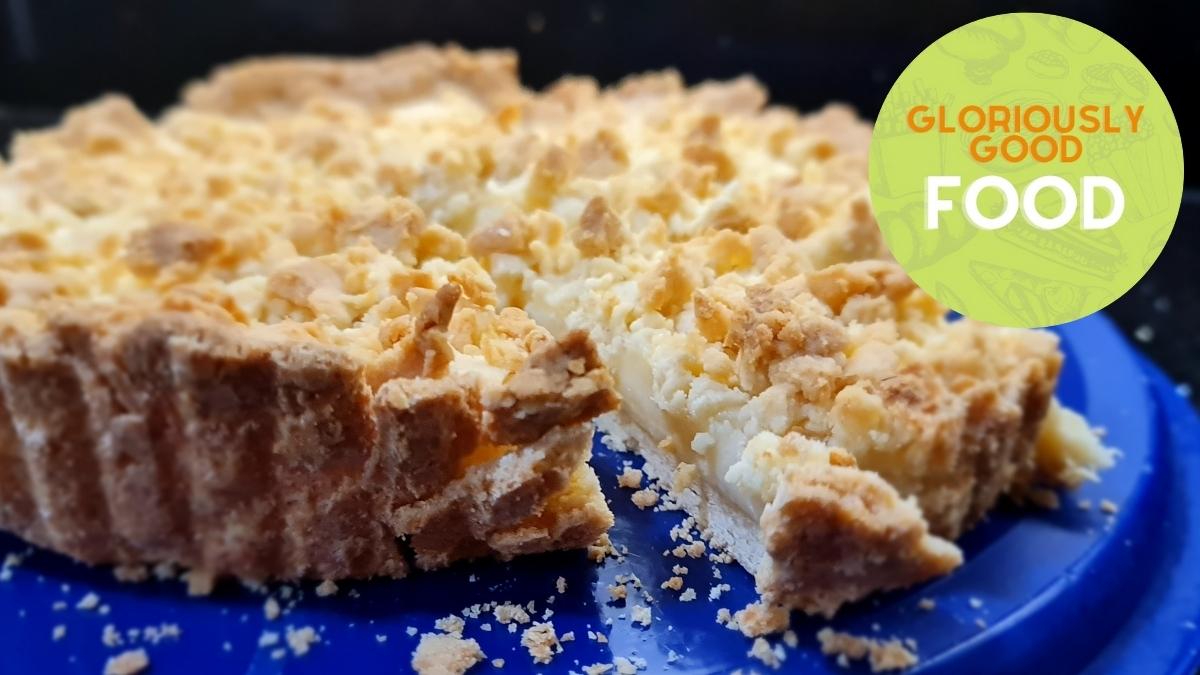
Crostata di sbriciolata | Crumble pie
Crostata di sbriciolata alla crema pasticcera | Custard-filled crumble pie This is an Italian recipe by Luisa Orizio (Facebook, Instagram), …
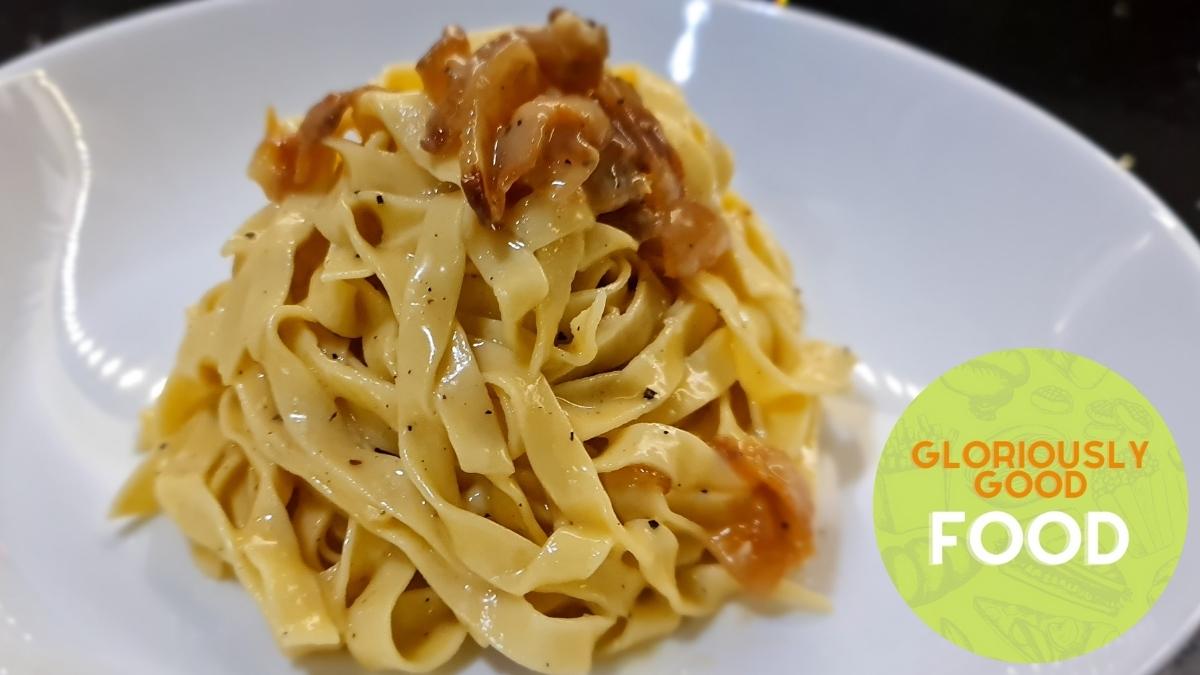
Tagliatelle alla Carbonara | Carbonara Sauce
Tagliatelle alla Carbonara Carbonara Pasta | The authentic way to make it I’ve said this before (see my previous Spaghetti …
Low Fat Lemon Sponge Cake with Lemon Icing | Low Fat Recipe | Reflux Recipe
Low-fat, reflux-friendly (we only use lemon rind, not juice, so there is no acid to worry about) lemon cake with lemon icing. Scrumptious!
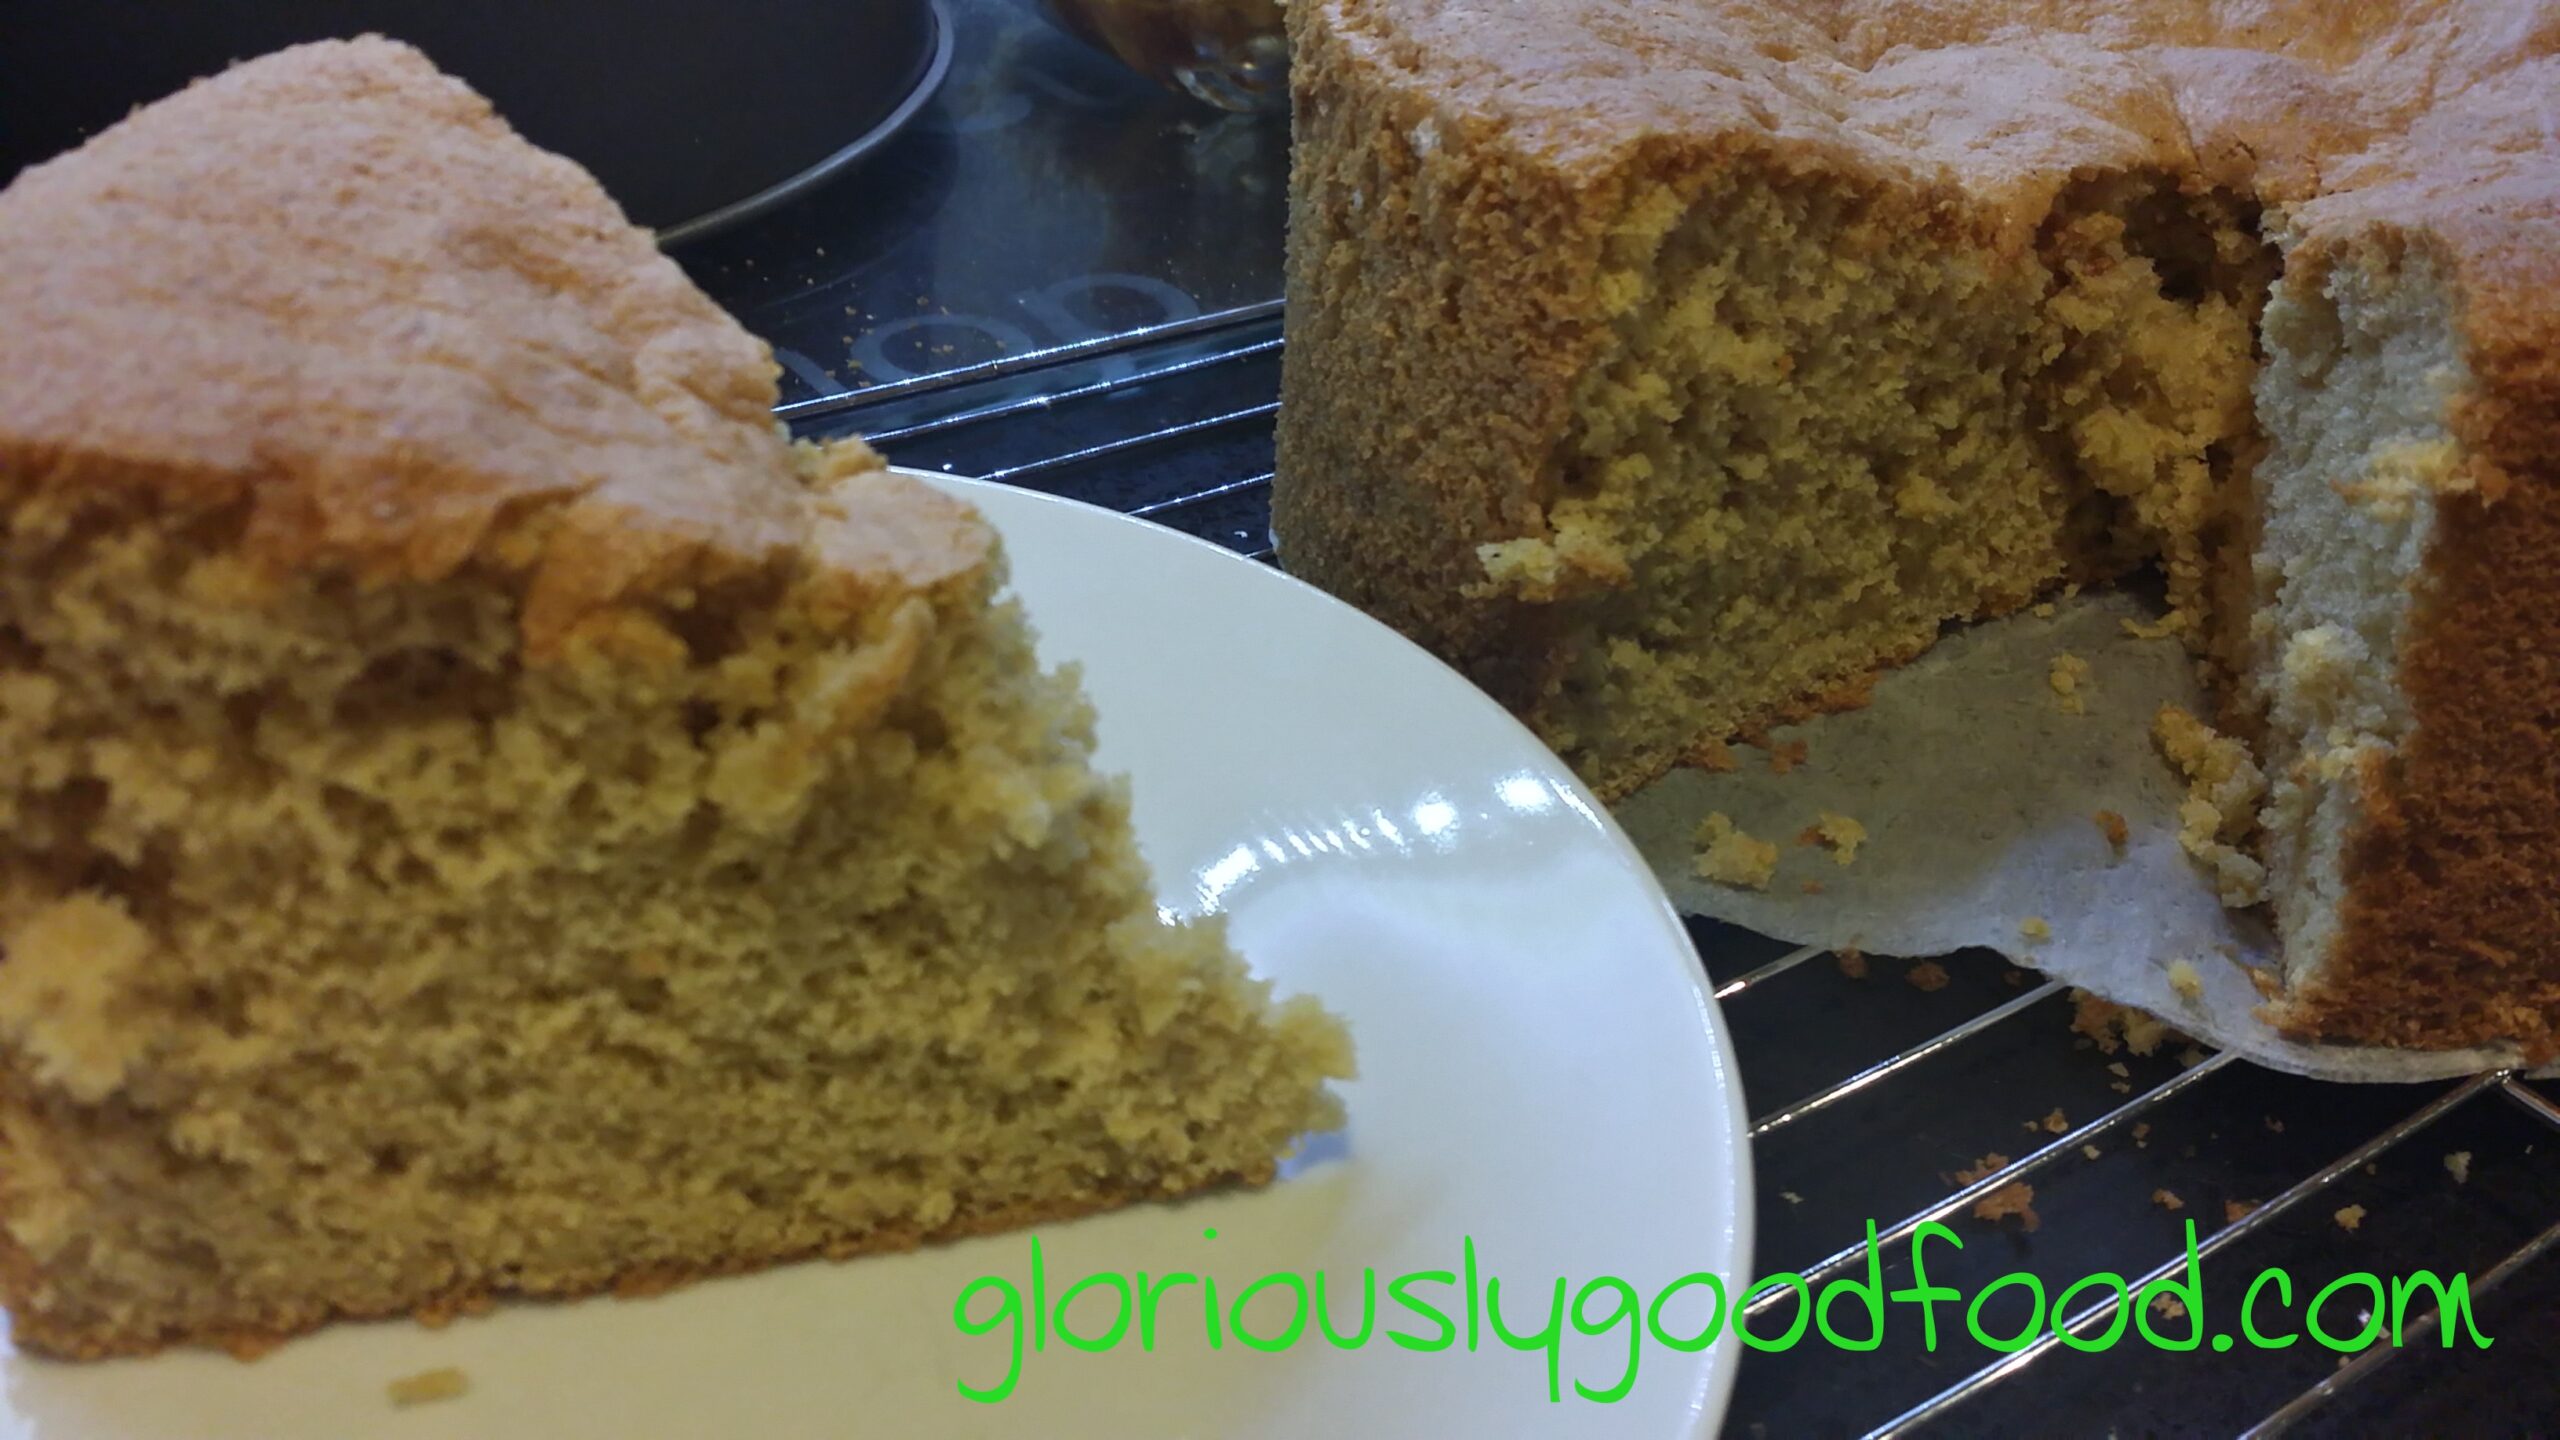
Fat Free Sponge | Three Ingredient Sponge | Reflux Recipes
This is my first reflux recipe* on here, but I promise it will be the first of many! I hope …
Smoked Mackerel, Black Pudding, Poached Egg and Caviar Brunch
Quick & simple Brunch Smoked Mackerel, Black Pudding, Poached Egg & (Lumpfish) Caviar After 2 long days of meetings, professional …
Pancake Day | Fillings for savoury pancakes
Looking for ideas for pancake fillings this Shrove Tuesday? Here are some pancake day savoury filling suggestions For the batter …
Carbonara Sauce | Spaghetti alla Carbonara
Spaghetti alla Carbonara Carbonara Sauce | The authentic way to make it Carbonara Sauce is possibly one of the most …
Tiramisù Cheese | Tiramisù Spread
Tiramisù-flavour Spread aka: Coffee, Marsala All’Uovo & Cocoa Spread When I recently made lemon cheese, I decided to have a …
Food Glorious Food Recipes | Rhubarb Crumble Cheesecake | REVIEW
Recipe Review: Food Glorious Food Rhubarb and Ginger Crumble Cheesecake When I watched the TV series Food Glorious Food, I …