Sweet Focaccia | Focaccia Dolce

Focaccia Dolce | Sweet Focaccia - whole with slice showing

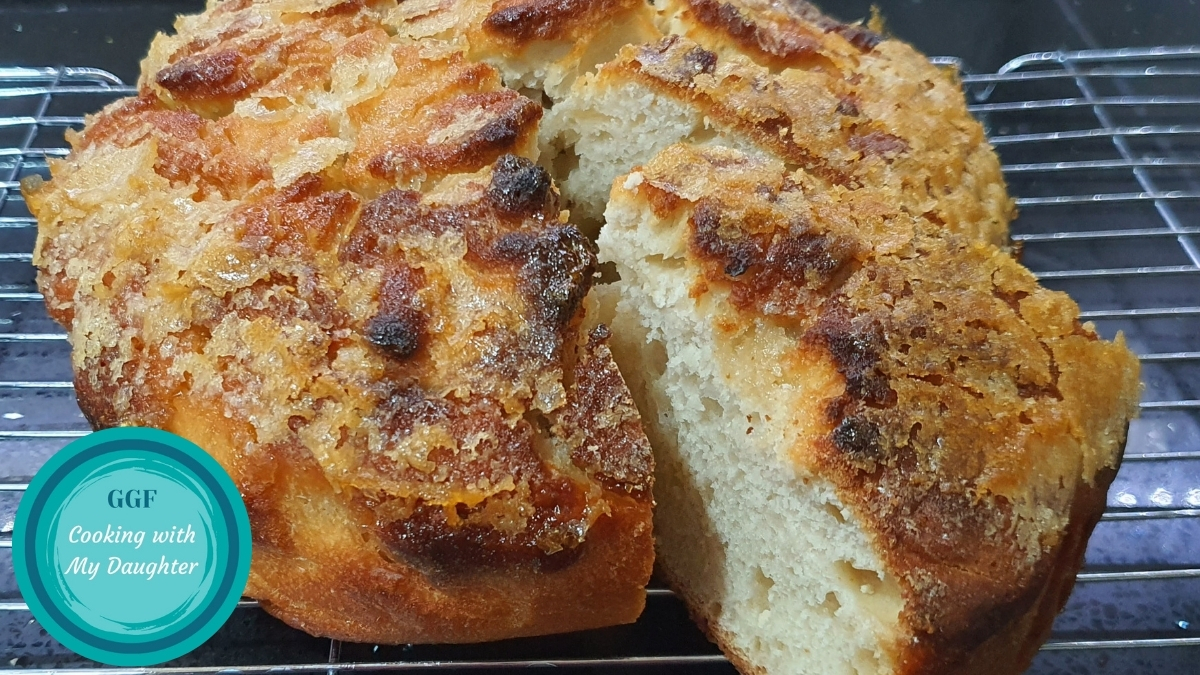
This is a delicious sweet focaccia recipe from the brilliant Italian Cucchiaio d’Argento blog. We have made this a few times and have found the recipe very easy to follow, with perfect results each time, so we wanted to share and translate it for those who can’t follow the original recipe in Italian.

This is not as sweet as a cake, but sweeter than a bread. It’s delicious as a breakfast cake/bread, on its own or spread with your favourite jam or spread (why not try it with our sweet cashew butter or our home-made nutella…coming soon!).

We have followed the recipe to the letter, aside from using plain flour to replace the 00 flour, and strong white bread flour to replace the manitoba flour, as these are more commonly available (and affordable) in the UK.

Sweet focaccia in its tin, just come out of the oven.

Ingredients – for the dough

  • 400g plain white flour
  • 100g strong white bread flour
  • 120g demerara sugar
  • 7g dried yeast
  • 200ml whole milk
  • 20ml extra virgin olive oil
  • 110-130ml water
  • 1tsp sea salt

Ingredients – for the crispy top

  • extra virgin olive oil (approximately 1tbsp plus additional for greasing)
  • approx. 1tbsp water
  • demerara sugar

Method

  1. Place the two flours, the sugar, yeast, oil and lukewarm milk into the bowl of a stand mixer.
  2. Start mixing on a low setting with a K beater, drizzling in the water in a thin stream as you do this.
  3. Once all the ingredients are mixed together, swap the K beater for a dough hook and mix it for approximately 15 minutes, adding the salt towards the end. The dough will be ready once it is smooth and elastic / bouncy.
  4. Transfer the dough into a clean bowl and cover with clingfilm.
  5. Leave it to rise until it has approximately doubled (around 2 hours). We tend to place it on a shelf in the airing cupboard, but any warm, non-draughty room will be fine.
  6. Line and grease (with extra virgin olive oil) a 24cm round cake tin (we find a springform cake tin works very well for this).
  7. Once the dough has risen, transfer it into the greased, lined tin.
  8. Pre-heat the oven to 180°C fan.
  9. Use your finger tips to create dips all over the surface and to help spread the dough evenly over the surface. We found this to be quite sticky, so you may not get perfect dips, but as long as the dough is spread reasonably evenly across the cake tin and the surface is a little rough/uneven, it will work.
  10. Whisk together 1tbsp of water and extra virgin olive oil (this will turn into a thick emulsion) and brush this over the focaccia dough surface.
  11. Sprinkle the surface with a generous amount of demerara sugar.
  12. Bake the sweet focaccia in the pre-heated oven for 30-40 minutes until the surface is looking golden and a little cracked.
  13. Leave to cool in the tin for approximately 15 minutes, then transfer to a cooling rack to cool completely, or serve warm!

This delicious sweet focaccia will keep for a few days in an airtight container, or wrapped in clingfilm and tin foil, but the crispy topping will lose its crispiness and will go more soft and sticky after the first day. It will still be delicious!

One slice of sweet focaccia

Sweet Focaccia | Focaccia Dolce | Gloriously Simple, Gloriously Good!

Advertisement

Hannah’s Banana Pancakes

Pncakes with Logo. Image shows two plates on a black worktop which each have 2 pancakes on covered in maple syrup. The left hand plate of pancakes has a few raspberries on top.

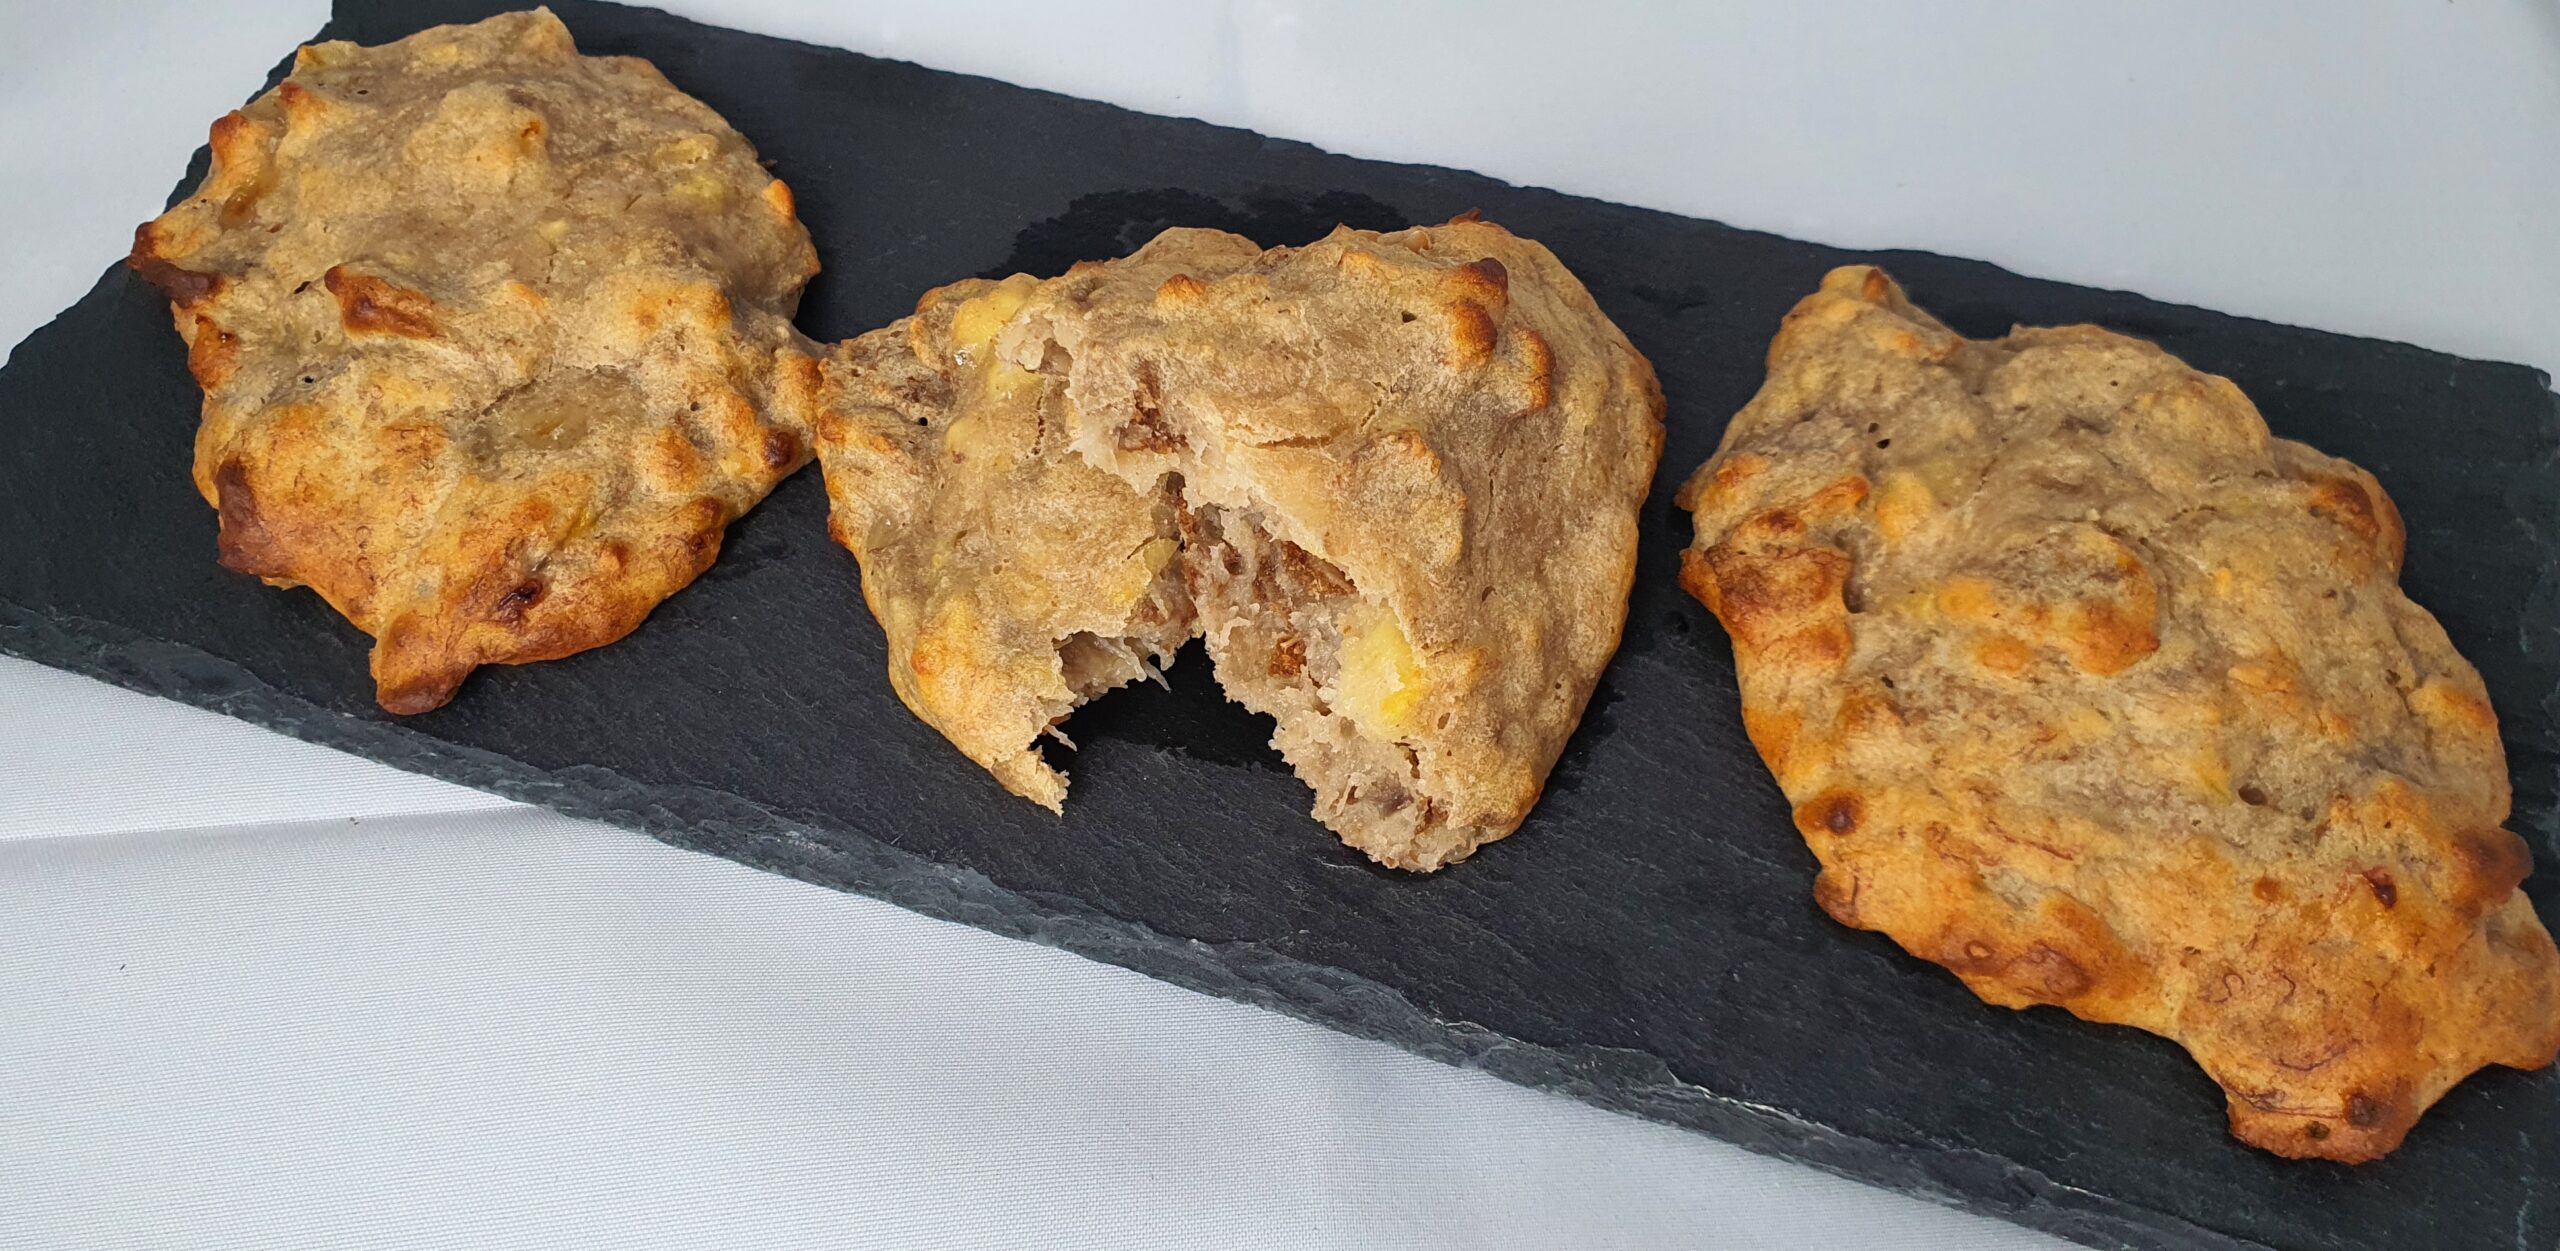
These sweet breakfast pancakes are deliciously simple to make with just 3 ingredients. This recipe is also quick as the pancakes don’t take long. This is a favourite Sunday morning breakfast for Hannah, particularly with lots of maple syrup and some raspberries to finish off the pancakes – the tartness of the raspberries is the perfect contrast to the sweetness that the bananas bring to the pancakes. You can, however add whatever toppings you like – may we suggest whipped cream, caramel drizzle, or perhaps chocolate chips? These pancakes are also really filling, and we truly do find that 1 banana, making 2 pancakes, is more than enough!

Ingredients (1 portion/2 pancakes)

Ingredients for Banana Pancakes with Logo. Image shows 2 bananas, 2 eggs, some flour in a small bowl, a few raspberries in a small bowl alongside a red whisk and a bottle of maple syrup on a black worktop.
  • 1 banana
  • 1 egg
  • 2 tbsp flour
  • 2 knobs of butter

Method

  1. Mash the banana
  2. Crack the egg into the mashed banana and whisk together
  3. Add the flour and mix together
  4. Place a knob of butter in the pan to grease the pan
    • We use a piece of kitchen roll to quickly and only lightly grease the pan, but if you do this be careful not to burn yourself
  5. Add half the mixture to the pan
  6. Wait for the underside to brown slightly (the pancake should feel a little bit firm when ready) and then gently flip the pancake over
    • If the pancake feels quite wobbly when you try and flip it, and doesn’t stay on your spatula, give it a minute or so more to cook
  7. Cook the other side of the pancake until it is also firm enough to flip
    • When the pancake is ready it should be firm all over but still squidgy on the inside
  8. Repeat steps 4-7 for the second pancake
  9. Add whatever toppings you would like
    • As we mentioned above, and as you will see in the youtube video, we love some maple syrup (who doesn’t?!) and raspberries to top our pancakes, but feel free to use whatever you fancy
    • The beauty of these pancakes is that they are also yummy on their own without any toppings!
  10. Finally, enjoy!!!

Hannah’s Banana Pancakes | Gloriously Simple, Gloriously Good!

Hannah’s Breakfast Biscuits

Hannah's Breakfast Biscuits

This is one of Hannah’s original recipes that we love to have on lazy weekend mornings while catching up on the previous evening’s TV together.

Due to Hannah’s lack of appetite brought about by Long-Covid, she started experimenting to create nutritious and tasty meals that would have interesting and varied textures. The soft, gooey, squishy texture of these breakfast biscuits, combined with the subtle crunch of the bran flakes and the peanut pieces, and the slightly chewy outer edges, make these biscuits a perfect breakfast staple.

Biscuits, cookies or mini-cakes?

There has been a certain amount of debate between us as to whether these are biscuits, cookies or mini-cakes…

Hannah insists that, as it’s her recipe, her wording goes (well, it is what we’ve called the recipe, after all!), but Frederika says that they are of a cake-like texture (are jaffa cakes cakes, or biscuits? Hannah says biscuits, Frederika says biscuit-shaped cakes!) and that they are, if anything, cookies (chewy/soft)…Hannah says ‘cookies’ is simply the American term for biscuits… We’ll let you decide! Whatever you call them, they are delicious 🙂

Ingredients (for 8 small or 6 large biscuits)

Hannah's Breakfast Biscuits Ingredients
  • 4 ripe bananas
  • a pinch of salt
  • 50ml milk
  • 2tbsp peanut butter (our preference is crunchy, but it’s your choice)
  • 1tsp clear honey
  • 4tbsp self-raising flour
  • 60g bran flakes

Method

  1. Pre-heat oven to 180°C (fan)
  2. Mash the bananas until they’re creamy
  3. Mix in a generous pinch of salt to bring out the sweetness of the bananas (honestly, it works!)
  4. Add the milk to the bananas and mix well
  5. Mix in the peanut butter and the honey
  6. Stir through the self-raising flour
  7. Mix in the bran flakes, ensuring they are evenly distributed through the mixture
  8. Spoon onto a lined baking tray (6 or 8 equal sized scoops)
  9. Bake in the pre-heated oven for 18 minutes
  10. Leave to cool on the baking tray for 5 minutes
  11. Eat while they are still warm!

Note: These will keep a day or two in the fridge, but they’re at their most delicious when they’re freshly baked – and you’ll be hard-pushed to resist eating them all!

Hannah's Breakfast Biscuits
Hannah’s Breakfast Biscuits

Hannah’s Breakfast Biscuits | Gloriously Simple, Gloriously Good!

Are you following us on Instagram yet? In addition to the recipes, @GGF_CookingWithMyDaughter will give you glimpses into the makings of our videos and our lives.